GP to BC: Getting familiar with Dynamics Business Central – General Ledger Transactions
This blog series has been created to assist Dynamics GP end-users in getting familiar with Dynamics 365 Business Central. We'll be covering the CORE modules first, starting with General Ledger and Accounts Payable.
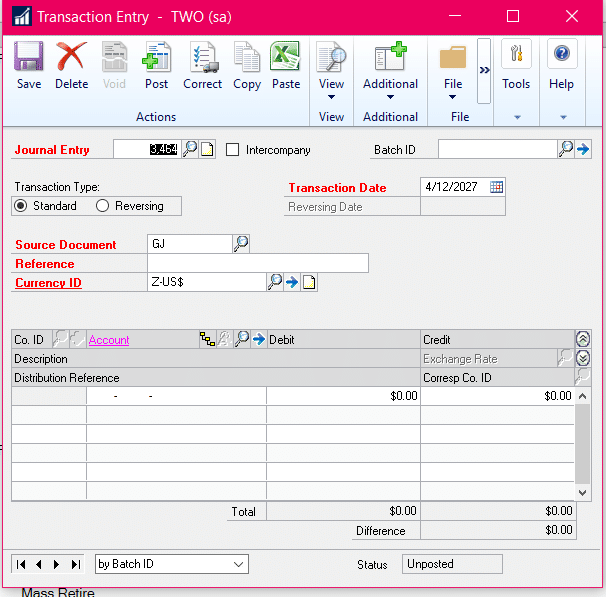
This blog focuses on General Ledger Transactions for Dynamics 365 Business Central in contrast to Dynamics GP. In Dynamics GP, General Ledger transactions have their own space – navigate to Financial > Transactions > General Ledger.
Dynamics 365 Business Central uses journals. Virtually all daily GL tasks can be handled using journals.
You can get to journals by clicking on Finance > General Journals. The screenshot below shows examples of typical journals. Users can create as many journals as needed and individuals can create their own journals, so multiple people can keep their work separate. This is like the Batch process functions in Dynamics GP.
Click on the name of the journal you want to open. We’ll look at the Monthly Journal entries.
Journals in Business Central allow users flexibility in how transactions are entered. A transaction can be entered across two lines, a debit entry and credit entry, like Dynamics GP, or a transaction can be entered in one line, where both of the accounts are entered on the same line, the Account No. and the Bal. Account No. That is, the balancing account number. This speeds up the process of entering transactions. As you’re getting used to working in Dynamics BC, you can start entering transactions as you did in Dynamics GP with two lines and later on, switch to entering a one-line transaction.
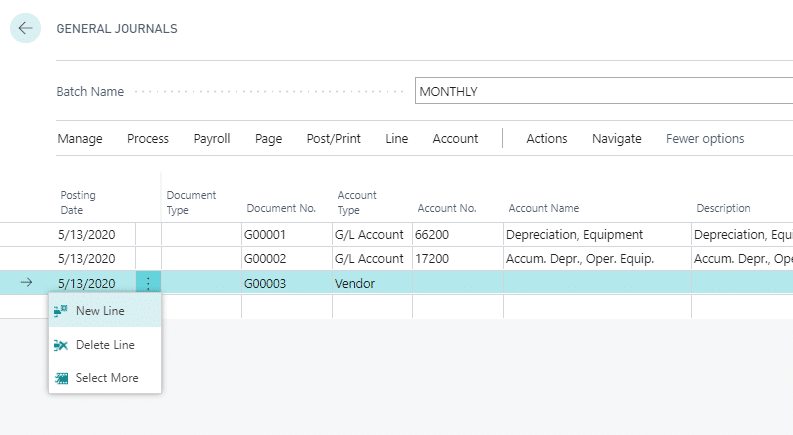
Users can click on the 3 dots for additional selections, add a new line, delete a line, or select more.
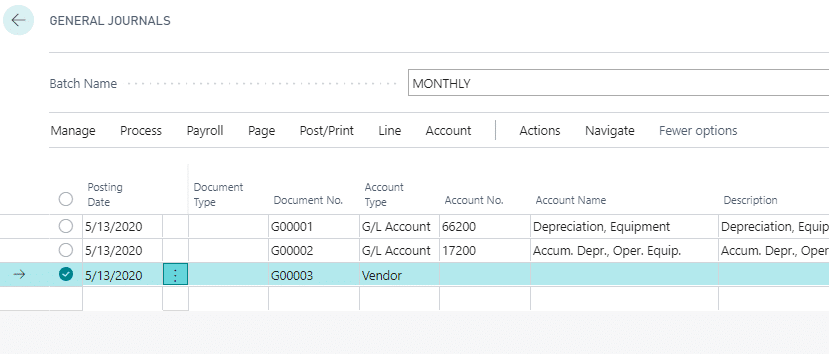
Select more opens the selection buttons to multi-select transaction lines. The Shift key and the CTRL key are also available to multi-select lines.
Across the ribbon, there are the following items:
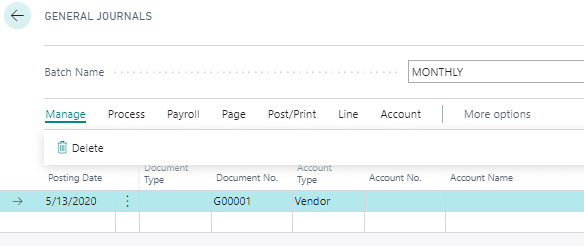
Manage > Delete – this is used to delete lines in the transaction – it will delete all lines that are selected.
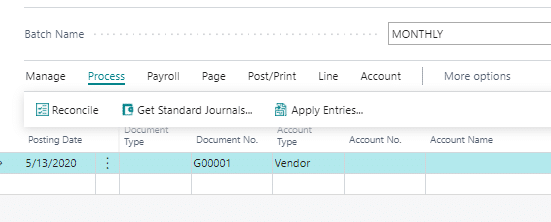
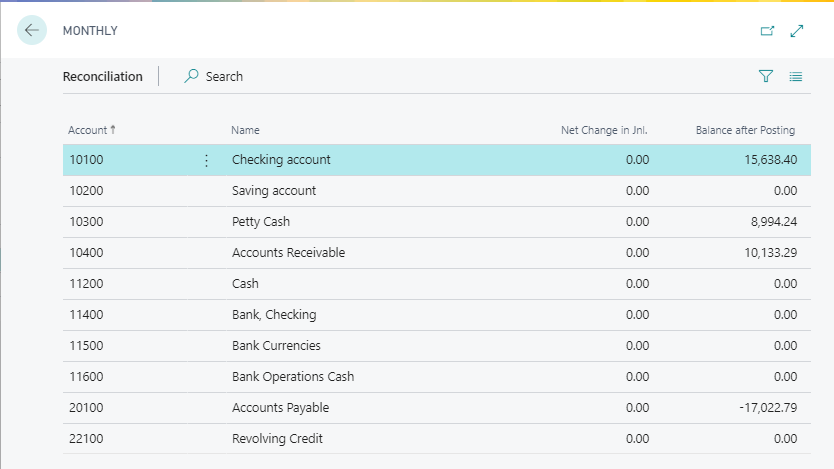
Process > Reconcile – this will open the reconciliation window.
Users can see the accounts, the net change in the journal, and the balance after posting.
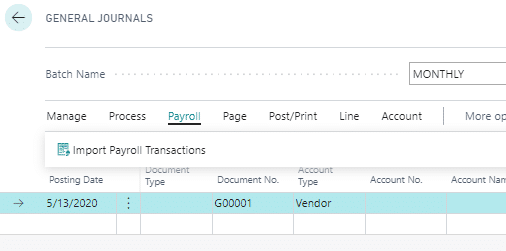
The Payroll selection on the ribbon is a quick way to get to the Import Payroll Transactions window. This will allow users to select the file from their payroll provider and import it into the General journal.
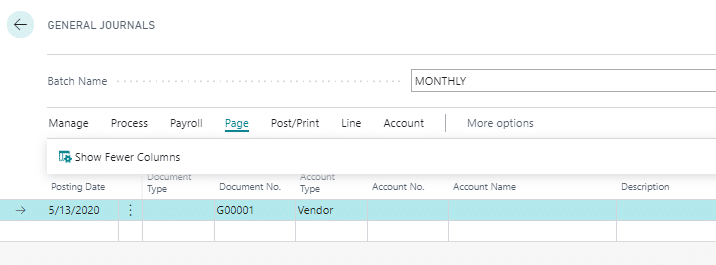
The Page selection allows users to show fewer columns – to show only the fields that require or need data entered.
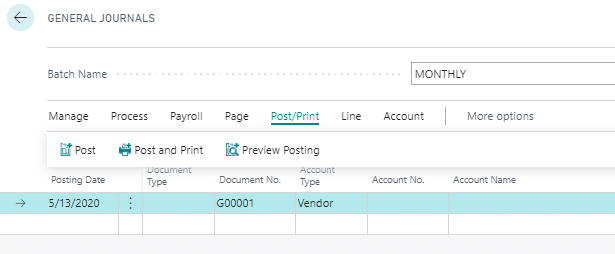
The Post/Print page is used to post the journals. Users can post the journal, post, and print, or preview the journal prior to posting, similar to running a Batch Edit list.
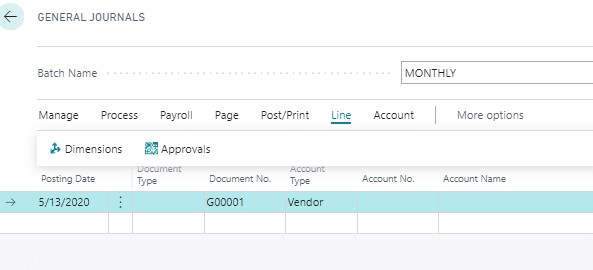
The Line page allows visibility and additional entry of Dimension information related to the transactions. Approvals are also included here.
The Account page is a drill to the Account Card and Ledger Entries.
More options open the access to Actions and the second Navigate.
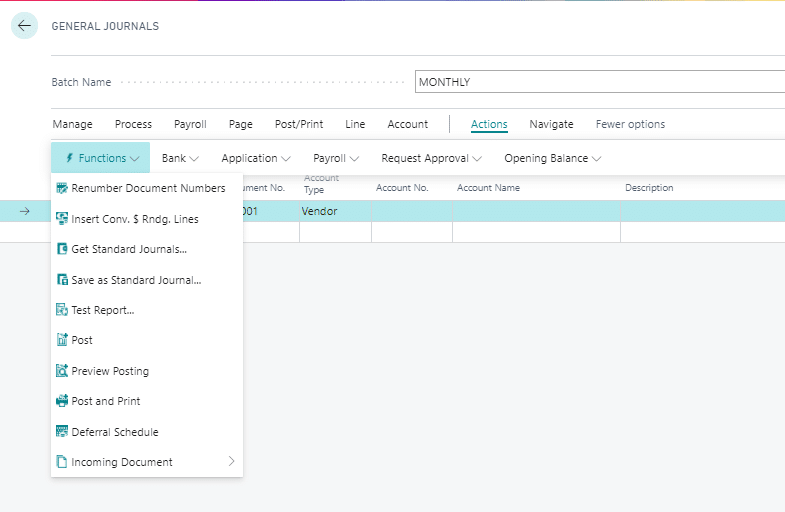
From the Actions, the following options are available:
- Functions – users can renumber document numbers, save journals, print reports, and preview posting
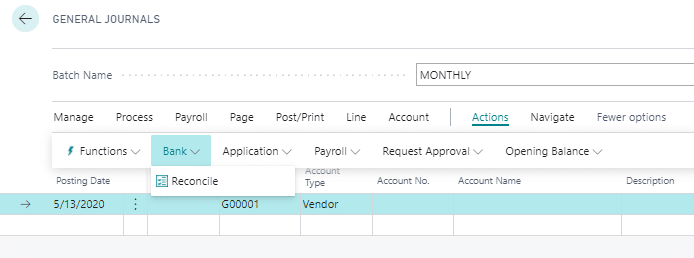
- Bank – another way to get to reconcile
- Application – if applicable, users can apply entries
- Payroll – another way to get to the import payroll transaction page
- Request Approval – another way to get to the approval requests and to get to Flows
- Opening Balance – gives access to enter opening journals and journal entries for accounts, customers, and vendors.
Bank options
Application options
Payroll imports
Approvals
Opening Balances
From the second Navigate, users have additional ways to get to:
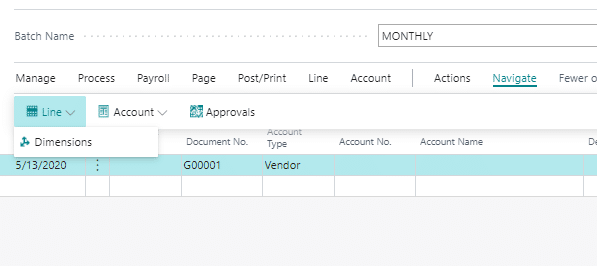
- Line > Dimensions
- Account > Card and Ledger Entries
- Approvals > Approval Entries
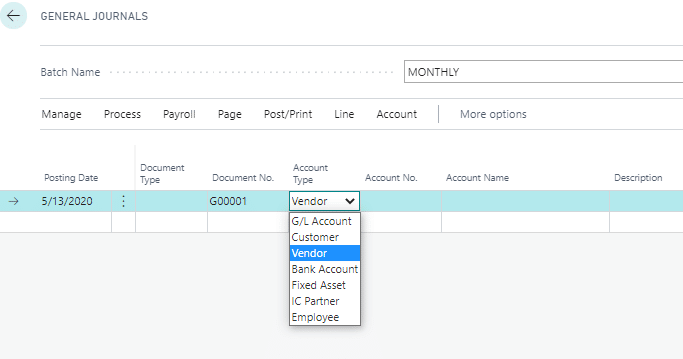
When entering the transactions, users will enter the Posting Date and Document type. The Document Type can be left blank for a GL transaction. The document number will default in from the No. Series, and then the Account Type is selected.
Here users can choose from:
- G/L Account
- Customer
- Vendor
- Bank Account
- Fixed Asset
- IC Partner – for intercompany transactions
- Employee
If G/L Account is selected, the Account No. field is used to select the account number for the transaction. The Account Name will default in once the Account No. is entered. Users can then enter a Description for the transaction.
Scrolling further to the right, depending on the transaction type, users can enter the General Posting Type, General Business Posting Group, or General Product Posting Group. Then enter the dollar amount for the transaction.
Once the amount has been entered, if users are entering one-line transactions, populate the Balance Account Type and the Balancing Account number. If two-line transactions are being used, go to the next line to enter the offset transaction information.
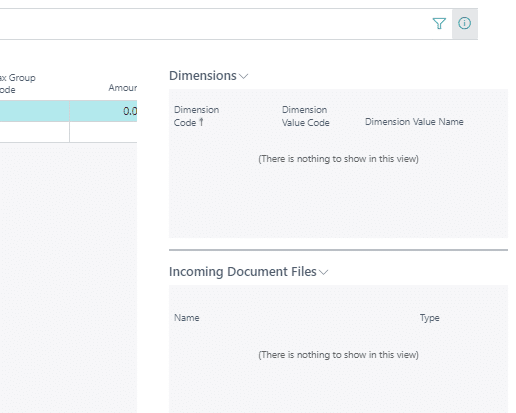
The far right of the window shows the Fact Box. This can be hidden by clicking on the circle with the lower case "i" in it.
The lower section of the journals page tracks the statistics on the transactions. The number of lines, the account name for the line the user is on, the balancing account name, the balance and the total balance are all shown.
Once the transactions are completed, users can close out of the window (this will save the transactions) or post the transaction using the Post/Print button on the ribbon.
For more information on Journals, visit these Microsoft Docs pages: https://docs.microsoft.com/en-us/dynamics365/business-central/ui-work-general-journals
Under the terms of this license, you are authorized to share and redistribute the content across various mediums, subject to adherence to the specified conditions: you must provide proper attribution to Stoneridge as the original creator in a manner that does not imply their endorsement of your use, the material is to be utilized solely for non-commercial purposes, and alterations, modifications, or derivative works based on the original material are strictly prohibited.
Responsibility rests with the licensee to ensure that their use of the material does not violate any other rights.


