Power Automate and Business Central Approvals – Part 1
Power automate is a powerful tool by Microsoft that can help you configure powerful workflows for your business processes. This includes pulling Business Central data as part of a workflow in Power Automate.
To acheive this, follow these steps:
1. Open your browser, navigate to https://flow.microsoft.com/ and sign in.
2. On the left pane, click Flow
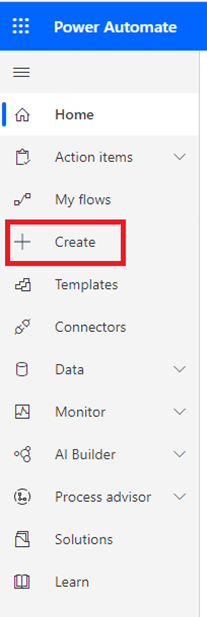
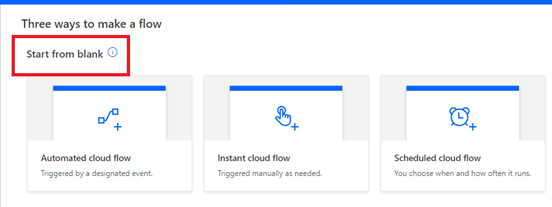
3. On the right pane, choose one of the three options for creating a workflow. Those options are:
a. From Blank
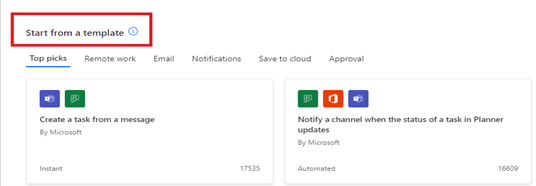
b. From a Template
c. From a Connector
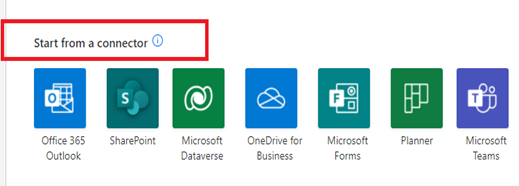
For this article, we will connect Business Central data to Power Automate using a blank template.
4. Under the start from blank section, click on Automated Cloud Flow
5. In the window that opens, give your Flow a name and then type "Business Central" in the "Choose your flow's trigger" section.
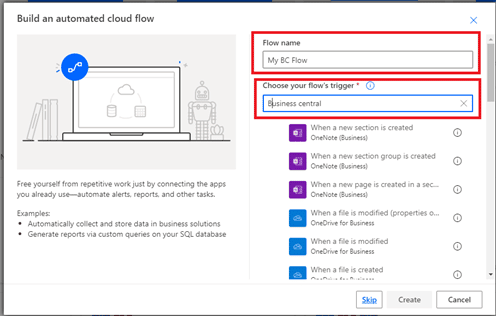
6. From the list of Business Central triggers that come up, select the appropriate one you want to use. (We will use purchase document approval.)
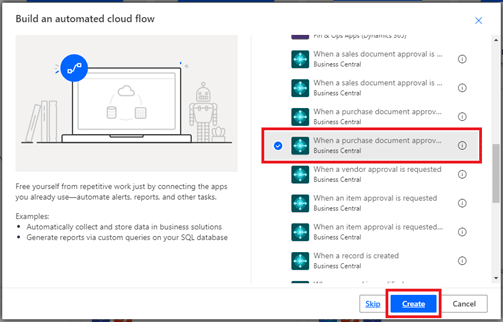
7. The workflow canvas window will then open. From here you can choose your Business Central environment, as well as any conditions in your data that you want to listen for.
At this point, you have successfully connected your Business Central data and are ready to begin building your flow.
Questions?
If you have any inquiries about this or something else related to your business software, please contact us!
Under the terms of this license, you are authorized to share and redistribute the content across various mediums, subject to adherence to the specified conditions: you must provide proper attribution to Stoneridge as the original creator in a manner that does not imply their endorsement of your use, the material is to be utilized solely for non-commercial purposes, and alterations, modifications, or derivative works based on the original material are strictly prohibited.
Responsibility rests with the licensee to ensure that their use of the material does not violate any other rights.


