Extend Dialogs in Dynamics 365 with Power Platform
Although you might not be familiar with the term dialogs in your Dynamics 365 systems, you certainly have come across them.
Dialogs are popup windows that ask the users to take some kind of action. This could include but is not limited to providing input, confirming or verifying information, selecting an option, and more. While dialogs have been part of Dynamics 365 solutions since their inception, you can create and customize more dialogs with the Power Platform to further increase efficiency.
In this blog, we’ll delve into dialogs in the Power Platform and explore their functionality. We will also highlight best practices for implementation and the top reasons why using Power Platform is better than the traditional approach.
What are Dialogs in Dynamics 365?
Dialogs play a crucial role in enhancing user interaction and streamlining processes. By prompting users to provide necessary inputs or make selections, dialogues help ensure that data is captured accurately and efficiently. They are particularly useful in guiding users through complex processes, ensuring that all necessary steps are followed.
Microsoft uses dialogues extensively throughout its applications, especially Dynamics 365. Here are some common examples:
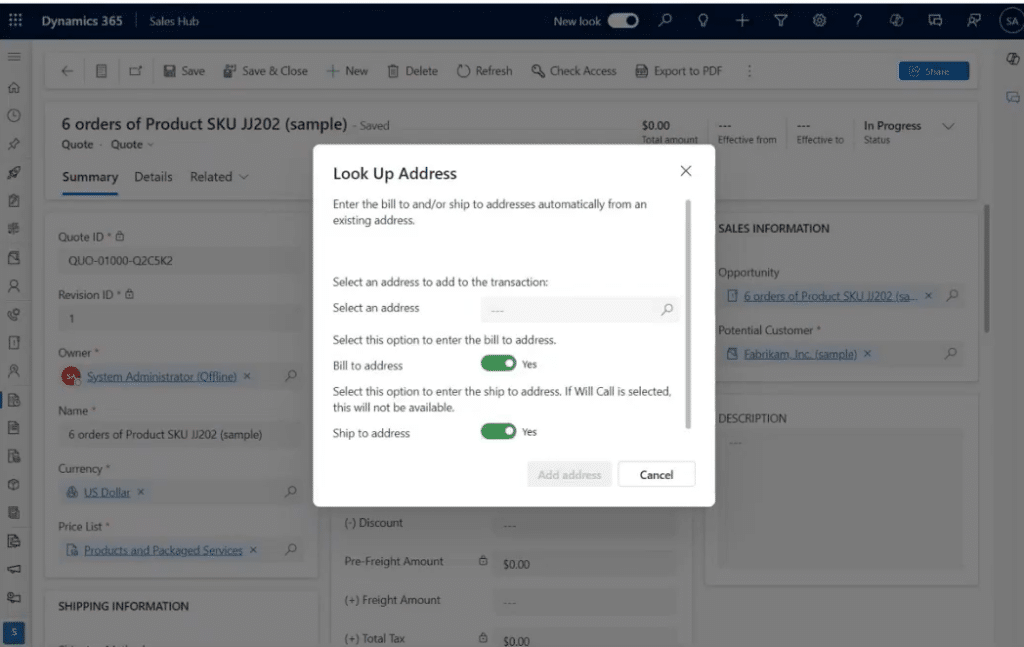
- Lookup Address Dialog: This dialogue helps users copy address fields from an existing record onto a quote. When a user needs to add an address to a quote, the dialogue guides them through selecting the appropriate address from existing records. This ensures that the address is copied accurately and efficiently.
- Qualify Lead Dialog: When the "Qualify Lead" settings are enabled, this dialogue prompts users to decide whether to create an account, contact, or opportunity. This ensures that all necessary steps are followed in the lead qualification process. The dialogue helps users make informed decisions by providing options and guiding them through the process.
Traditional Approaches to Dialogs: Drawbacks and Limitations
Before the advent of low-code solutions like Power Platform, creating and managing dialogues often required extensive coding and integration efforts. Traditional methods involved significant developer input and time. Developers had to write custom scripts using different types of code to create dialogs, which made the process time-consuming and prone to errors. Additionally, developers would have to maintain and update custom-coded dialogs.
Additionally, traditional approaches to dialogs faced several other key challenges:
- Basic pop-up forms that are not actionable
- Limited in the design options that don’t work in the United interface (UI)
- Used for simple, guided processes with limited system integration
- Does not have the same look and feel as the modern UI
- It can be costly with time and effort
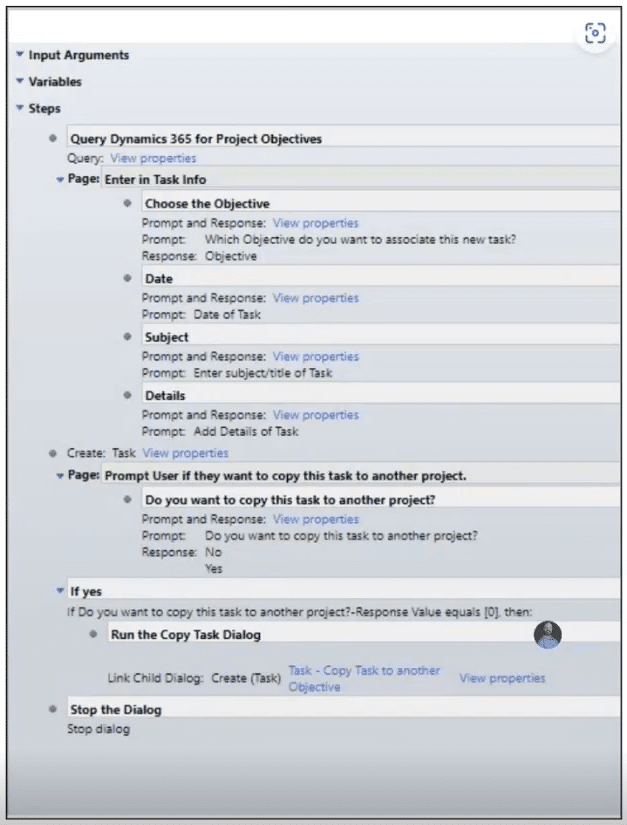
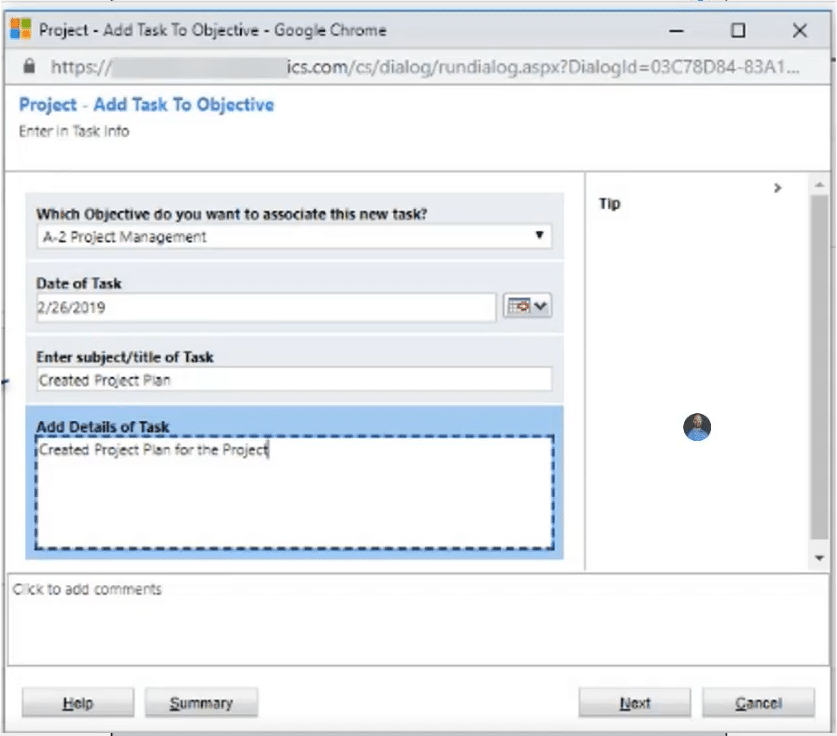
Despite navigating all of these complexities, the end result would often look complicated and clunky like in the examples below:
Introduction to the Power Platform and Low-Code Solutions
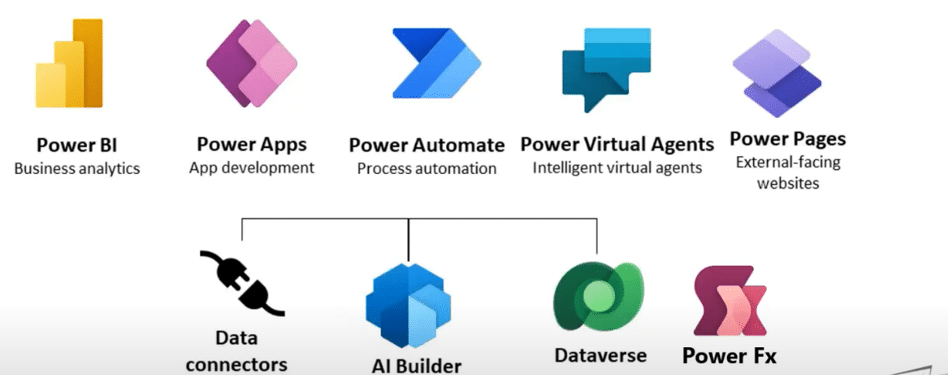
The Power Platform is a low-code solution, simplifying the creation and management of dialogues. This platform empowers developers and functional consultants to build robust applications with minimal coding, streamlining processes, and enhancing efficiency. The Power Platform includes tools like Power Apps, Power Automate, and Power BI, which enable users to create custom applications, automate workflows, and generate insights from data.
Benefits of Using Power Platform for Dialogs in Dynamics 365
- Ease of Use: Low-code platforms are user-friendly and do not require extensive coding knowledge.
- Speed: Development time is significantly reduced, allowing for faster deployment of applications.
- Flexibility: Users can easily update and modify dialogues as business needs evolve.
- Integration: Low-code platforms seamlessly integrate with other systems and applications, enhancing overall functionality.
Best Practices for Implementing Dialogs in Dynamics 365
There are several things you should focus on when creating and customizing your own dialogs:
Focus on User Experience
- Clarity and Simplicity: Ensure that dialogues are straightforward and user-friendly. They should guide the user through the process without overwhelming them with too many options or steps. Use clear and concise language to make the dialogues easy to understand.
- Field Selection: Only include essential fields in the dialogue to keep the user's attention focused and the process efficient. Avoid cluttering the dialogue with unnecessary fields or options.
Integration and Testing
- Seamless Integration: Dialogues should integrate smoothly with existing systems and workflows. Ensure that they do not disrupt the user experience or cause any issues with data integrity. Test the integration thoroughly to identify and address any potential issues.
- Regular Updates and Feedback: Continuously update dialogues based on user feedback and evolving business needs to keep them relevant and effective. Encourage users to provide feedback on their experience with the dialogues and use this feedback to make improvements.
Security and Compliance
- Data Security: Ensure that dialogues are designed with data security in mind. Protect sensitive information by implementing appropriate security measures, such as encryption and access controls.
- Compliance: Ensure that dialogues comply with relevant regulations and industry standards. This includes ensuring that data collection and processing practices are compliant with laws such as GDPR.
Step-by-Step Guide on How to Create and Customize Dialogs
Setting up your dialogs can be a bit confusing. You can always reach out to our team at Stoneridge Software if you have any questions. You can also watch the video tutorial below. In it, Stoneridge expert Chad Althaus walks you through how to create a split expense scenario in Dynamics 365 Field Service and what tools we used to do it.
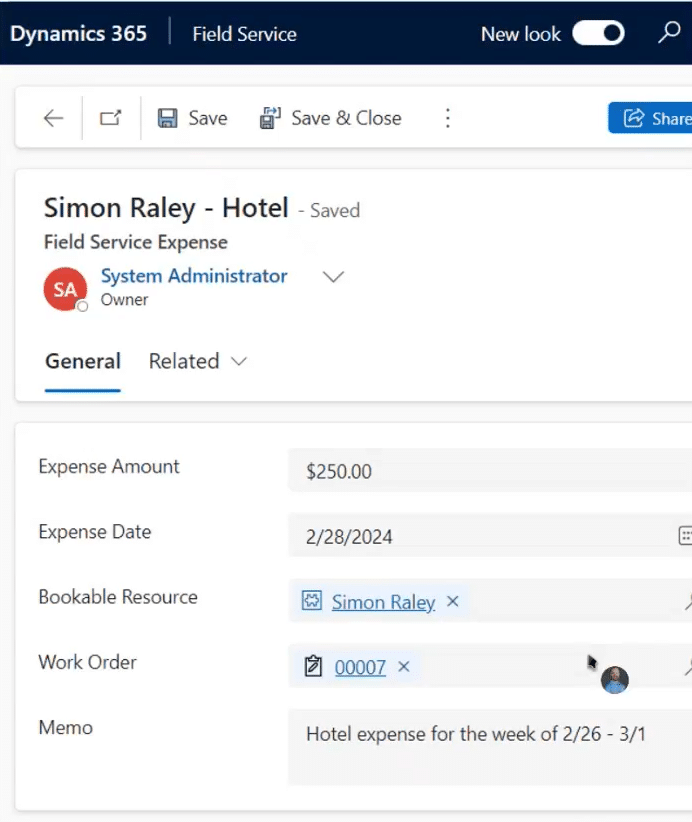
Here is the background on the scenario we are using:
- It will be a dialog in a Field Service environment tracking expenses against work orders
- An expense is going to be split between two work orders, with one portion of the expense moving to a separate but related work order
- It will be a single hotel expense for a field service worker who worked on two jobs while staying at the hotel once. This is why we are splitting the expense between the two work orders
- It will be a user-triggered dialog window, where they will have to fill in:
- The dollar amount for the new work order and select new work order.
- The creation of a new expense with an entered amount.
- The original expenditure decreased by the same amount.
Want to Learn More Ways to Improve Your Business Processes With Power Platform?
The Stoneridge team of experts knows how to integrate the Power Platform with your Microsoft Business solutions. Get in touch with us today if you want to learn more about how to streamline efficiency in your organization with this low-code solution.
Under the terms of this license, you are authorized to share and redistribute the content across various mediums, subject to adherence to the specified conditions: you must provide proper attribution to Stoneridge as the original creator in a manner that does not imply their endorsement of your use, the material is to be utilized solely for non-commercial purposes, and alterations, modifications, or derivative works based on the original material are strictly prohibited.
Responsibility rests with the licensee to ensure that their use of the material does not violate any other rights.


