


Collect Event Registrations from Landing Pages using Dynamics 365 Customer Insights – Journeys Events and Power Pages
Event management is one of the most complex functions within modern marketing organizations. You need to promote the events, collect registrations, message attendees, book speakers, find venues, and more. Fortunately for you, it can all be done within the Microsoft application stack to make your life easier. Unfortunately, the relatively recent switch to Real-time Journeys functionality within the Dynamics 365 Customer Insights – Journeys (FKA D365 Marketing) doesn’t make it super clear how to do some basic functionality, like having a landing page to collect event registrations.
Today, we’re going to cover how you can easily have readily available event landing pages to use in your marketing journeys to inform and collect event registrations. The tools we’ll use are the aforementioned Customer Insights- Journeys app along with Microsoft’s connected web page tool, Power Pages.
Here’s how to do it.
1) Create the event Power Pages site
This step will hopefully be a one-and-done for you that only needs to be done once. You’ll need a Power Pages license, so make sure you have one assigned and then go to https://make.powerpages.com. From there, you’ll get this lovely Copilot helper to make your event site. If you don’t love that, you can use the options below. I’m going to use Copilot here.
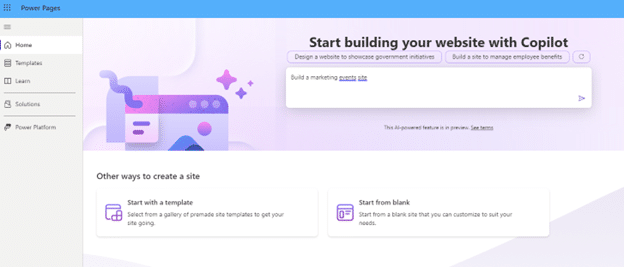
It will take you through three steps to get your event site up and running.
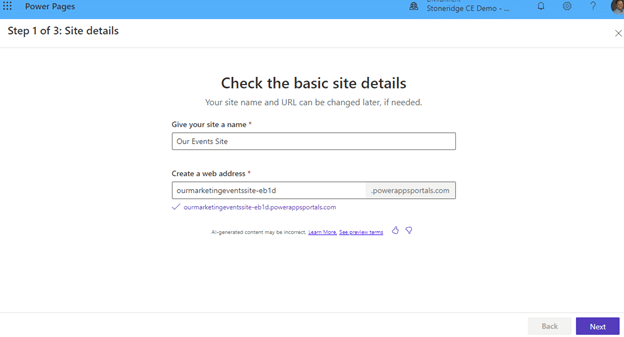
The web address is only “Kind of” important. Why “Kind of?” Because if you want to be a best-in-class- marketing organization, you’ll want to promote your company well and stay on brand. To do this, you’re going to want to connect a custom domain to this site after it’s created. This will ensure the end user sees a web address that is something like https://events.yoursite.com/yourevent instead of the powerappsportals.com one that defaults in. Once you’re done with this screen, click next.
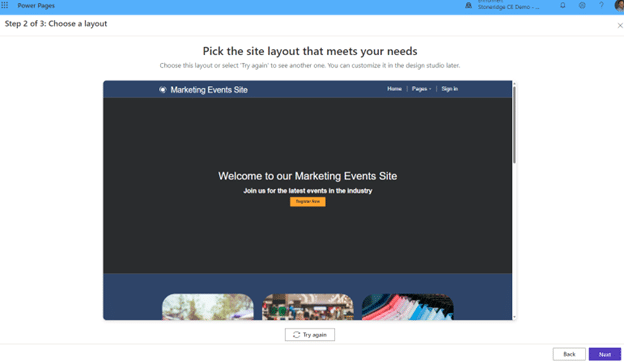
Copilot works to establish a default site layout and comes up with what you see above. We can make this template work so we’re going to roll with this one and click next.
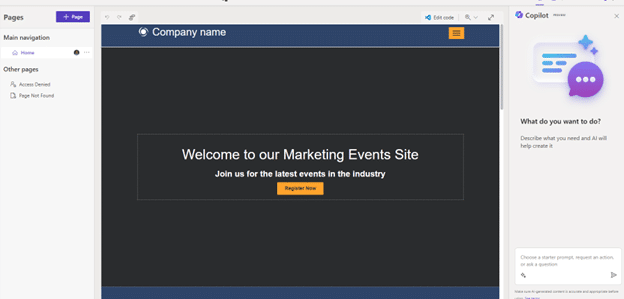
We’re not going to do step three right now, but later you can easily add standard extra pages in a click for the full site experience. For this one, the only one that you’ll probably want to consider is the upcoming events site should it make sense for your business. For now, just click done to build out the site. Once Power Pages is done, it will open you into the site editor.
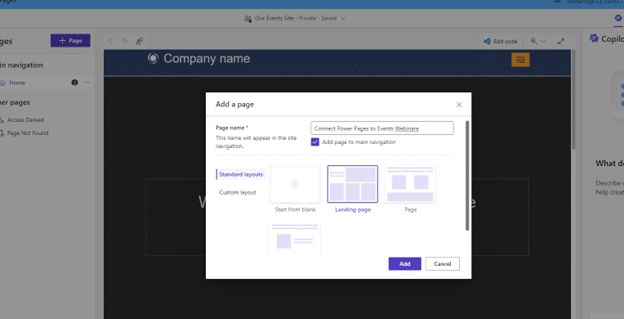
2) Create an event page
Click the “+ Page” button to create your first event page. This takes some time to get styling and formatting right the first time, but once you have it the way you like it, you can save it as a template and reuse it later. We’re not going to cover that process today. For now, just enter the event name as your page name and pick one of the standard layouts to create the page. Once it loads, click sync at the top right to make the page live.
3) Authorize your new event domain to host real-time marketing forms
For the forms to load on your new page and connect to D365, we need to authorize the domain. To do this, go to settings within the app and click Domains in the left navigation.
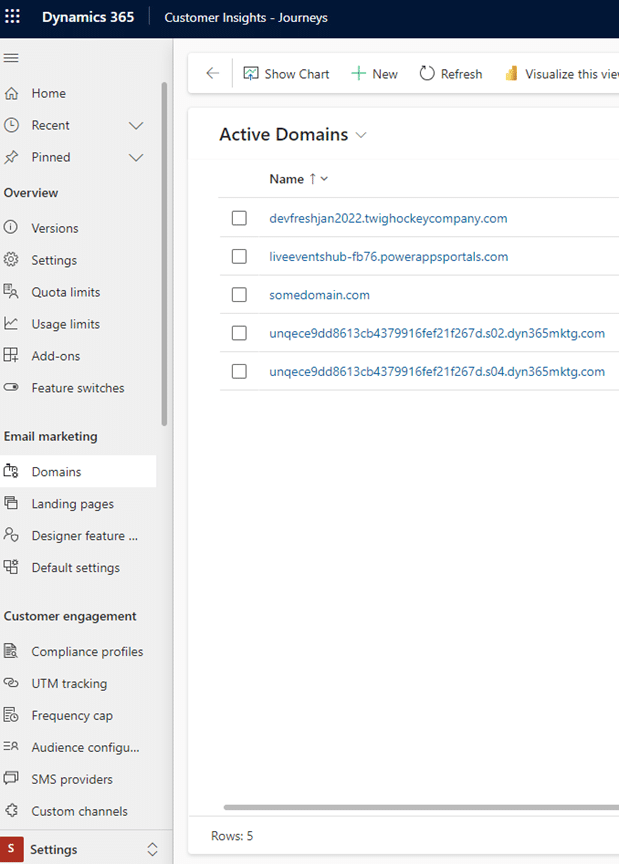
Click New to add your new domain to the list of authorized domains. Fill in the domain name with your new one as shown below and deselect the “Enable email sending for this domain”.
Click add and then save and close and you’re all set. When you add a custom domain to this events site, you may need to come back here and add that domain and authenticate again. But for now, with this configuration we are all set.
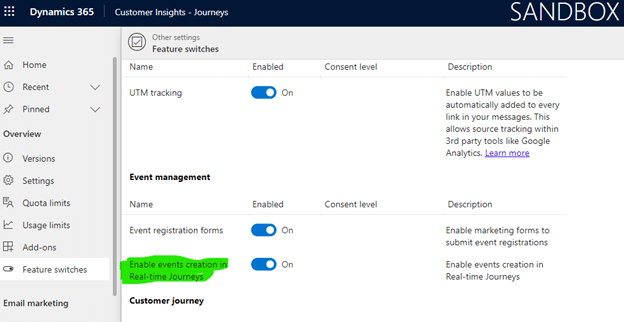
4) Create an event in Customer Insights – Journeys Event Planning
If you haven’t already, go into your app settings and enable events creation in Real-time Journeys as shown below.
Once you do that, create a new real-time journeys event.

On the Website and form tab, select “On your own website.” This is where we will add the URL of our event page so that we can share it in journey messaging and collect registrations from it. (If you’re unable to type the URL in, just deselect the “Embed registration form” option and then reselect it. This should open the field.) You can also make a custom form for this event if needed.
5) Connect the event to your registration page
Go to your event page and click preview. This will load it in your browser so you can copy the URL to paste into your event.

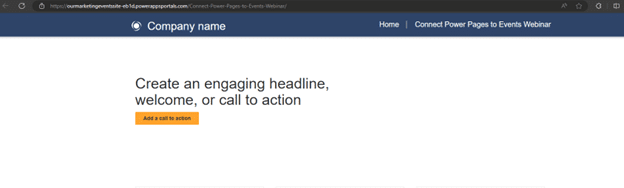
Copy the URL from your address bar and paste it into the event registration page URL field.

Click “Go-live” in the top bar of the event to make the event and form live.
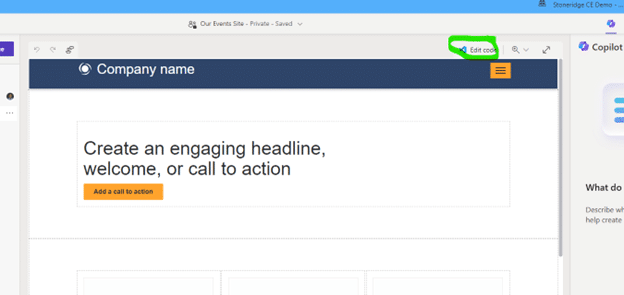
Now we must embed the registration form. Click the “Copy JavaScript code” button shown above and go back to your event registration page in Power Pages. Here, you’re going to add that code on the page where you want the form to appear. For this example, I will add it directly below the hero “Create an engaging headline…” section at the top. To do that, click Edit Code at the top right of the page.
You will get a popup asking you to open Visual Studio Code. Don’t be afraid, do it. This will open your page in html to add that code you just copied from your event.
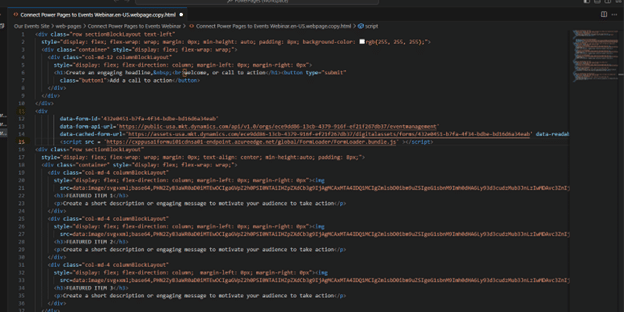
Here, you can see I added it directly after section one. When you have it ready, just click the little white dot at the top and you will be prompted to save the update. Go ahead and save it and go back to your Power Page.
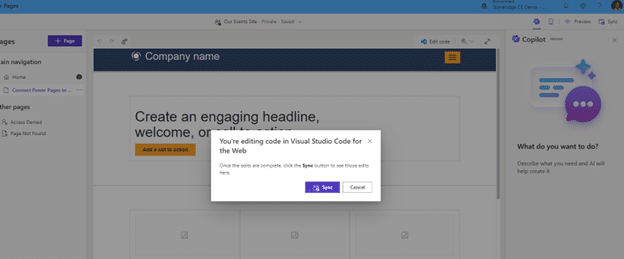
Now you see the sync popup here. Click it to ensure your updates are made. This should refresh your page.
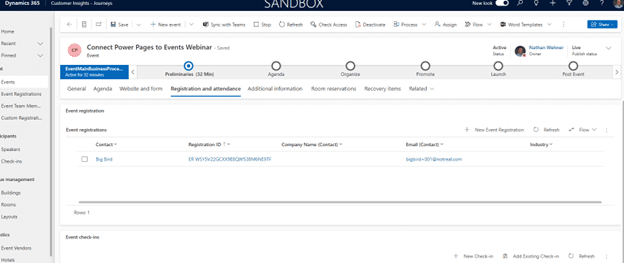
Now, when I click preview at the top right the page loads with the form. I can populate it and submit to create a registration.
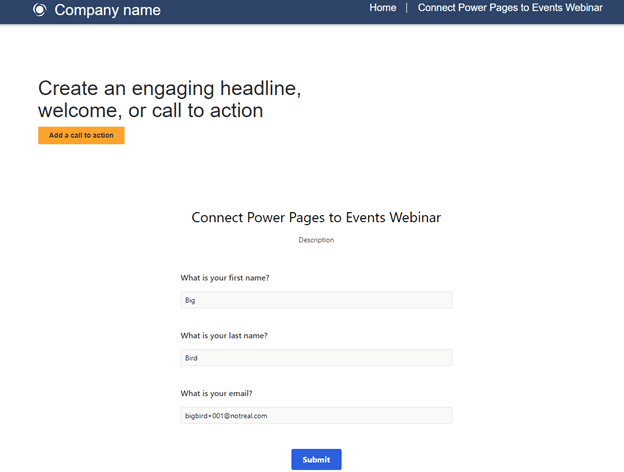
And voila, it’s there!
Now that you have event registrations flowing in for your event, you can configure journeys with reminders and other content to help your event reach its maximum potential. Depending on your organizational needs, additional configurations can be made to the system to assist sales by ensuring a lead for new registrations as needed.
If you have any questions, please reach out to us!
Happy marketing!

Under the terms of this license, you are authorized to share and redistribute the content across various mediums, subject to adherence to the specified conditions: you must provide proper attribution to Stoneridge as the original creator in a manner that does not imply their endorsement of your use, the material is to be utilized solely for non-commercial purposes, and alterations, modifications, or derivative works based on the original material are strictly prohibited.
Responsibility rests with the licensee to ensure that their use of the material does not violate any other rights.