


Creating a Return Sales Order in Dynamics 365 Business Central
There are several reasons why you would create a return sales order in Dynamics 365 Business Central.
In this blog, we will show you how to create a return sales order, return shipped inventory, create a credit memo for the related transaction, and the optional step of creating a replacement sales order in Business Central.
Why Create a Return Sales Order in Dynamics 365 Business Central?
Perhaps you have an incorrect product shipment, a canceled order, or a defective product. Whatever the reason is, creating a return sales order is easy to do if you follow the guide below.
Note that this process does not include the advanced warehouse functionality. If you require advanced warehousing, you can reach out to our team for more information.
How To Create a Return Sales Order in Dynamics 365 Business Central
Just follow these steps:
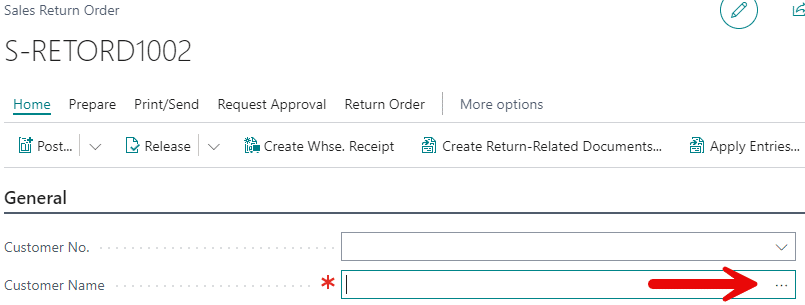
1 - On your homepage, search "Sales Return Order"

2 - Select "+New" to generate a new Sales Return Order
3 - Select "..." to identify the related Customer
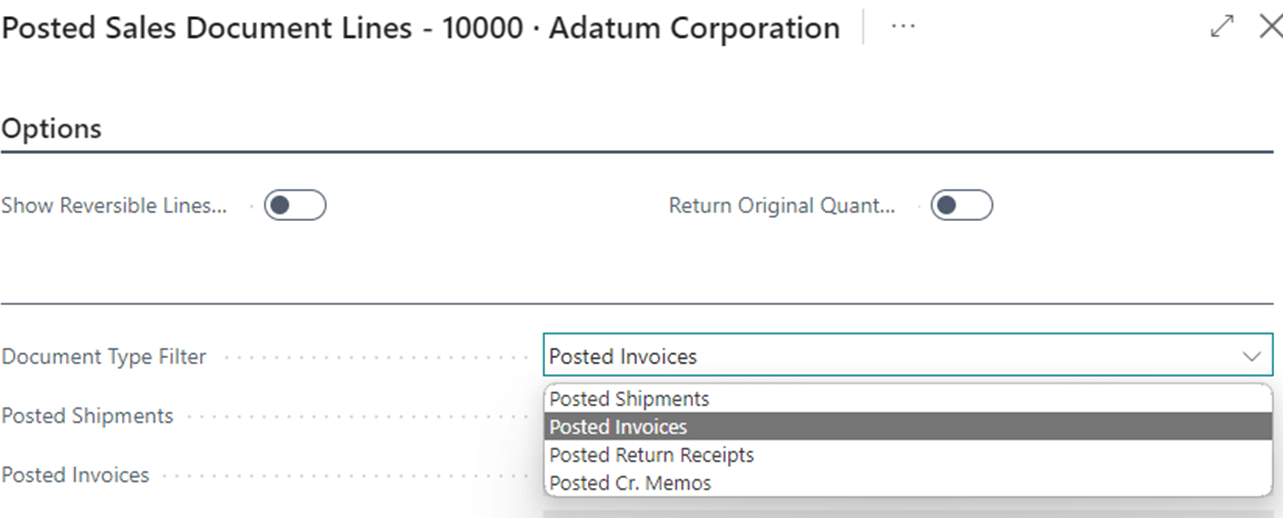
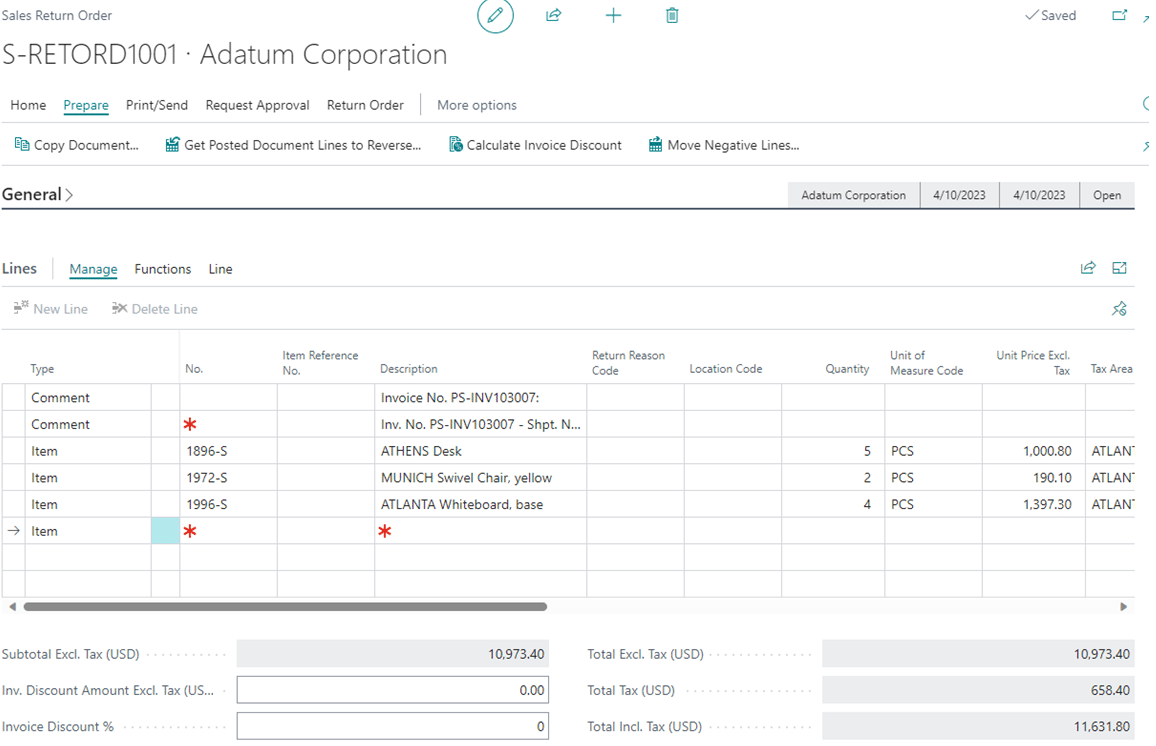
4 - Select "Prepare" > "Get Posted Document Lines to Reverse"
In the "Posted Sales Document Lines" window, select the appropriate "Document Type Filter". This is typically "Posted Invoices" but you may return to the select the related document within the "Lines" table to select the related invoice.
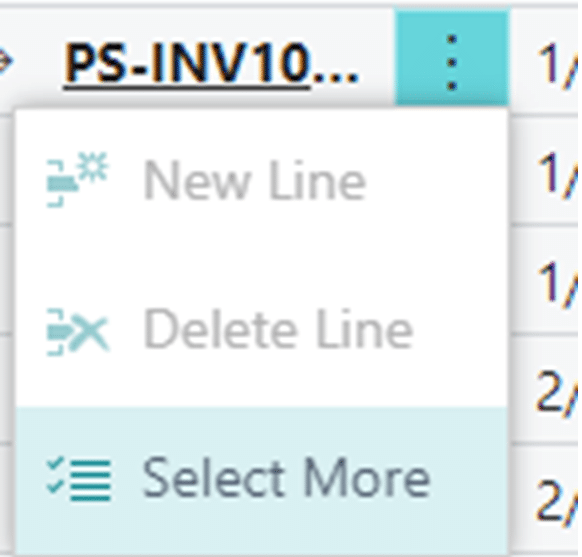
You can also select many lines by selecting the ellipsis beside the related document and "Select More."
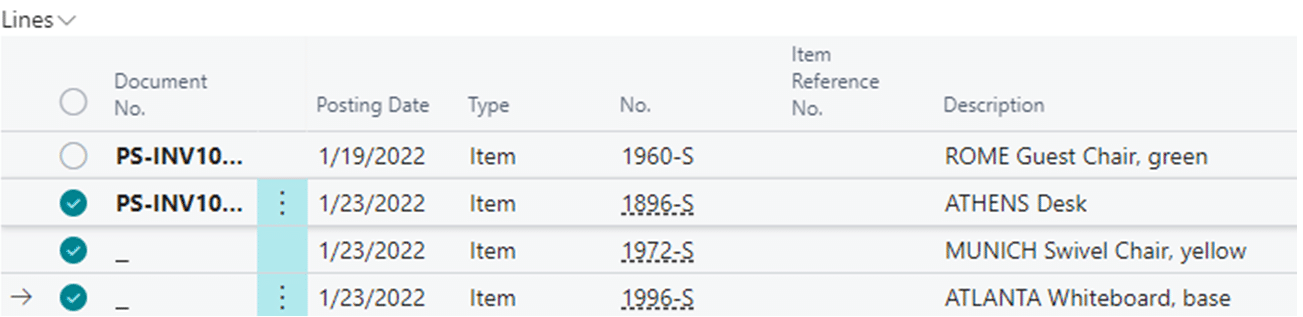
Now you can select the lines you want to include on the return and select "OK."
5 - The return order should now populate with the selected lines.
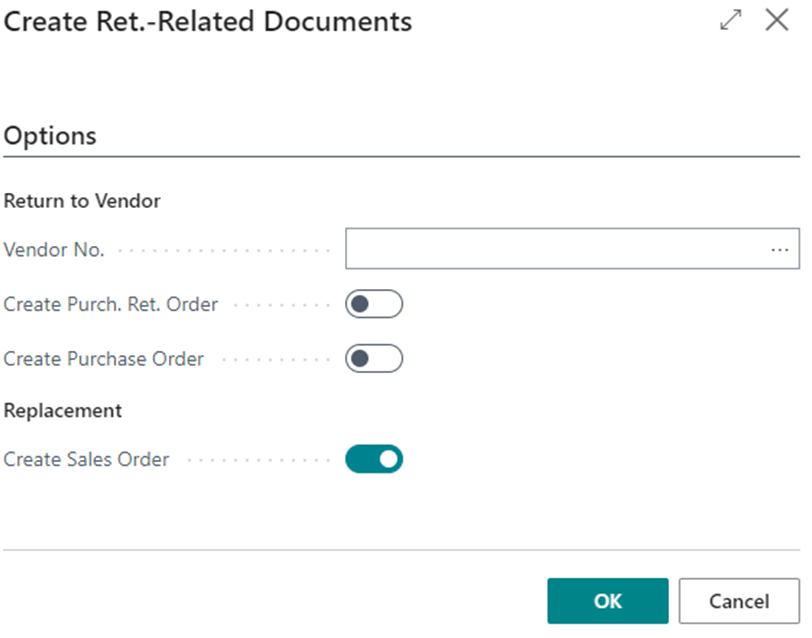
6 - Create a replacement sales order by selecting "Home" > "Create Return-Related Document"
Note that you can only complete this step before posting your return sales order.
7 - Disable all other options and do not include a vendor
8 - Enable "Create Sales Order" and select "OK"
9 - The system will generate a new sales order with the same details as the return order
To inspect the related document, select "Related" > "Show Document."

Notice the comments regarding the original invoice you reversed.
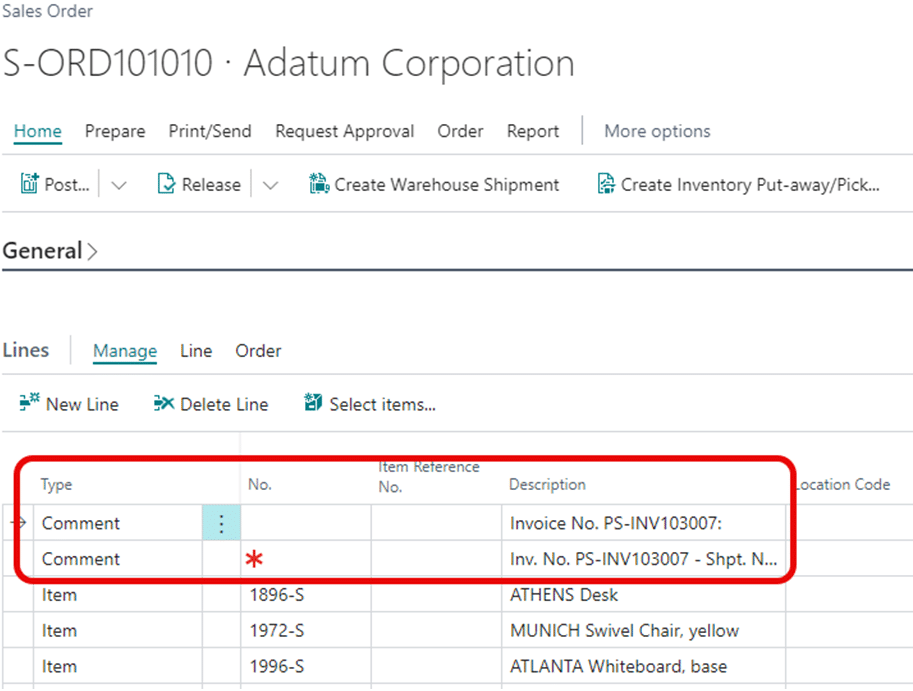
You can now process this sales order using your usual order processing methods.
10 - Navigate back to the Return Order
11 - Within the LINES table, confirm the values and, if needed, identify that the Item Tracking Information is correct.
Confirm the QTY to Receive is accurate - "Received" items will create a positive adjustment to inventory. You should also confirm the QTY to Invoice is accurate - "Invoiced" items will create a Credit Memo against the related custom ledger which can be applied to the original invoice.
12 - Make your last qualitative checks against the return document and select "HOME" > "POST"
13 - Select "Receive and Invoice" to receive the material and create the related credit memo.
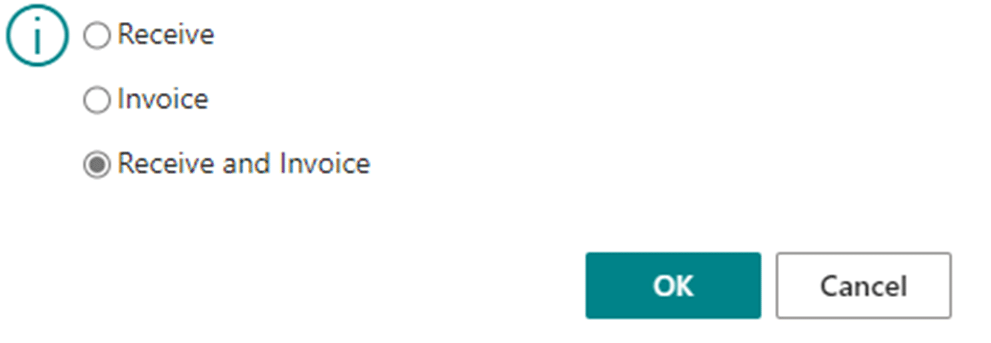
Once this completes, the system will prompt you to review the credit memo if desired.
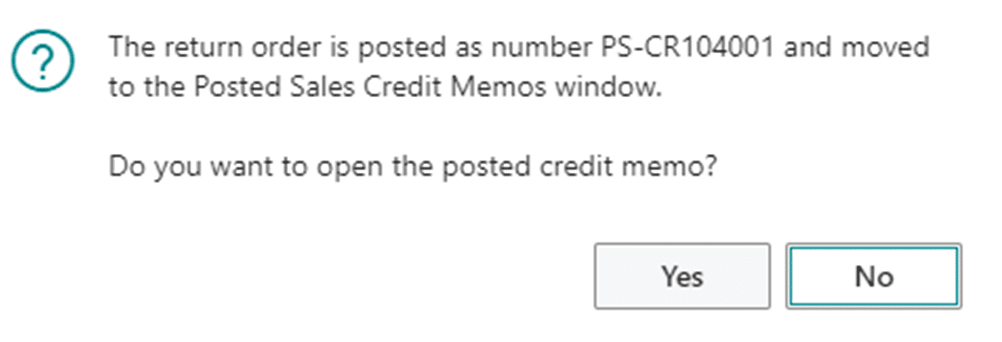
By selecting "Yes" the system will take you to the related credit memo. If you select "No", the return will close, and the system will bring you back to the Sales Return Order List page.
That's it! You are now finished with the Sales Return Order process.
Want to Discover Additional Ways to Optimize Your Dynamics 365 Business Central System?
Our team of Dynamics 365 Business Central experts can help you get the most out of your system. Please reach out to us for more information.

Under the terms of this license, you are authorized to share and redistribute the content across various mediums, subject to adherence to the specified conditions: you must provide proper attribution to Stoneridge as the original creator in a manner that does not imply their endorsement of your use, the material is to be utilized solely for non-commercial purposes, and alterations, modifications, or derivative works based on the original material are strictly prohibited.
Responsibility rests with the licensee to ensure that their use of the material does not violate any other rights.