


How to Use Docker Containers for Dynamics NAV
Wondering how to use Docker Containers for Dynamics NAV? The first step on getting started with Docker Containers is selecting the Docker Container Tag from this list at hub.docker.com. This will be used in the place of <ReplaceWithDockerTag>.
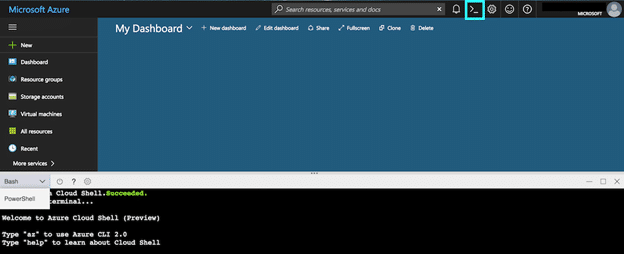
Next Open Portal.azure.com – Click on Cloud Shell Icon

If you have never used Cloud Shell, you can find a great Overview of Azure Cloud Shell here.
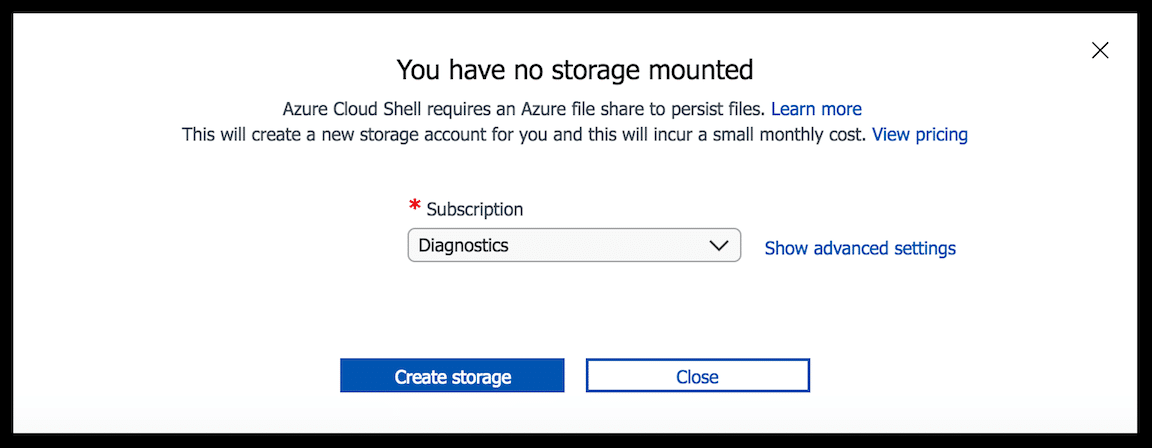
Next, Create a Storage Account, if you do not have one already.
For our examples, we will Run Cloud Shell – Bash (You may need to change from PowerShell).
If this is your first time Creating an Azure Container, you will need to first Create Resource Group. This only has to be run once.
az group create --name DockerContainersNAV--location eastus
Now, for the moment we have all been waiting for! Let's Create a Docker Container!
az container create --name <ReplaceWithDockerTag> --image microsoft/dynamics-nav:<ReplaceWithDockerTag> --resource-group DockerContainersNAV --os-type Windows --cpu 2 --memory 3 --environment-variables ACCEPT_EULA=Y --ip-address public --port 443 1433 7046 7049 8080
Let it run for 10-15 Minutes – Provisioning times for Docker Containers may vary ?
If you are impatient and want to check the Provisioning State status now, run the following command:
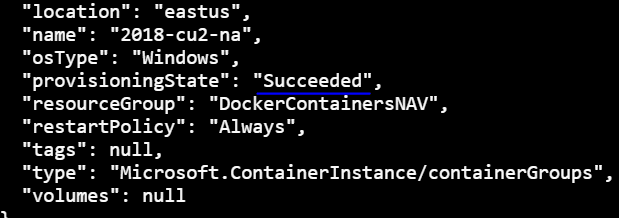
az container show --resource-group DockerContainersNAV--name <ReplaceWithDockerTag>
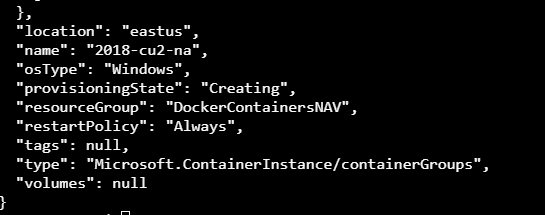
Once the Azure Container is finished the "provisioningState" will be "Succeeded".
Now that your Docker Container is running, you need to look at the details of what you just created.
You will need to run the following command:
az container logs --resource-group DockerContainersNAV --name <ReplaceWithDockerTag>
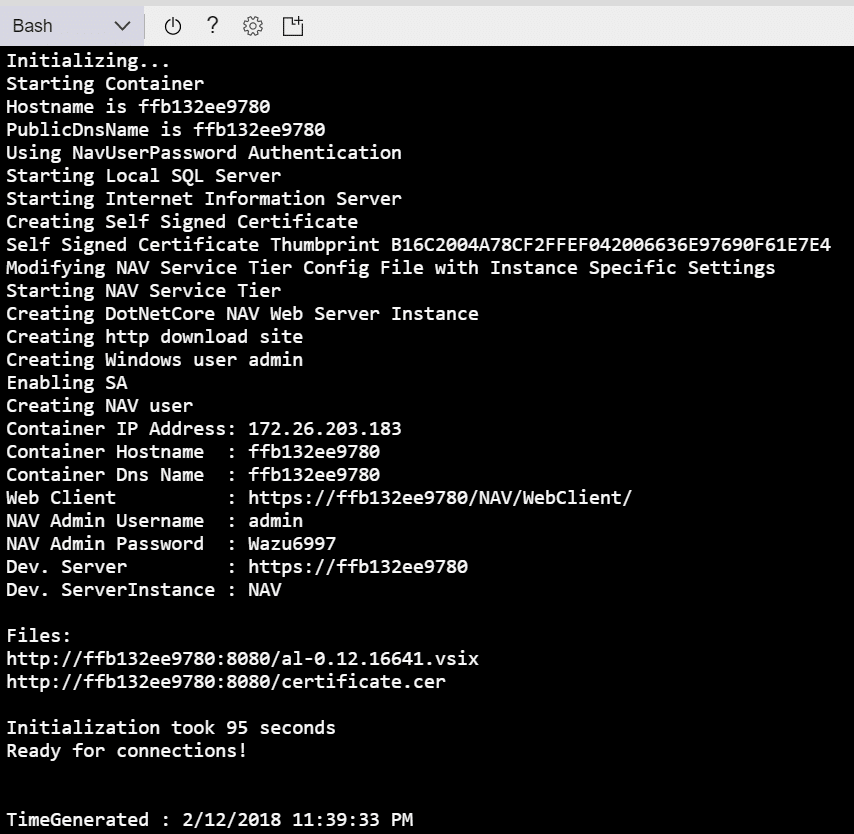
Make note of the Following:
• NAV Admin Username
• NAV Admin Password
• Container DSN Name
• Certificate.cer URL
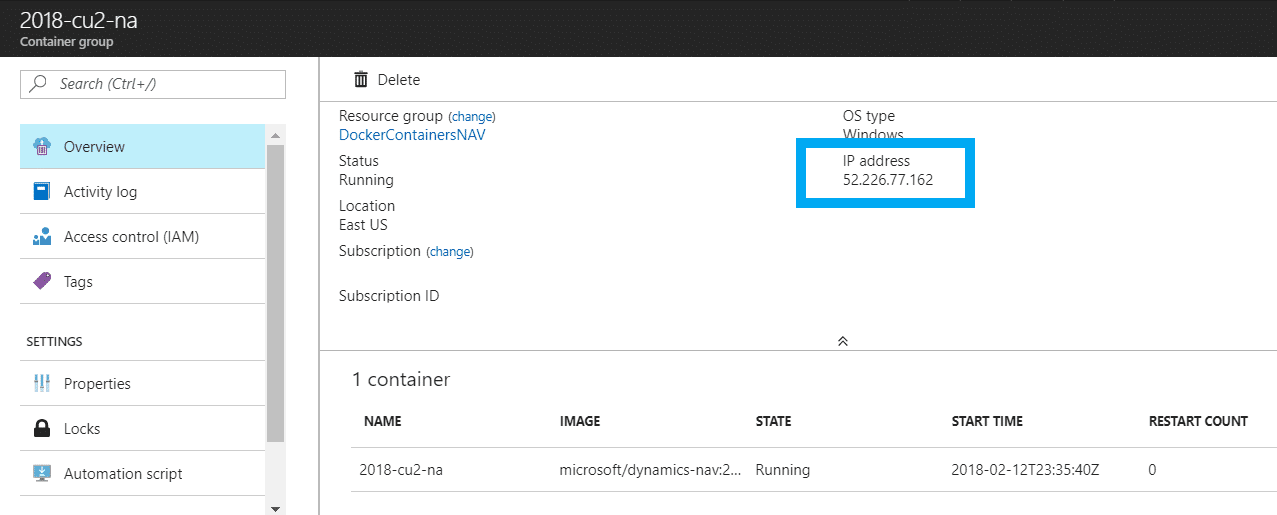
Next, you will need to find the Public IP Address by Searching for the Container Group you created with the <ReplaceWithDockerTag>
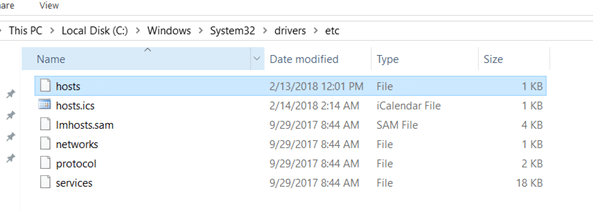
Now for the tricky part. You will need to use the Poor Man's DNS, because the DNS that the Docker Container created is just random Hex Values. To do this, navigate to the following:
C:\Windows\System32\Drivers\ETC\
You will see a file Named Host without any extension. Right Click on the file and Open with Notepad Editor
Add the Public IP Address, then a space, then the Container DSN Name.
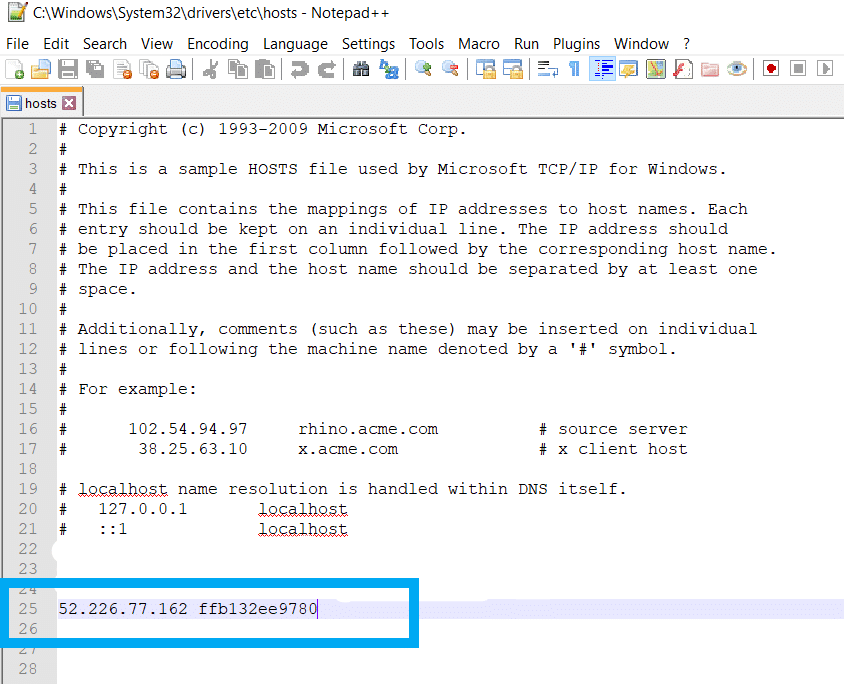
Save the file and make sure it doesn't have an extension. The file name should just be host's.
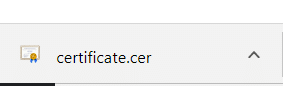
You can test your Poor Man's DNS by navigating to the Certificate.cer URL:
http://<ReplaceWithContainerDNSName>:8080/certificate.cer
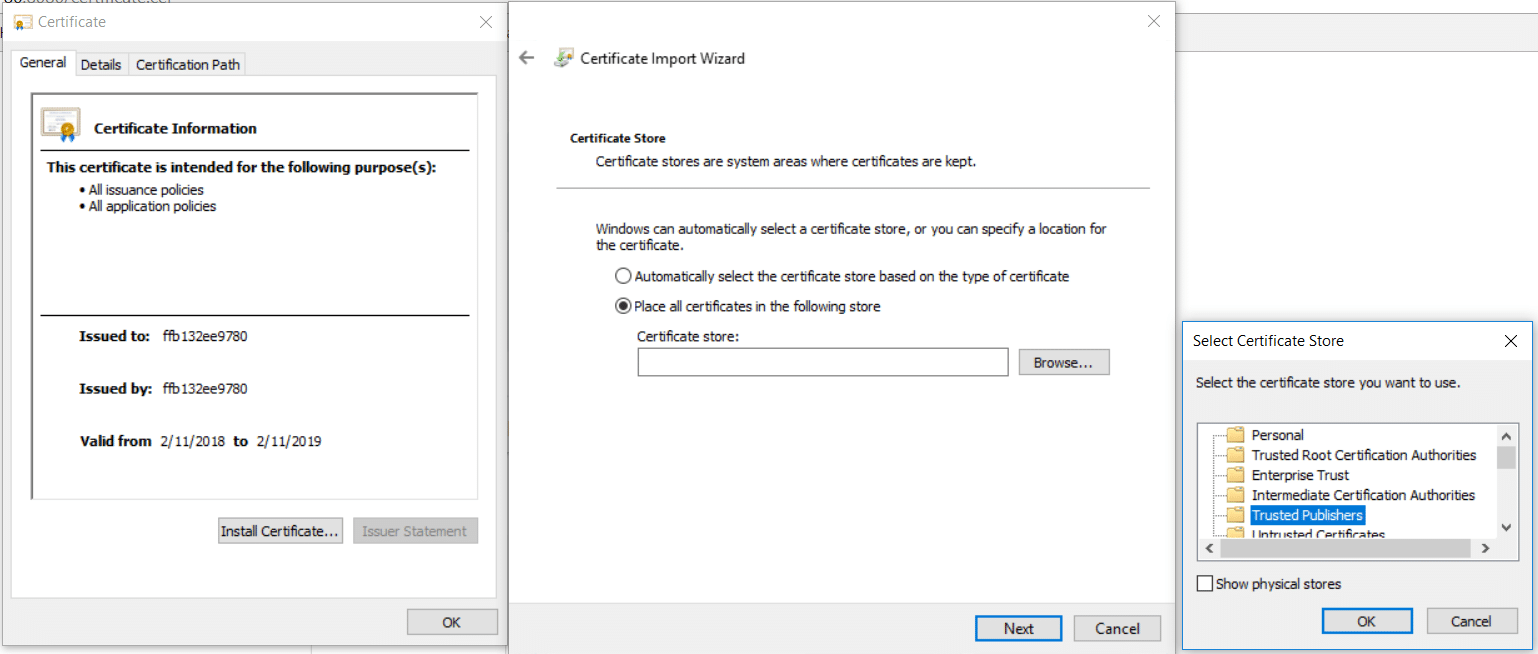
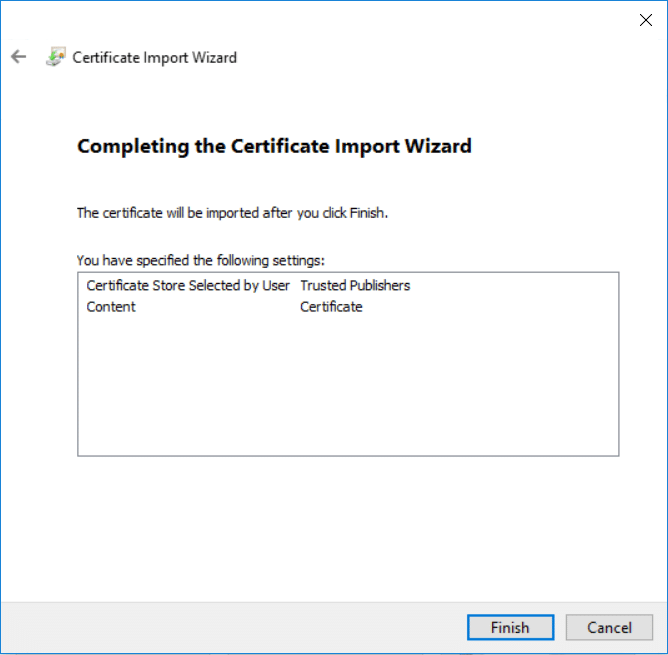
You will download the Certificate.cer and install in the Trusted Publishers Certificate Store.
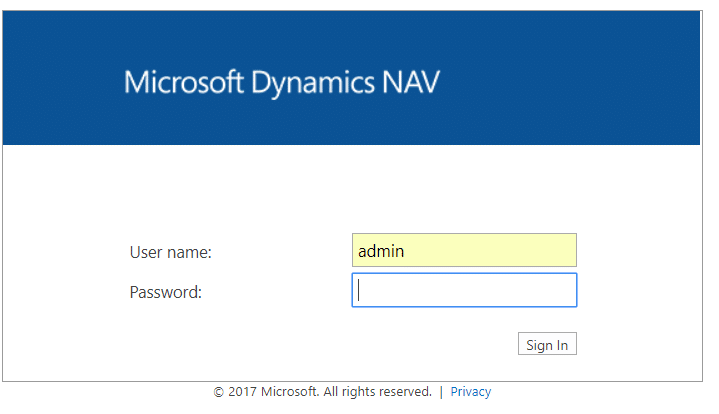
Now you are ready to Navigate to the Web Client
https://<ReplaceWithContainerDNSName>/nav
You will use the NAV Admin Username and NAV Admin Password you got with the logs command:
az container logs --resource-group DockerContainersNAV --name <ReplaceWithDockerTag>
But what about the DEV Client? You will need to add some special syntax to connect:
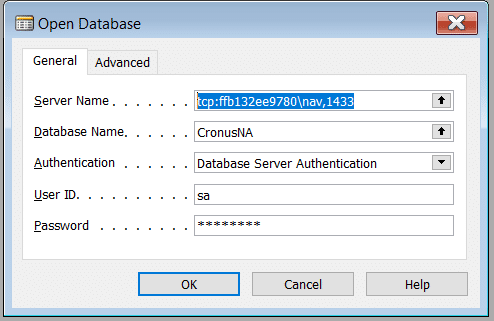
- You will need to enter tcp:<ReplaceWithContainerDNSName>\nav,1433
- Change Authentication to Database Server Authentication
- User ID will be sa - SQL Admin
- Password: will be the NAV Admin Password
- Select the Database Name CronusNA
You are ready for DEV in your new Azure Docker Container!

Under the terms of this license, you are authorized to share and redistribute the content across various mediums, subject to adherence to the specified conditions: you must provide proper attribution to Stoneridge as the original creator in a manner that does not imply their endorsement of your use, the material is to be utilized solely for non-commercial purposes, and alterations, modifications, or derivative works based on the original material are strictly prohibited.
Responsibility rests with the licensee to ensure that their use of the material does not violate any other rights.