


Installing a Microsoft Dynamics 365 X++ Application from Within Visual Studio
In this blog, I will review how to install an X++ application update from within Visual Studio on a development machine running Microsoft Dynamics 365 for Operations (or D365 for short).
Overview
The D365 X++ application update process from a high level follows the process steps below. I will be discussing steps 1-5 as depicted below.
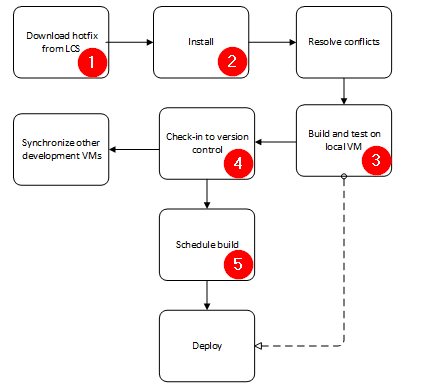
Image courtesy of - https://ax.help.dynamics.com/en/wiki/configuring-and-installing-a-metadata-hotfix-package/
X++ Application Installation Methods
There are 2 methods that you can follow to install an application hotfix on a development machine:
Method 1: Manually using the SCDPBundleInstall.exe with a bunch of command line parameters
Method 2: Within Visual Studio using the Apply Hotfix add-in.
Method 1 is well documented here - https://ax.help.dynamics.com/en/wiki/configuring-and-installing-a-metadata-hotfix-package/, so I will be focusing on Method 2.
Method 2: Applying an X++ Application Update within Visual Studio
I’ll assume that at this point you have an existing X++ application update that you wish to apply. I’ll be applying KB 3181574 to my development environment.
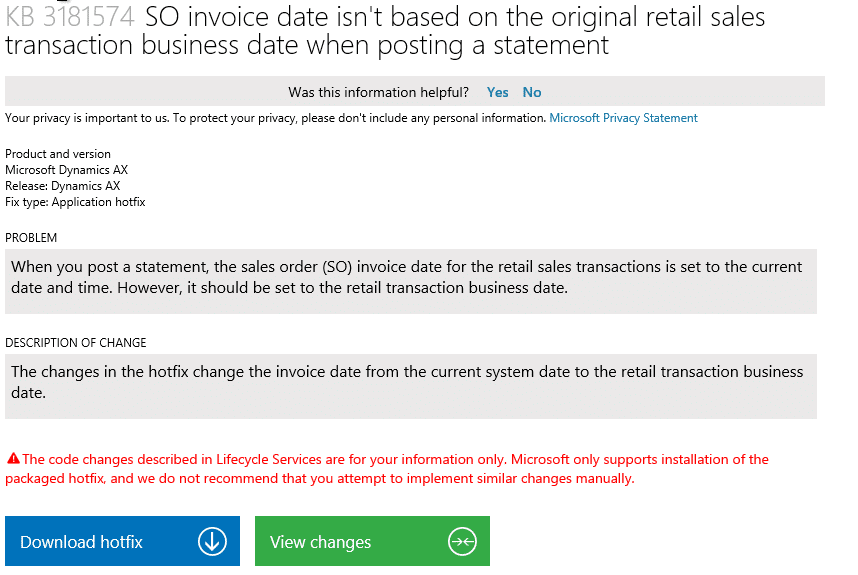
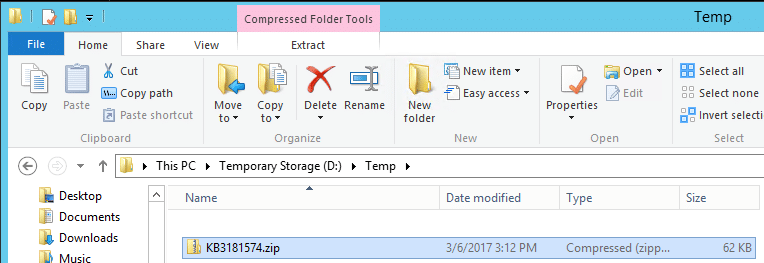
- Start by downloading the hotfix onto the Development machine and saving it to D:\Temp.
- Right-click on the zipped file, select Properties and then from the General tab click Unblock to unlock the files.
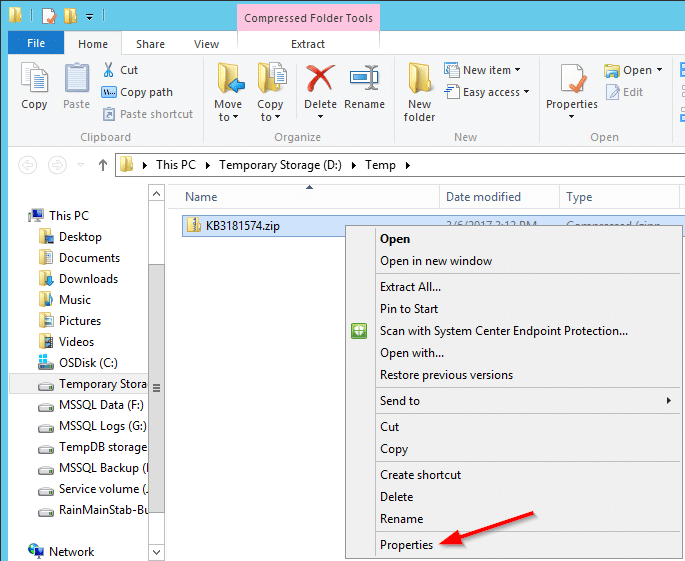
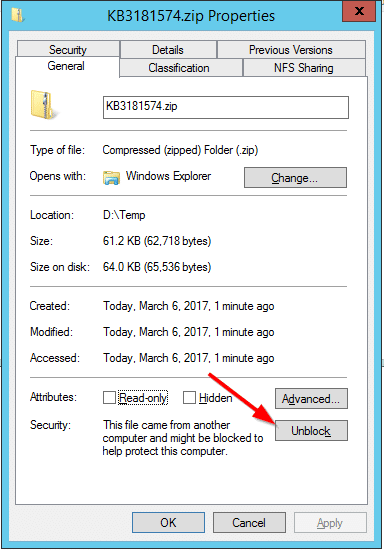
The reason you must do this is because when you download files from the internet (or LCS in our case), Internet Explorer classifies certain files as unsafe. Clicking Unblock removes this identifier information allowing .exe’s or PowerShell scripts (if any) to be able to execute. If you don’t unblock the file you can run into situations where the file will not install correctly or successfully.
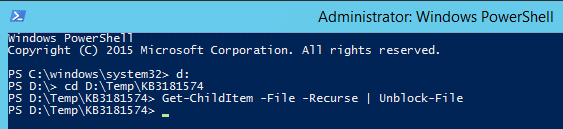
TIP: if you have already extracted the files you could delete the extracted folder, unblock the .zip file and then extract the file again. Or you could use PowerShell and unblocked the individual files by running this command from the PowerShell command prompt (as Admin):
Get-ChildItem -File -Recurse | Unblock-File
- After you have Unblocked the file, extract the file.
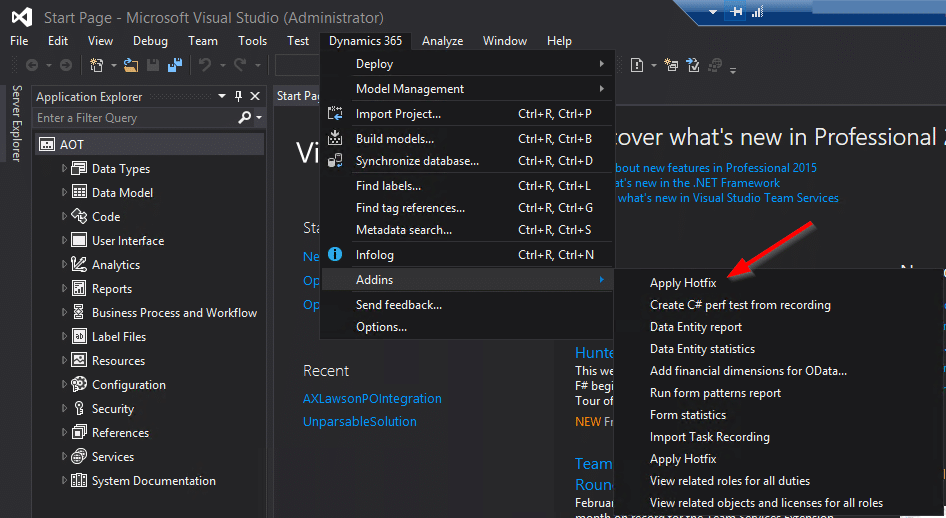
- Open Visual Studio (as administrator) and go to Dynamics 365 | Addins | Apply Hotfix
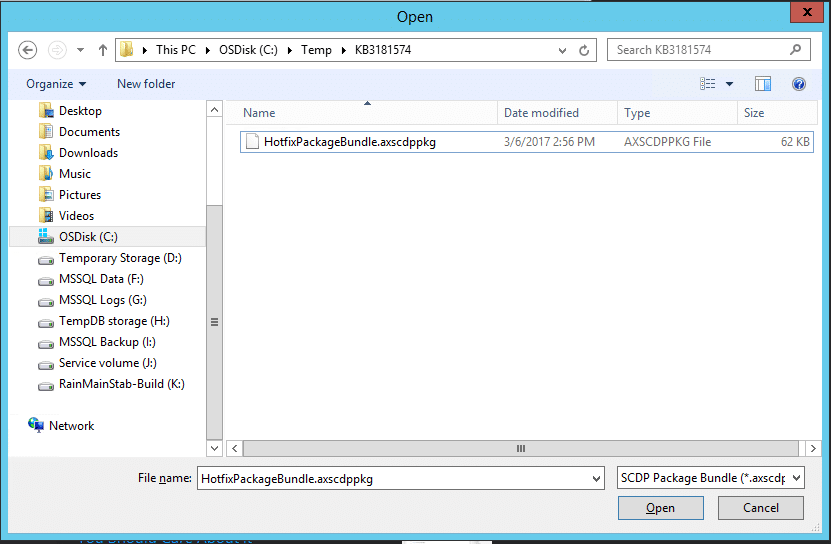
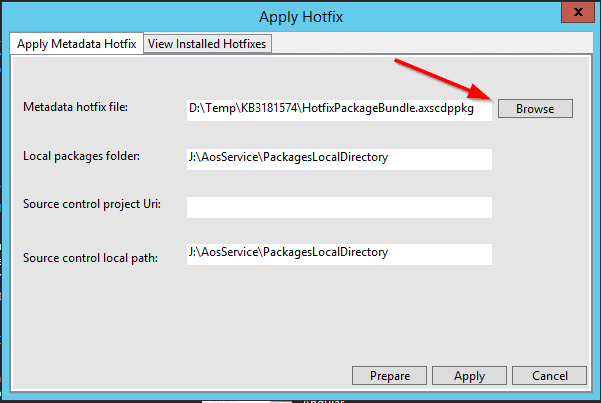
- The Apply Hotfix window will appear and it should be pre-populated with the correct information as shown below. In the screenshot the Source control project Uri has been removed for obvious reasons. If the information is not populated, then there is a TFS configuration issue you will need to address. TFS should already be configured with your TFS integration information. Click Browse and navigate to the location you extracted the files to in Step 3 above.
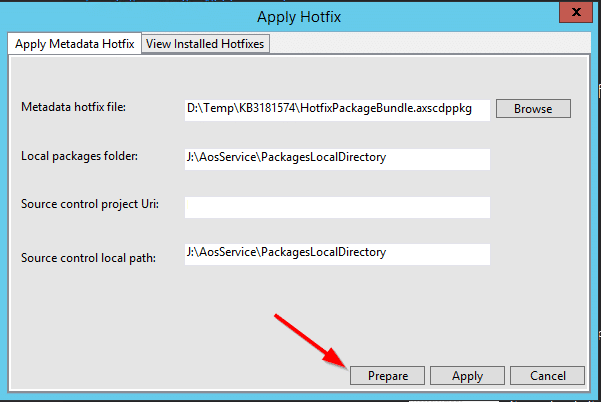
- Click Prepare. This will create a changeset of all the existing files in your environment that will be modified by the hotfix package. The prepare command does not install the hotfix(s).
You really want to do this. Should the hotfix be something you don’t want, this check-in is how you recover.
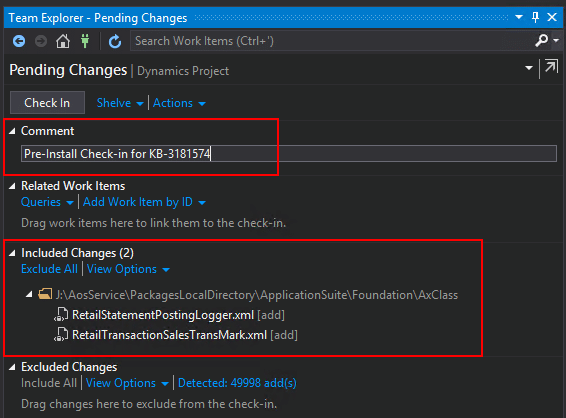
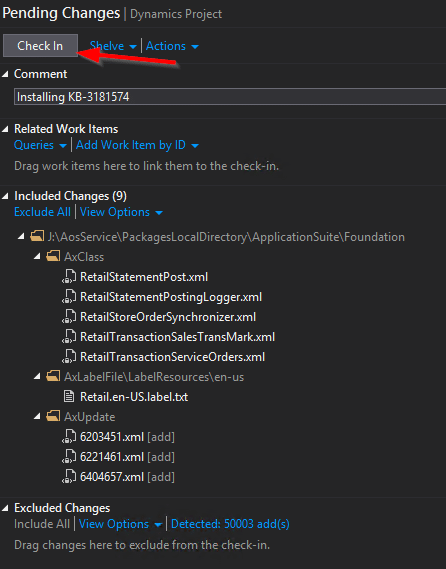
- After you click Prepare, the Apply Hotfix window will appear like it is hung or nothing is happening. It would be nice if there was an install feedback mechanism, however, you can see that progress is occurring as you’ll see files starting to list in the Team Explorer view (arrow pointing to new files being added). These are the files that will be modified, so they are added in the Prepare check-in to allow the ability to revert back to pre-modification changes.

- Once you can move the Apply Hotfix window around, (I know, this sounds hokey), this is the indication the Prepare command has finished. Check-in the pending changes to create a backup of these files in VSTS. Again, this will enable rolling back the hotfix if needed. You will need to close the Apply Hotfix window to complete this operation.
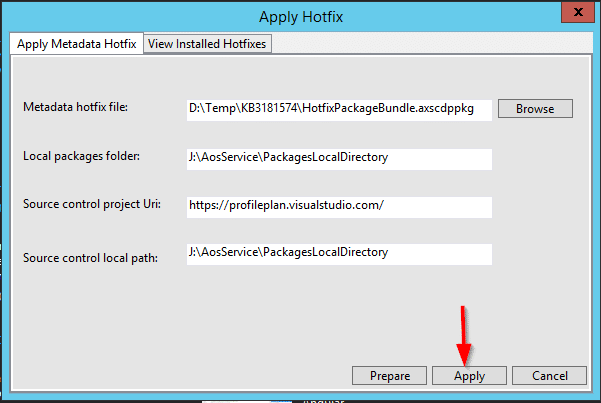
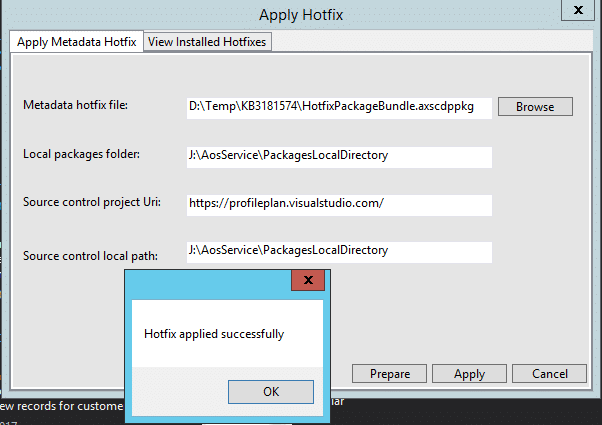
- Re-open the Apply Hotfix window and re-select the hotfix. Then click Apply.
10. Once the hotfix is successfully installed you will receive a success window.
11. At this point you will need to check if there are any conflicts (not shown) and resolve any issues by going to Dynamics AX > Addins > Create project from conflicts
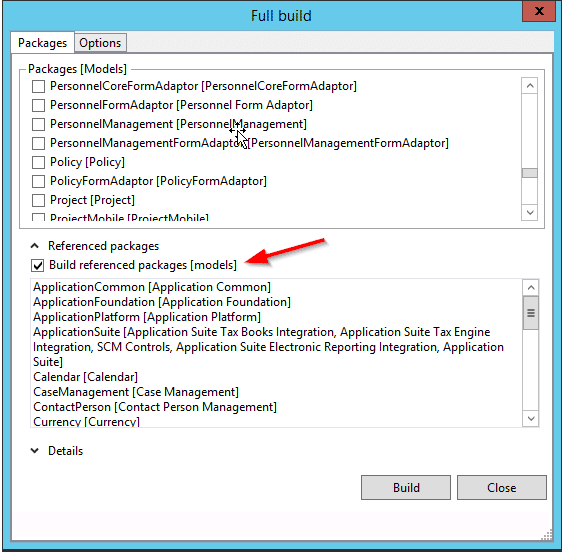
12. Now build the model(s) affected by hotfix to validate there are no errors on the Dev box. In my build, I always check the option Build Reference Packages [Models] for completeness.
13. Once the build is successful (no errors) test your changes to ensure that the fix corrected the issue.
14. After successful testing, check-in the final changes into TFS.
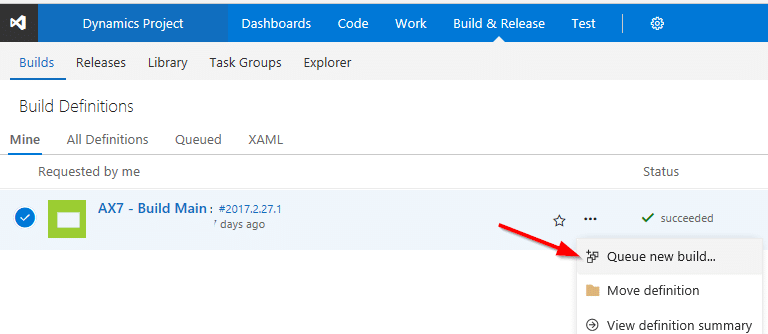
15. Kick off a build on the build server to validate there aren’t any dependencies on the Dev machine not on the Build machine. This is a great sanity check to help ensure successful builds. The build process upon completion produces a deployable package that can be moved to other environments such as UAT.
After a successful build, download the packages artifact that contains the code.


Under the terms of this license, you are authorized to share and redistribute the content across various mediums, subject to adherence to the specified conditions: you must provide proper attribution to Stoneridge as the original creator in a manner that does not imply their endorsement of your use, the material is to be utilized solely for non-commercial purposes, and alterations, modifications, or derivative works based on the original material are strictly prohibited.
Responsibility rests with the licensee to ensure that their use of the material does not violate any other rights.