


NAV / Business Central Year End Close Process
What You Need to Know
For Microsoft Dynamics NAV and Business Central, Year End Close is the accounting procedure all organizations must complete at the end of the year. It’s the process whereby the financial department:
- Closes out the business from the year,
- Carries forward any balances from the ending year, and
- Opens posting accounts for the upcoming year.
As year-end approaches, there are certain things in Microsoft Dynamics that NAV and Business Central users need to consider. Often these considerations aren’t on your radar since most tasks are only done once per year. Our Customer Care team sees an uptick in questions about year-end close steps and an influx of requests to specifically address error messages that pop up during year-end close.
Each year, you must close your books and move your Income Statement amounts to the Retained Earnings account on the Balance Sheet.
This blog post will walk you through the steps you’ll need to take to do a year-end close in NAV and Business Central. We have included answers to the most common questions about year-end error messages that might appear along the way.
Year-End Close | Preparation
Your year-end reporting includes the same reports you run at month-end. Just to mention them, for year-end, you’ll have to:
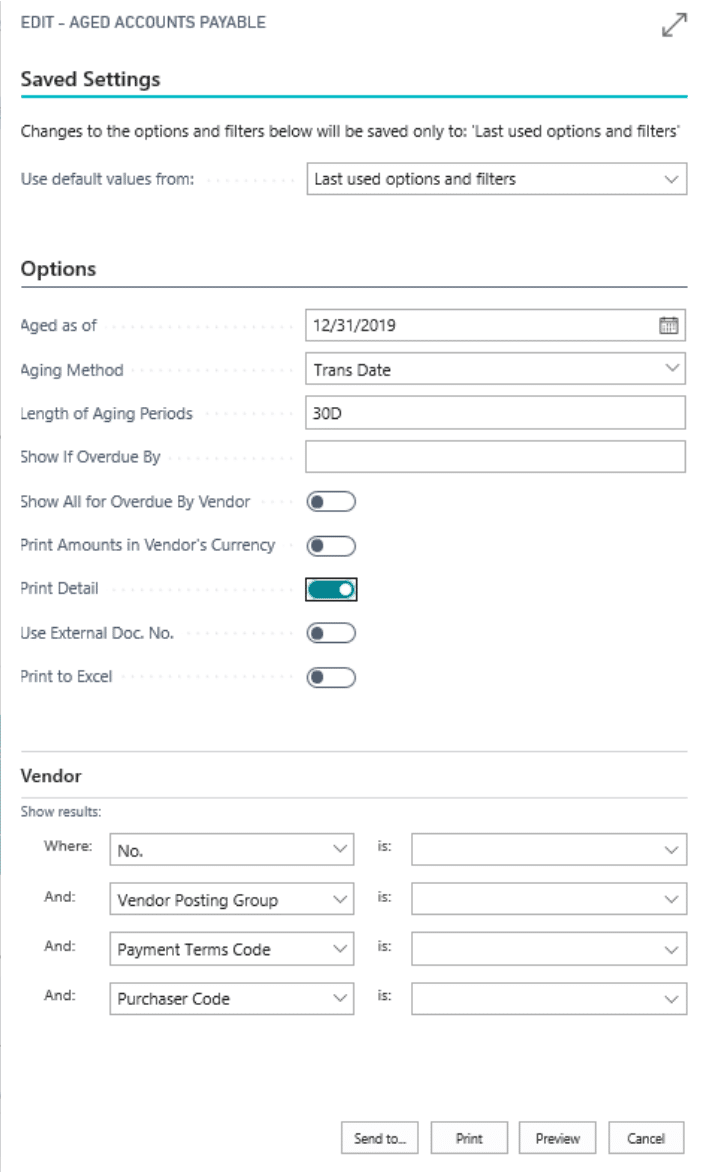
- Run your Aged Accounts Payable report to reconcile to your Accounts Payable general ledger reports:
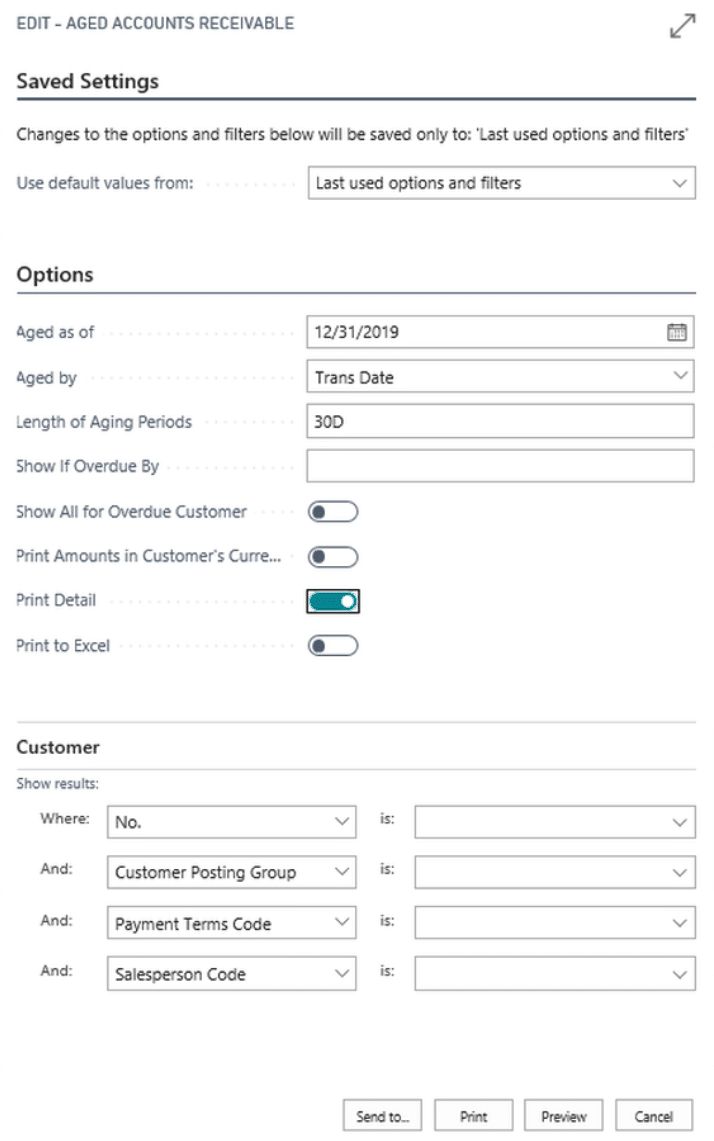
- Run your Aged Accounts Receivable report to reconcile to your Accounts Receivable general ledger reports:
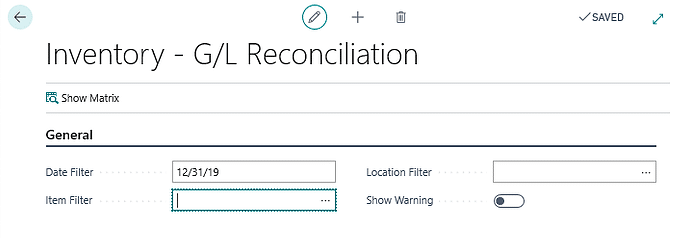
- Run your Inventory Valuation report to reconcile to your general ledger reports:
The added steps (not present in the above month-end reporting) that you’ll need to do are:
- Close your Income Statement accounts
- Check for ISV (aka apps or add-ons) updates that may have an effect on your reporting
Here are the steps in Microsoft Dynamics NAV to perform a Year-End Close:
1 - Validate the G/L Accounts
First, you’ll want to review the Chart of Accounts to validate that all accounts are set to the correct ‘Income/ Balance’ setting. NAV defaults to ‘Balance Sheet’ here, so it’s important to ensure that your accounts are indeed set properly. If an account isn’t set to the correct selection, NAV can’t run the ‘Close Income Statement’ batch job properly. Click ‘Edit List’ in the ribbon and update as needed.
2 - Close the Year
Navigate to Departments > Financial Management > Periodic Activities > Fiscal Year > Accounting Periods and select a line from this year and click ‘Close Year’ in the ribbon.
A message will pop up asking you to confirm you are closing the right year. Confirm, and now the ‘Closed’ and ‘Date Locked’ fields will be set to ‘Yes.’
3 - Create the Year
If there aren’t already records for the next fiscal year, click on ‘Create Year’ in the ribbon at the top. A box will pop up asking for the ‘Starting Date,’ ‘No. of Periods’ in the next fiscal year, and the ‘Period Length,’ (usually 1M). Click "OK."
The Accounting Periods page will update with the new accounting periods.
4 - Run the ‘Close Income Statement’ batch job and post the General Journal Entries
Start by navigating to your close income statement. This is done by following this path:
Departments > Financial Management > Periodic Activities > Fiscal Year > Close Income Statement
Your Fiscal Year Ending Date will default, but you can change this as necessary. Select the General Journal Template = GENERAL, and choose the general journal batch you wish for the closing entries to go to.
Next, you’ll enter a document number to use. Choose whatever you’d like, though we recommend a name convention of CY- at the beginning to make it easy to identify your Close Year records. We typically do something along the lines of “CY2020m.”
Go into your Retained Earnings Account from the drop-down. The Posting Description populates automatically, and you can manually override to add your own description here. If you’re using Business Unit Code, select the box to create one entry per Business Code Unit (per G/L account). If you’re using Dimensions, select the “...” and place a checkmark beside each dimension and click “OK.”
Select the Inventory Period Closed field if you’re using these periods. Once you’re done filling in the page, click “OK.” You’ll then see a progress bar and a message saying, “The journal lines have been successfully created.”
Next, you’ll want to navigate to the General Journal batch you specified. You’ll be creating one record per Business Unit and Dimension combination. Simply click “Post” and you’re done. You’ll notice that the entries show a C in front of the date. This is an indicator they are closing entries.
Common Error Messages
There are several common error messages that our clients contact us to rectify. At a high level, these include errors that a user can’t post something due to incorrect date ranges or, more troubling, that calendars don’t exist.
Those are the top help desk issues we see because people forget that there are places they need to go in order to update the necessary information.
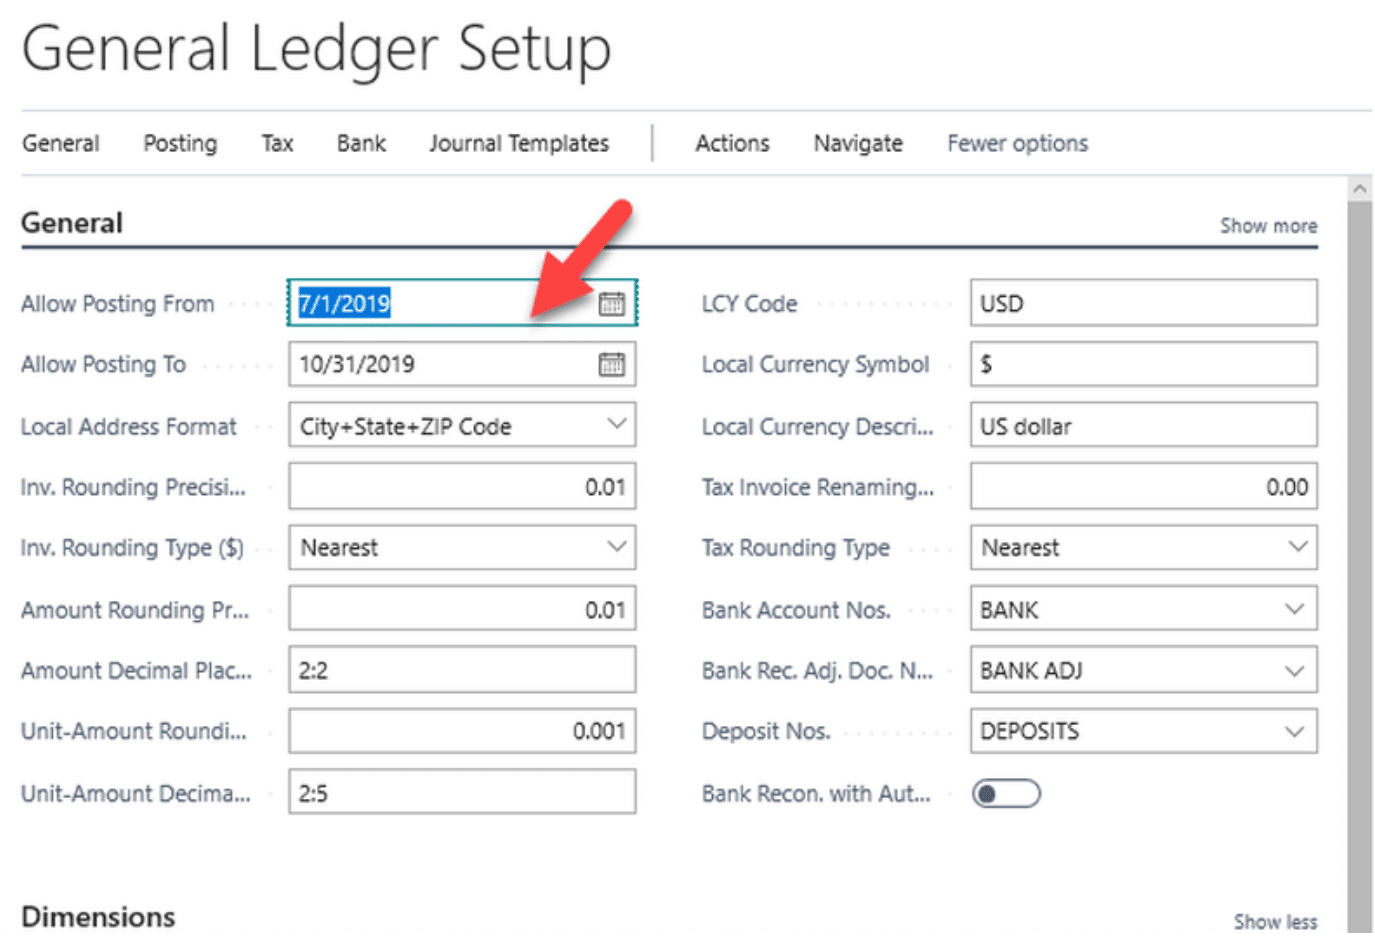
To fix this, you’ll have to update posting date ranges that are allowed. If you don't do this monthly/ongoing, you’ll need to at least do it once a year or you’ll eventually receive this error message yourself.
Another very common error that NAV/Business Central users might come across:
"The Accounting Period does not exist..."
Accounting periods must be created for every fiscal year — for any transaction, posting, or database. A common practice is to go through and create in bulk (say, for the next five years, all at once) and after years of not having to think about it, a user gets to a year that hasn’t been created.
This is an easy fix, but it may be confusing to run into this problem after years and years of smooth sailing.
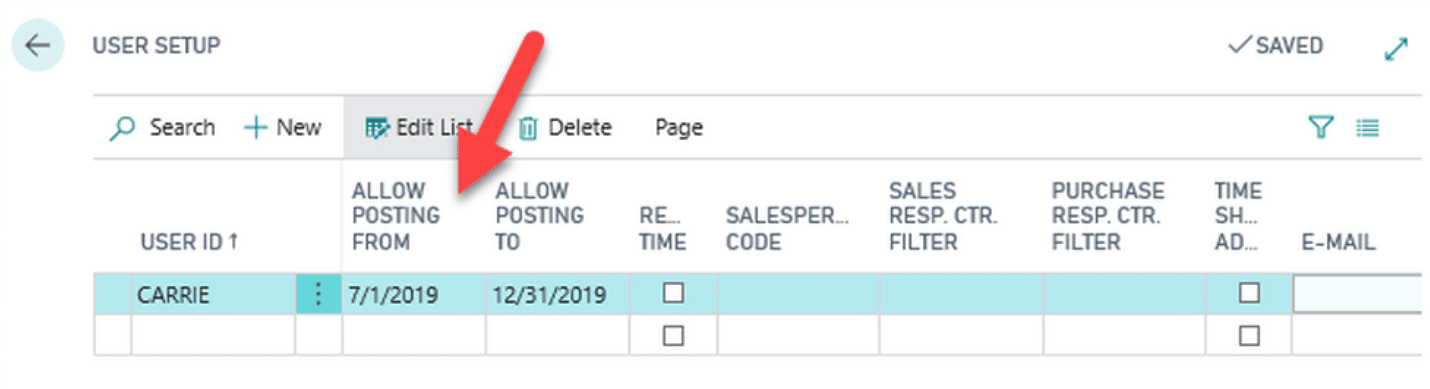
How to update your posting date ranges
Here’s what a posting date error looks like in NAV:
"Posting Date is not within your range..."
The date range updates, in a perfect world, should be maintained on a daily/weekly/monthly basis, but a lot of NAV/Business Central users leave this wide open for the year. It’s a five-minute process, so your organization would benefit from setting up a schedule to keep from getting an error message.
Similarly, it only takes about five minutes to create new accounting periods and closing your year. Coordinate this with your financial department to avoid “locking down” posting dates and blocking your users from posting entries at the end of the year.

Under the terms of this license, you are authorized to share and redistribute the content across various mediums, subject to adherence to the specified conditions: you must provide proper attribution to Stoneridge as the original creator in a manner that does not imply their endorsement of your use, the material is to be utilized solely for non-commercial purposes, and alterations, modifications, or derivative works based on the original material are strictly prohibited.
Responsibility rests with the licensee to ensure that their use of the material does not violate any other rights.