


How to Integrate Power BI with Dynamics 365 Business Central
In this post, we'll cover how to integrate your Dynamics 365 Business Central instance directly with Power BI (free version).

Prerequisites
Office 365 account with Dynamics 365 Business Central and Power BI (free) accessible. This is not normally an issue unless you are in an Office 365 demo/tenant environment with limited apps.
Contents
- Verify User Account and Web Service Authentication Key
- Verify OData URL to Connect to Power BI
- Power BI Get Data - Connect to Dynamics 365 Business Central
- Add Power BI to Dynamics 365 Business Central Role Center
1. Verify User Account and Web Service Authentication Key
- In Dynamics 365 Business Central, navigate to the Users page. (Either use the search for Users or navigate to Company Settings > Users.)
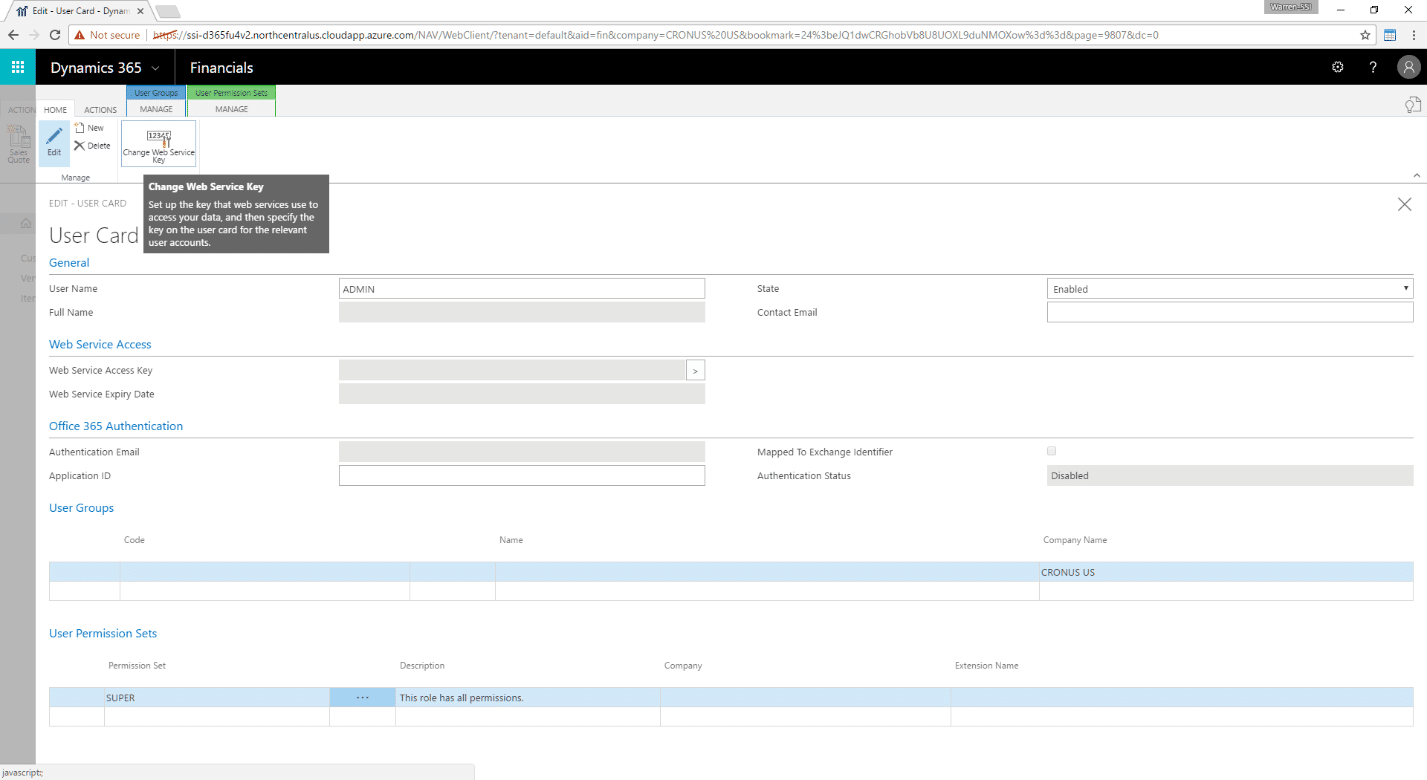
- Select your User Account and click Edit
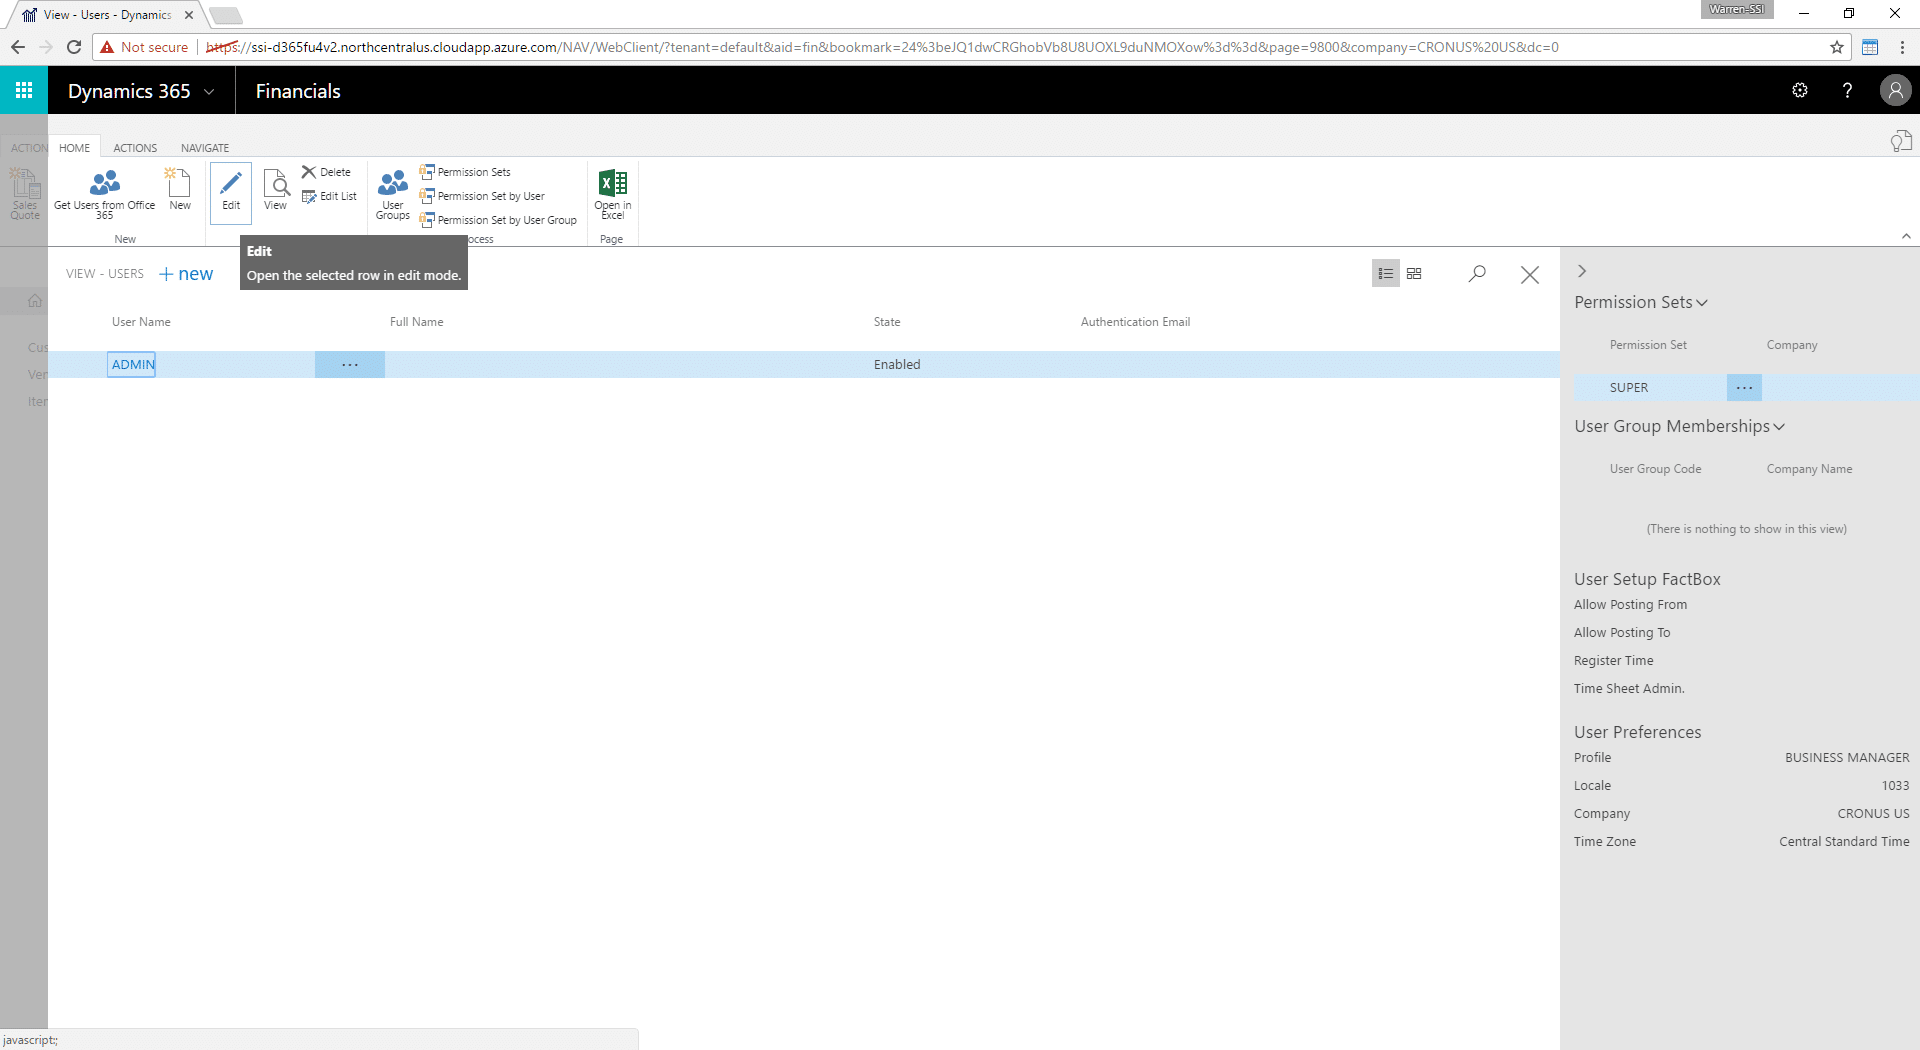
- Verify your User Name (which may be different from your Office 365 account)
- Verify your "Web Service Access Key" if the field is blank or you'd like to generate a new one, click "Change Web Service Access Key" in the ribbon
We'll be using the User Name and Web Service Access Key in upcoming steps.
2. Verity OData URL to Connect to Power BI
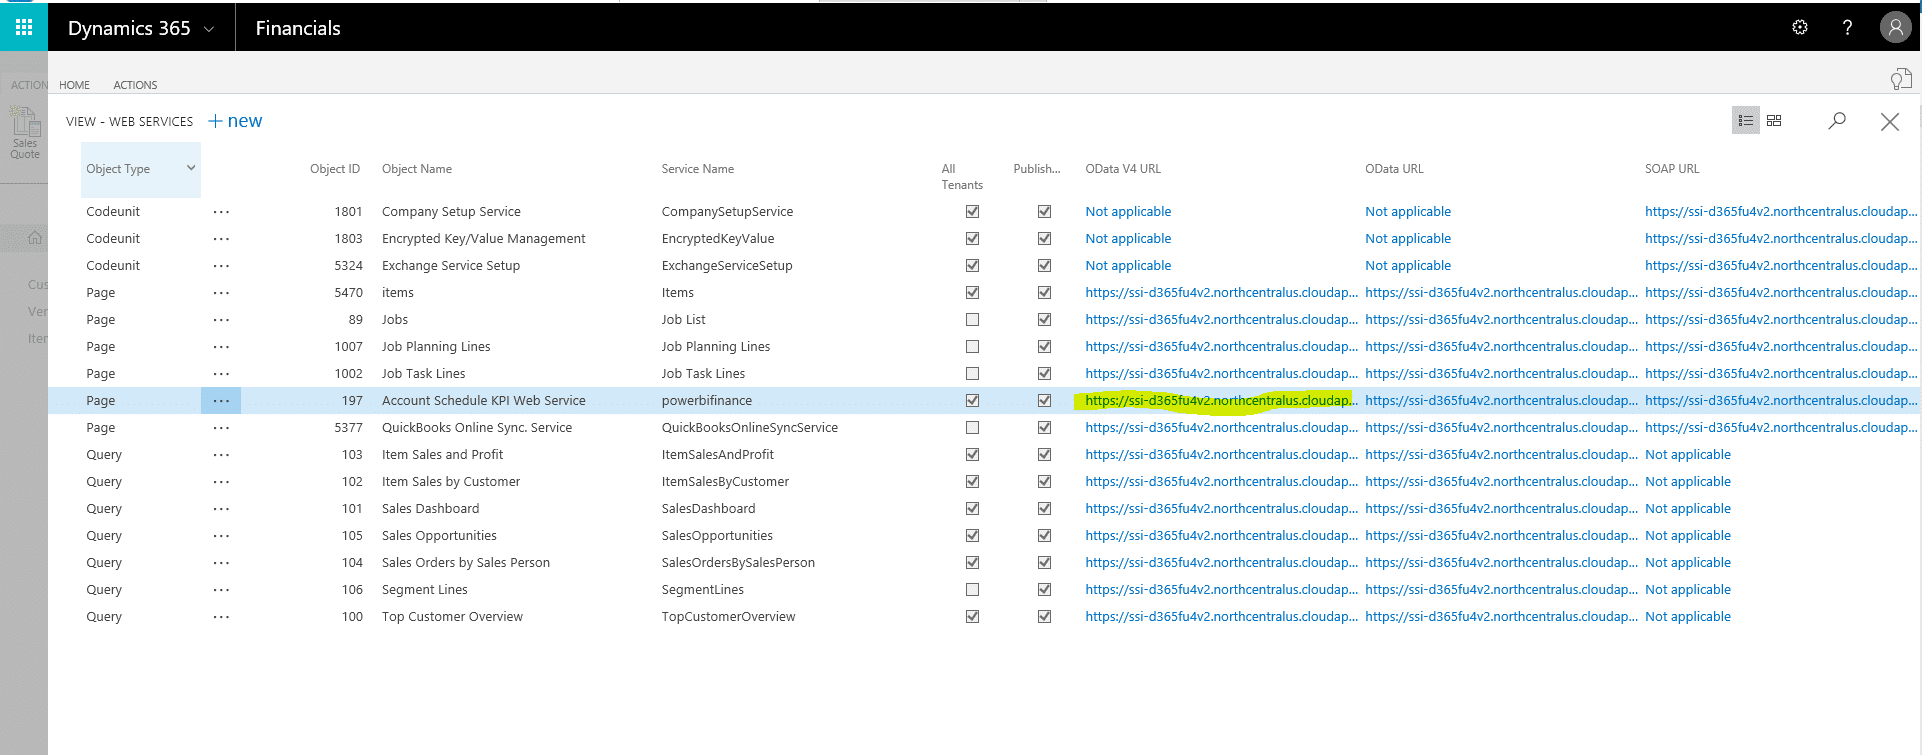
- To find the OData URL in Dynamics 365 Business Central:
- Use the search to find Web Services
- Copy the OData V4 URL from one of the services and strip off the end
In the current integration, we need to modify this URL to use with Power BI.
- Copy the URL to Notepad or a similar text editor. It should look something like the following:
- BEFORE: https://myinstance.financials.dynamics.com:7048/MS/ODataV4/Company('My%20Company')/powerbifinance?tenant=mod408643.financials.dynamics.com
- Remove any content between "Company('My Company')/" and "?tenant="
- AFTER: https://myinstance.financials.dynamics.com:7048/MS/ODataV4/Company('My%20Company')/?tenant=mod408643.financials.dynamics.com
- BEFORE: https://myinstance.financials.dynamics.com:7048/MS/ODataV4/Company('My%20Company')/powerbifinance?tenant=mod408643.financials.dynamics.com
We'll use this modified URL in the next step.
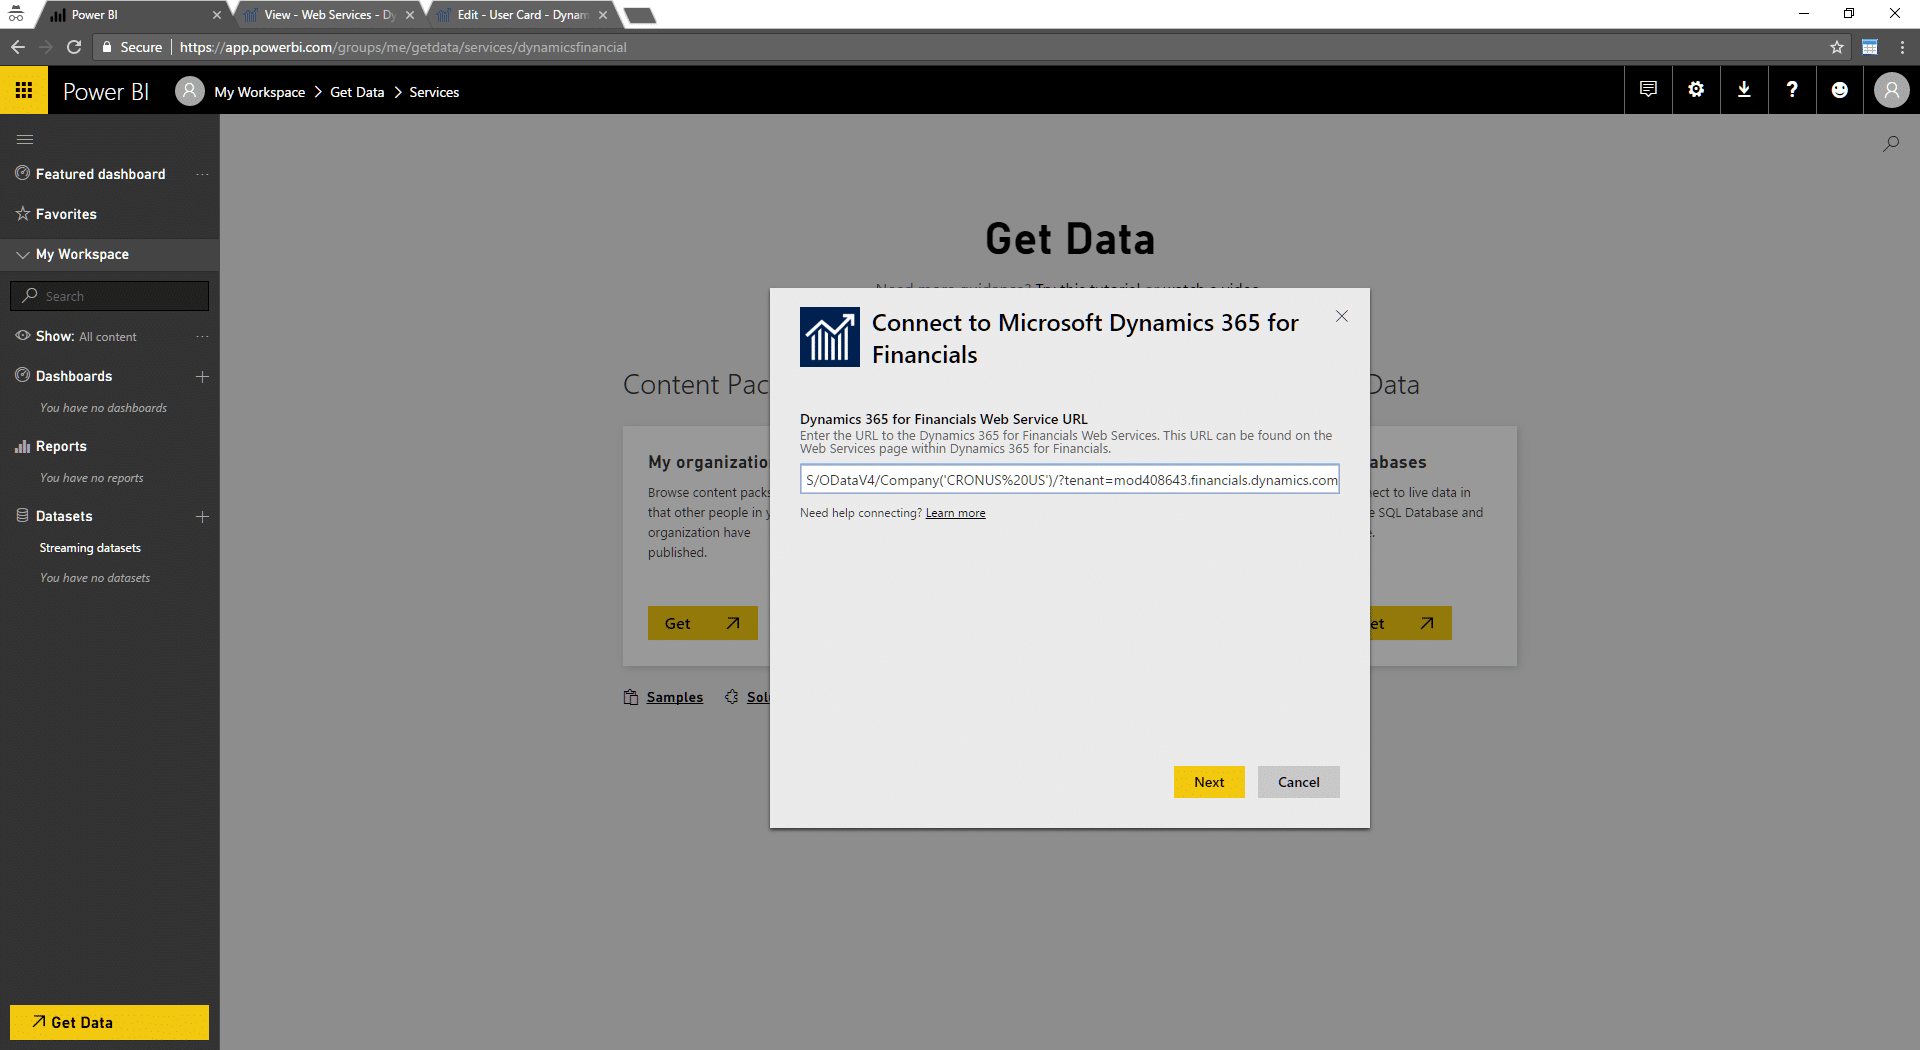
3. Power BI Get Data - Connect to Dynamics 365 Business Central
With your Dynamics 365 Business Central OData service and authentication verified, you are ready to connect Power BI to Dynamics 365 Business Central.
- Go to www.powerbi.com (sign-in with Office 365 credentials)
- Get Data > Services

- Search for Dynamics 365 Business Central. You'll notice three out-of-the-box dashboards. We'll use the standard dashboard for the remained of this walk-through, but the steps can be repeated to pull in all three. Select Dynamics 365 Business Central and click Get it Now.

- In the OData Feed URL, enter the URL you modified in the Verify OData URL to Connect to Power BI step.
- After clicking next, this will ask for an Authentication Method. Choose Basic, fill in the user name and password and click sign in.
- Username = Your username from Dynamics 365 Business Central, which may be different than your Office 365 account
- Password = Your Web Service Access Key
- NOTE: Be careful of spaces at the beginning or end of your key. You can paste the key to Notepad to verify.


Once imported, your Dynamics 365 Business Central dashboard will be accessible on Power BI.
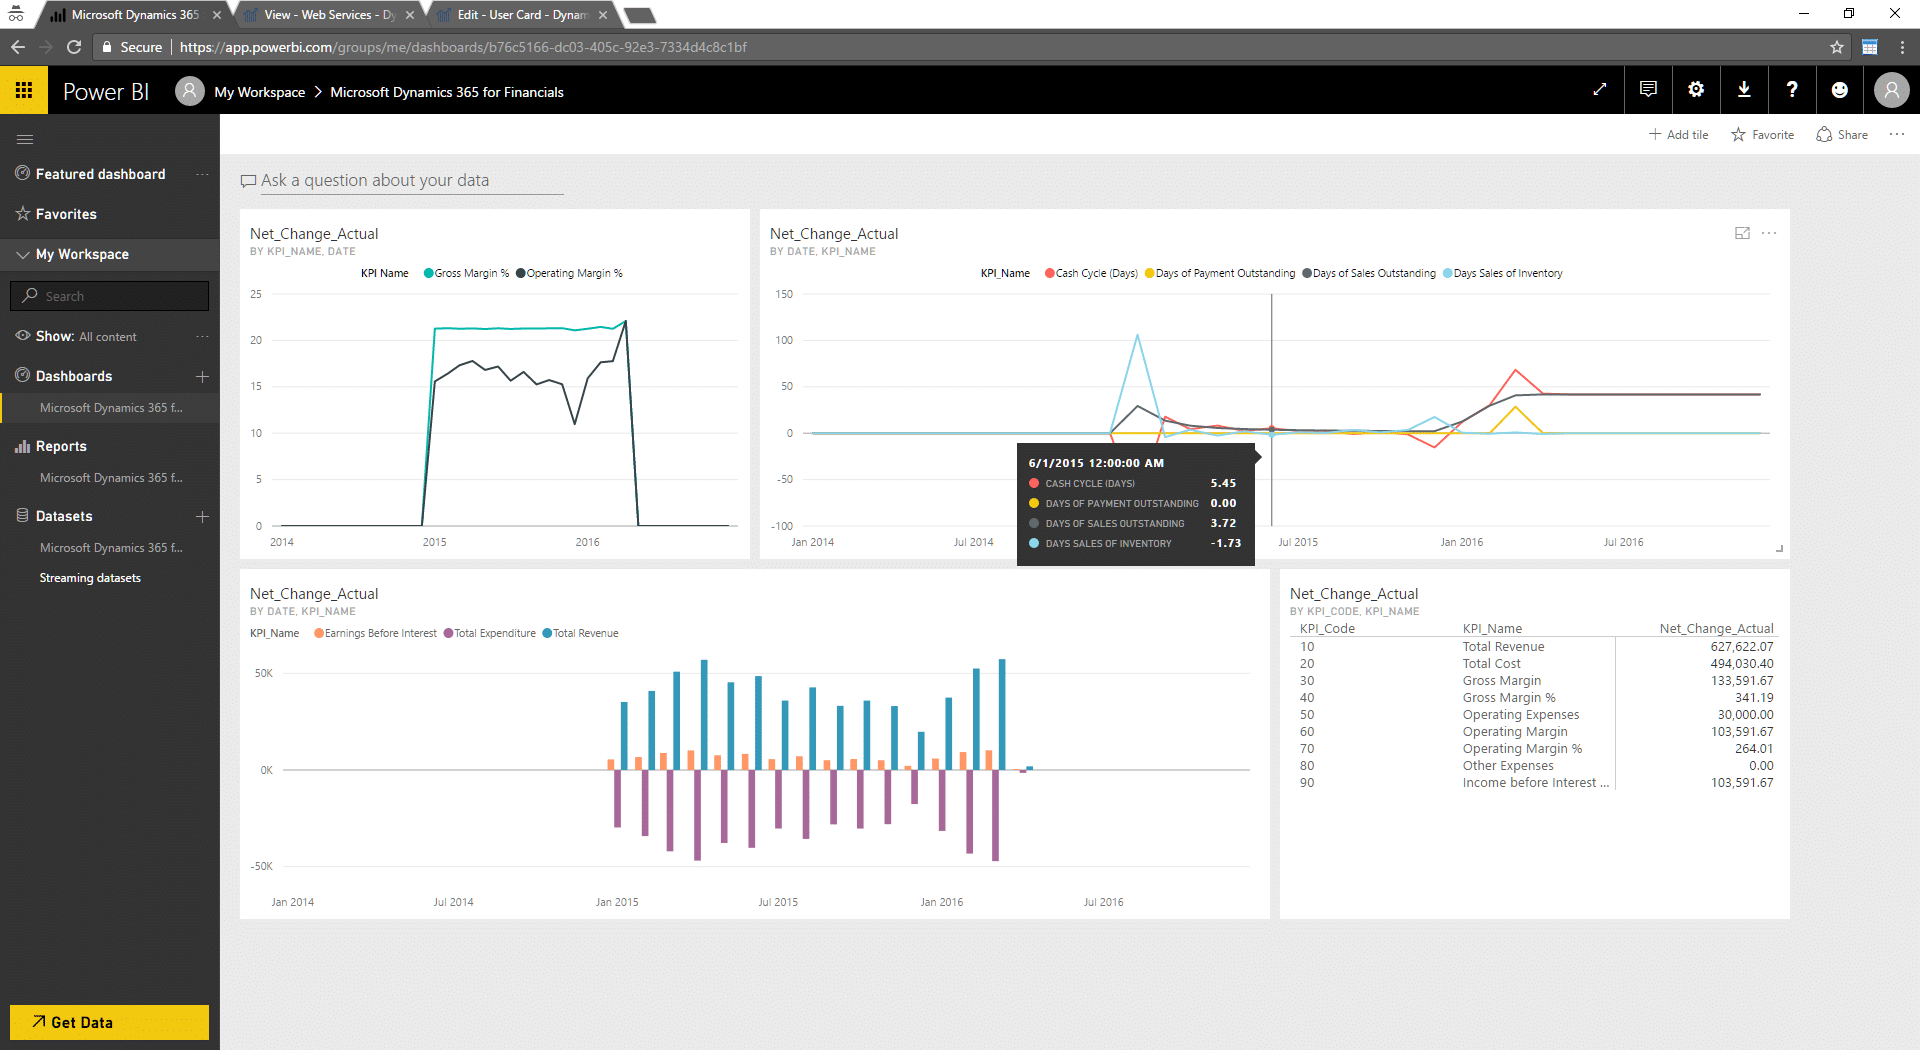
Dynamics 365 Business Central Dashboard
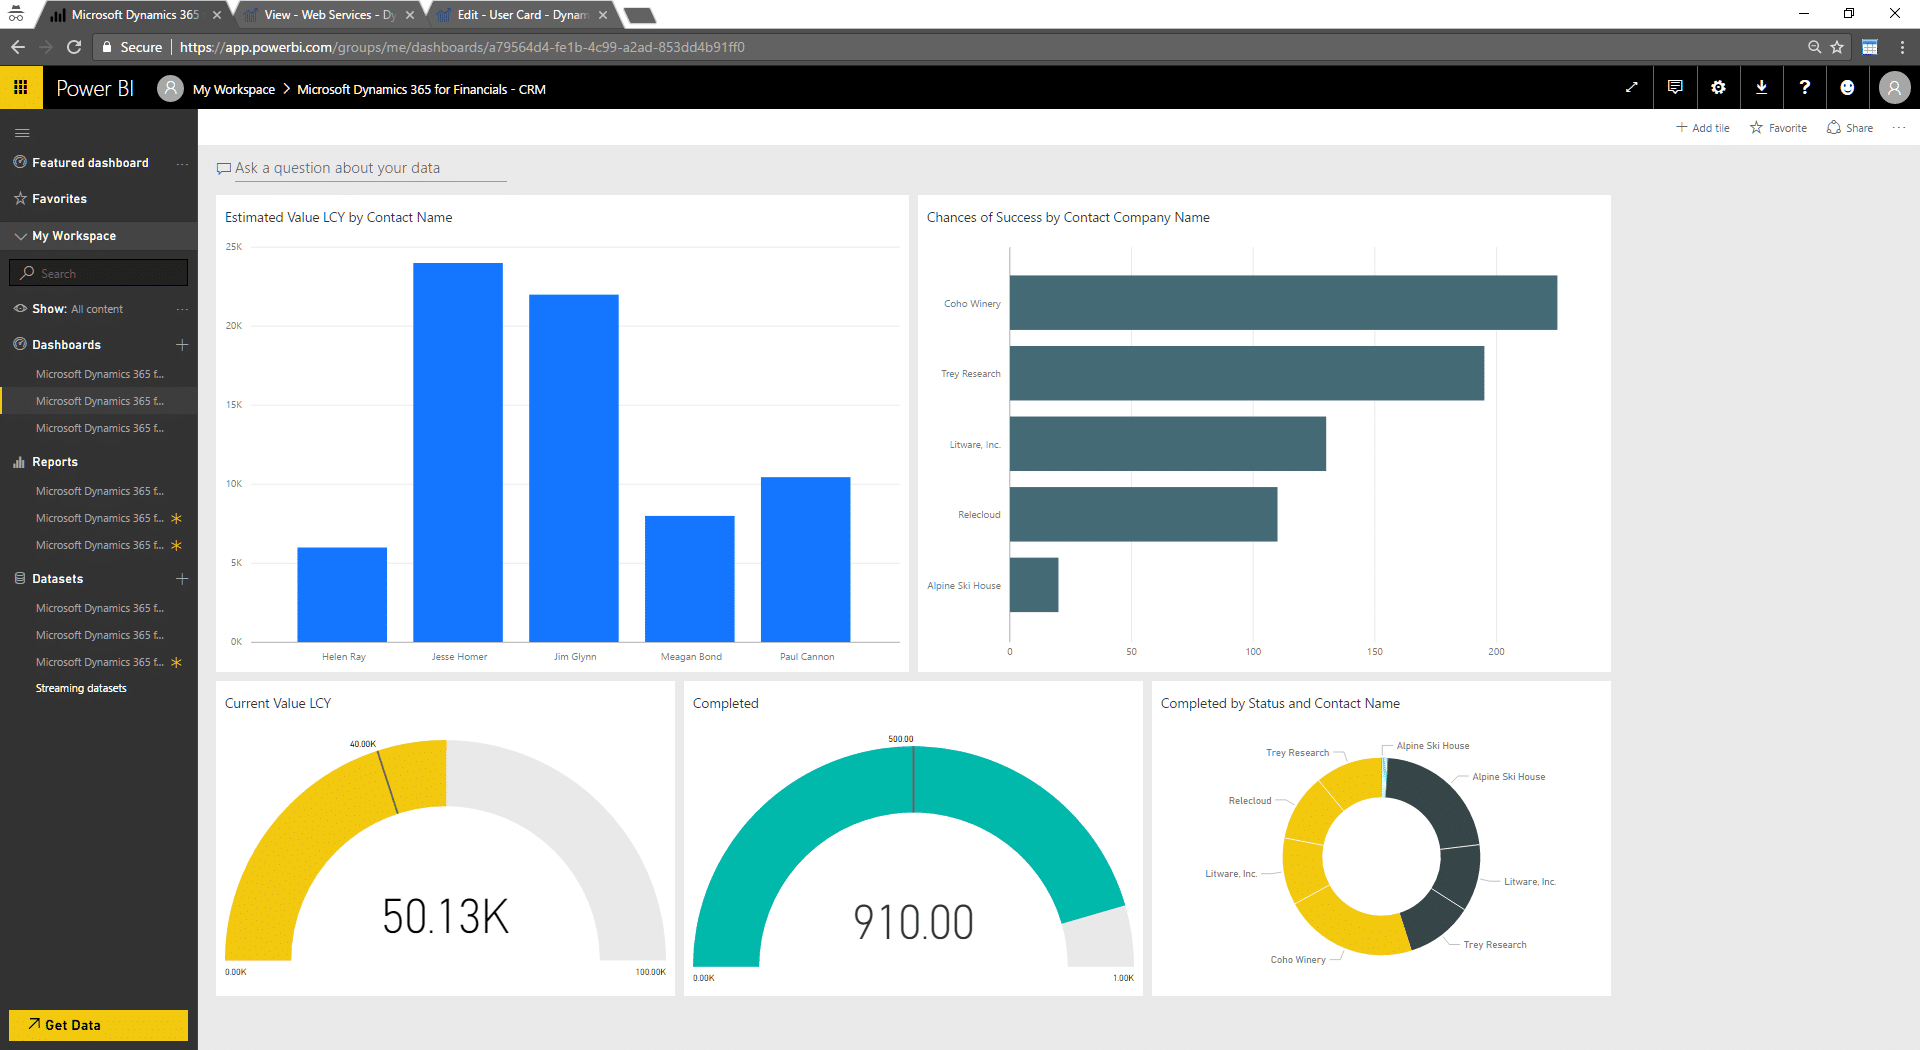
Dynamics 365 Business Central - CRM Dashboard
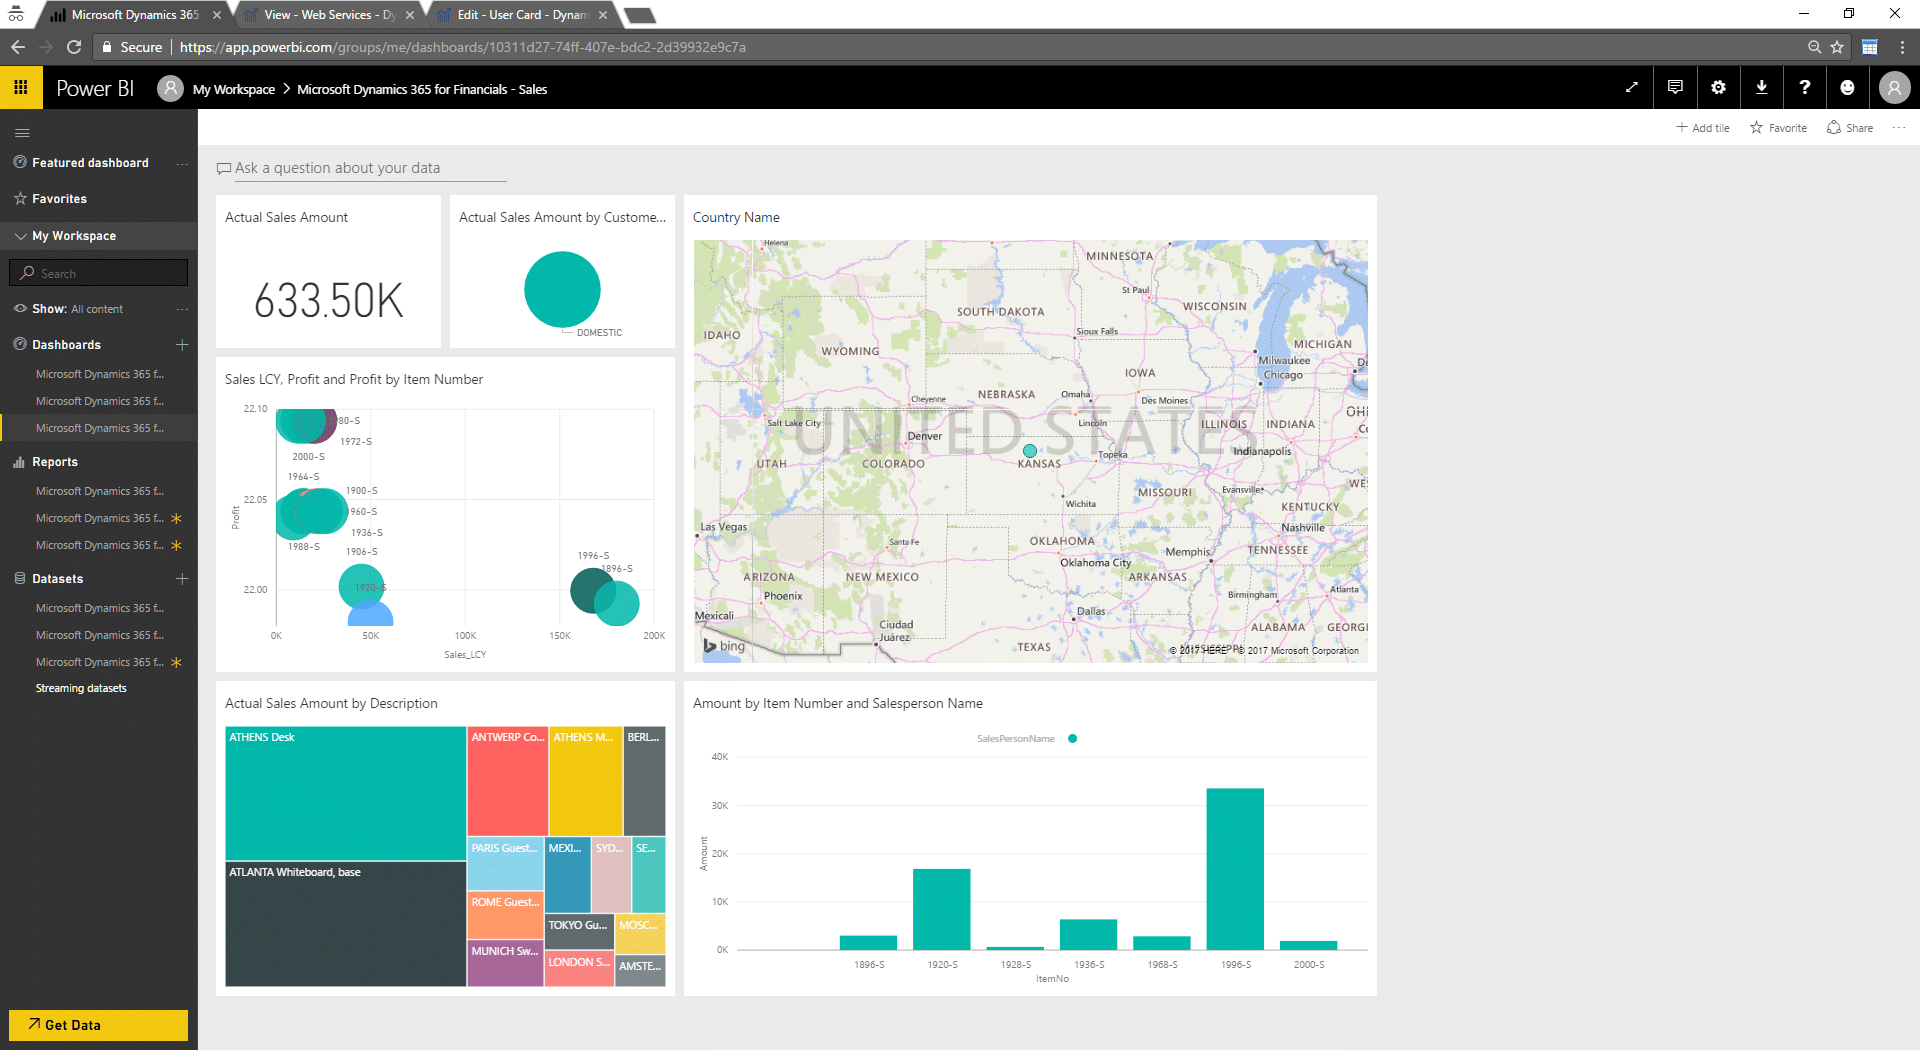
Dynamics 365 Business Central - Sales Dashboard
4. Add Power BI to Dynamics 365 Business Central Role Center
After you have connected Power BI to Dynamics 365 Business Central, you can also pull the stock (or your modified) Power BI reports onto your Role Center(s). Here's how to do that:
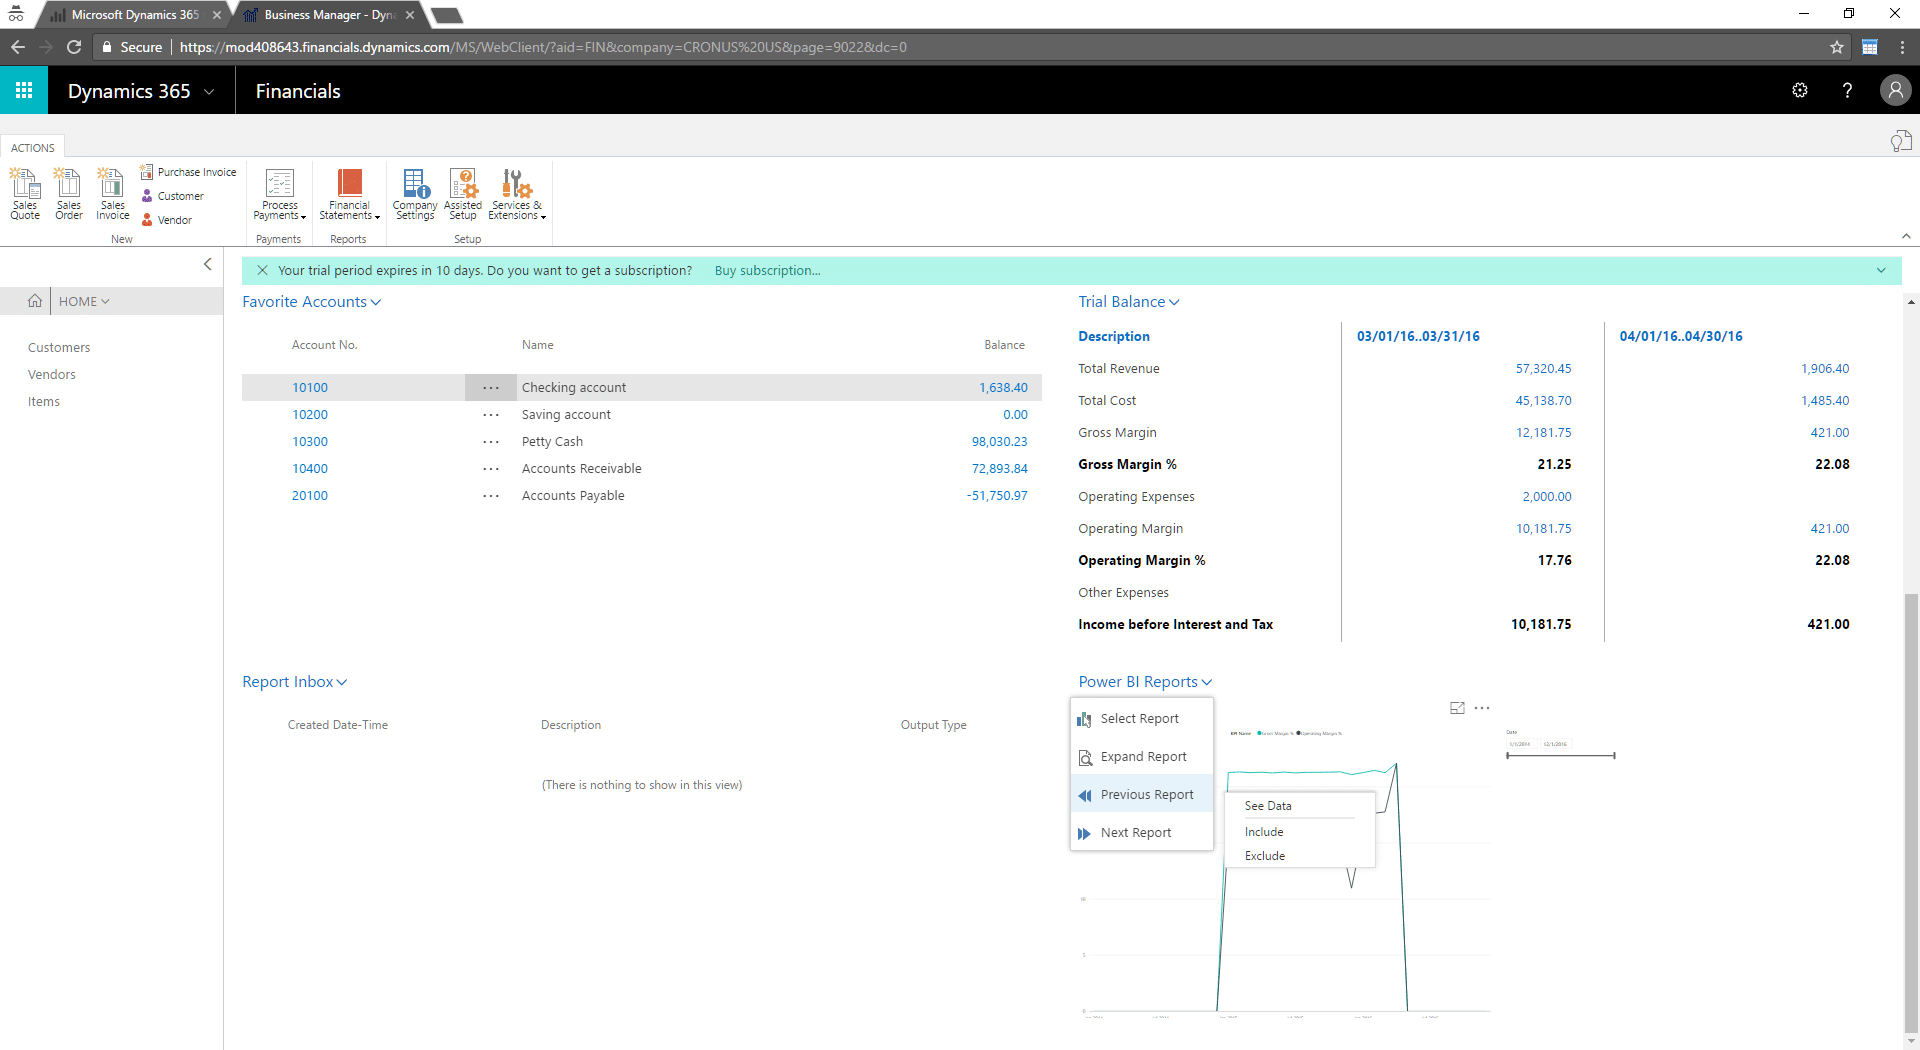
- Open a Role Center in Dynamics 365 Business Central and scroll down to the Power BI Reports section.
- Click Power BI Reports and select Reports.
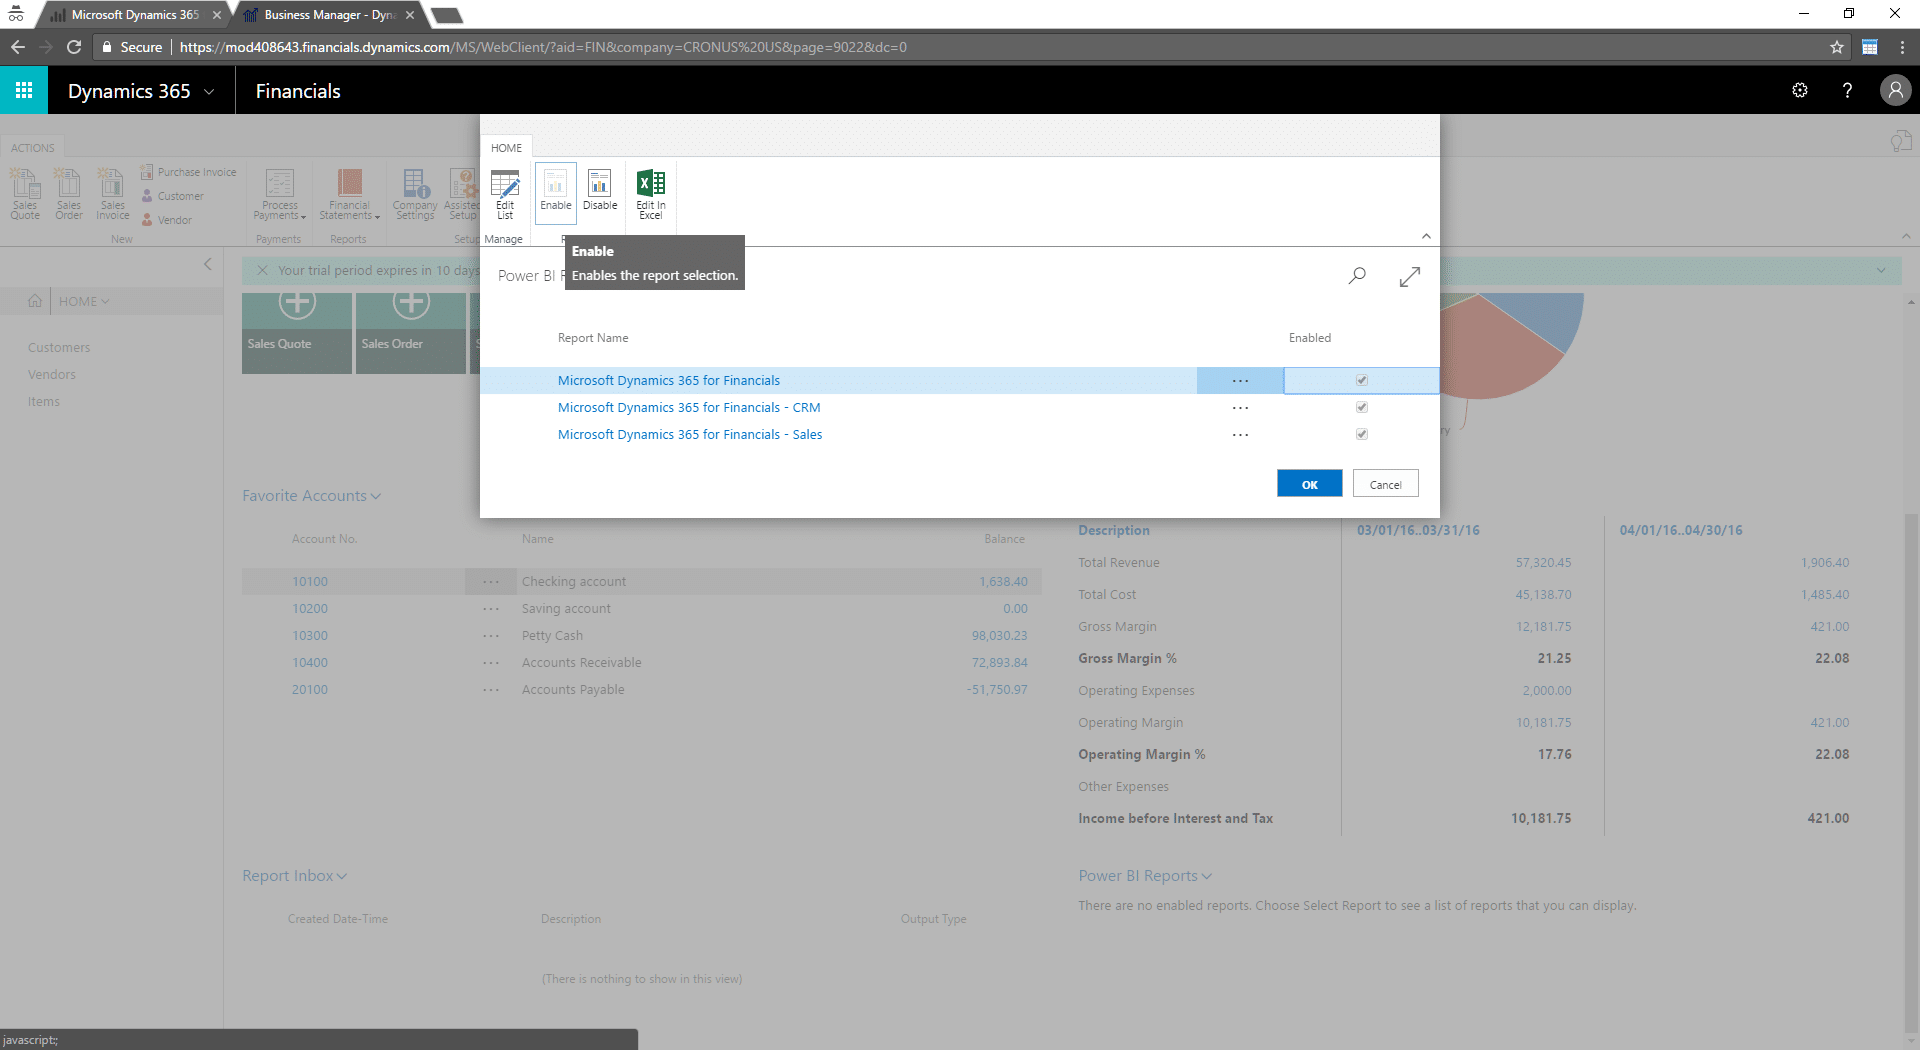
- Select the Report(s) you want to see and click Enable and then OK.
You'll now see the initial report visualization added to your Role Center. You can click and focus on different sections or click the Power BI Reports drop down, which will have additional features to expand, show previous or next report in the series.
Expand:
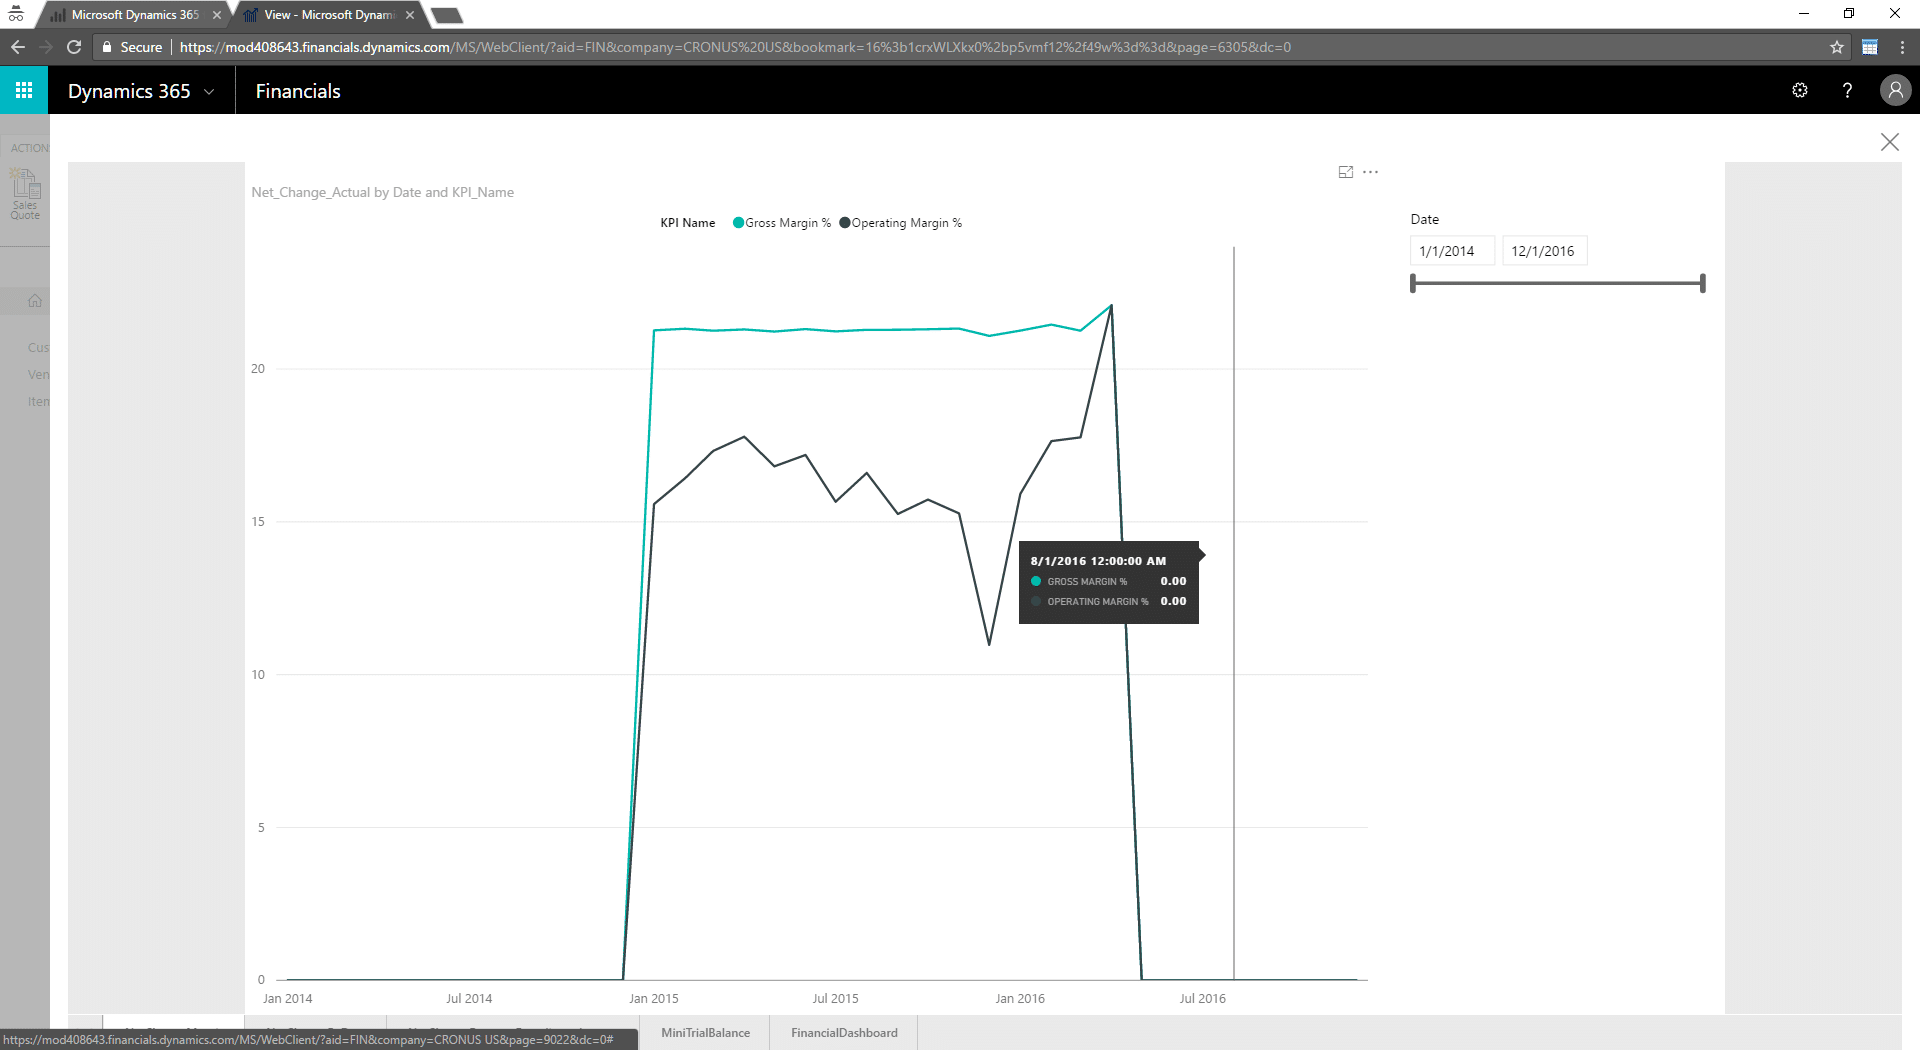
You may find that there is a particular visual you'd like to emphasize on your Role Center. You can always modify a report in Power BI and pull that into Dynamics 365 Business Central. For more information on modifying Power BI reports, check out this link.
Troubleshooting
Verify the OData URL is Accessible
If you are unsure of access to your OData URL, you can walk through the following steps outside of Power BI to troubleshoot. The steps are initially the same as Verify OData URL to Connect to Power BI.
- To find the OData URL in Dynamics 365 Business Central:
- Use the search to find Web Services
- Copy the OData V4 URL from one of the services and strip off the end.

In the current integration, we need to modify this URL to use with Power BI.
- Copy the URL to Notepad or a similar text editor. It should look something like the following:
- BEFORE: https://myinstance.financials.dynamics.com:7048/MS/ODataV4/Company('My%20Company')/powerbifinance?tenant=mod408643.financials.dynamics.com
- Remove any content between "Company('My Company')/" and "?tenant="
- AFTER: https://myinstance.financials.dynamics.com:7048/MS/ODataV4/Company('My%20Company')/?tenant=mod408643.financials.dynamics.com
- BEFORE: https://myinstance.financials.dynamics.com:7048/MS/ODataV4/Company('My%20Company')/powerbifinance?tenant=mod408643.financials.dynamics.com
Using the modified URL:
- Open a new tab and open the modified URL
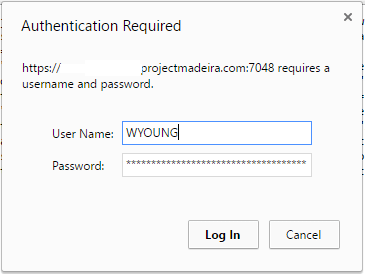
- When you enter your URL, you will be prompted with a login.
- Username: Your username from Dynamics 365 Business Central, which may be different than your Office 365 account
- Password: Your Web Service Access Key
NOTE: Most versions of Internet Explorer will give a message "Cannot display this feed."
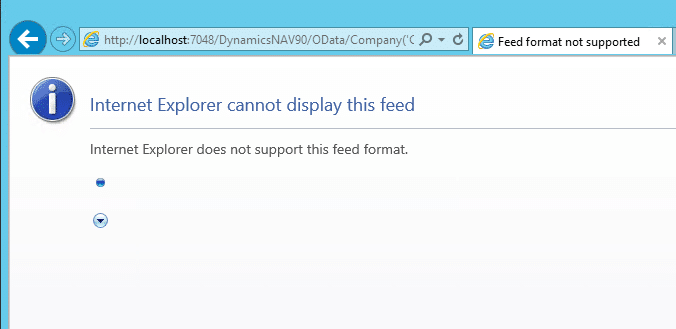
Using another browser such as Google Chrome will work to display/verify the feed.


Under the terms of this license, you are authorized to share and redistribute the content across various mediums, subject to adherence to the specified conditions: you must provide proper attribution to Stoneridge as the original creator in a manner that does not imply their endorsement of your use, the material is to be utilized solely for non-commercial purposes, and alterations, modifications, or derivative works based on the original material are strictly prohibited.
Responsibility rests with the licensee to ensure that their use of the material does not violate any other rights.