


Setting Up Version Control in Dynamics 365 for Operations With Visual Studio
The first step to creating a new Dynamics 365 for Operations (Ax7) project is to setup Visual Studio Online (VSO). Visual Studio Online now supports Git version control, but if your solution will be deployed to a customer site, Microsoft recommends that you choose Team Foundation Version Control; at least for any projects that interface with Life Cycle Services (LCS).
If you haven’t already, you need to visit https://www.visualstudio.com to sign up for Visual Studio Online. You will choose an account name when you sign up. This account becomes part of the URL you will use to access all your projects.
Creating a Project in Visual Studio
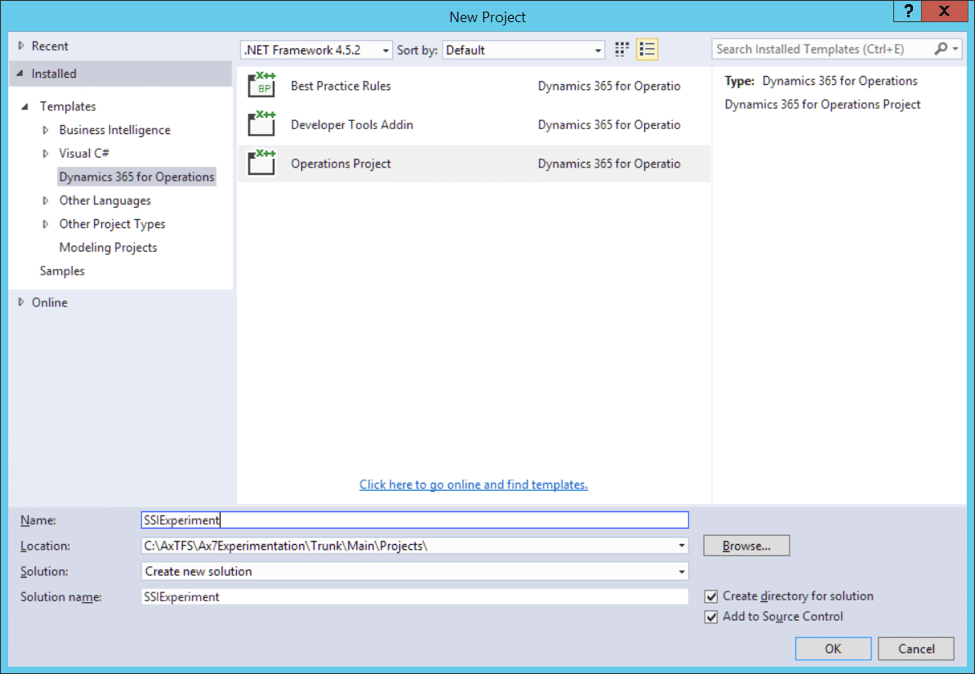
Now we will create a project. I will call mine Ax7Experimentation because I plan on using this project to test functionality and try new ideas.
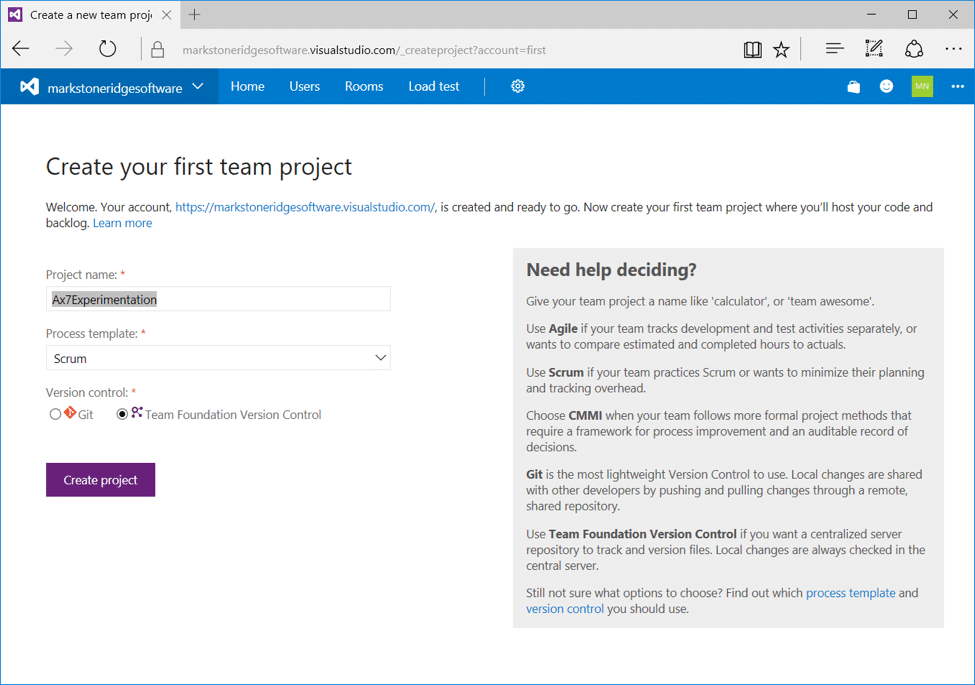
- Click the Create project button.
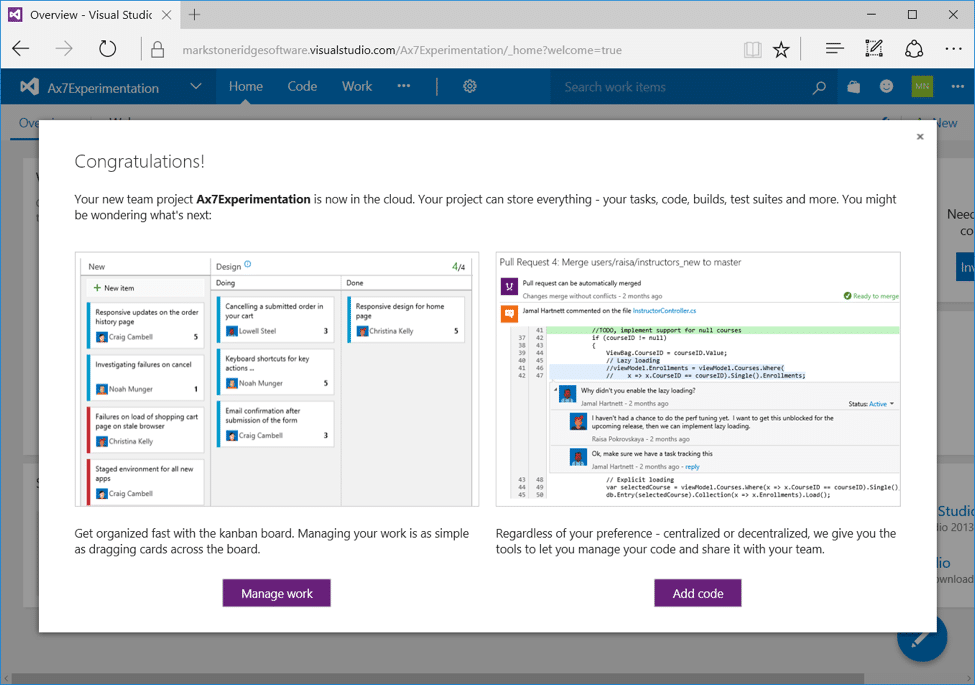
Now we need to setup the folder structure expected by Dynamics Ax7. Click the Add code button. This will take you to the root folder of your code repository. There you will see a single folder named BuildProcessTemplates. Unfortunately, we cannot create the necessary folders from the web viewer, we must connect Visual Studio to our project and continue from there.
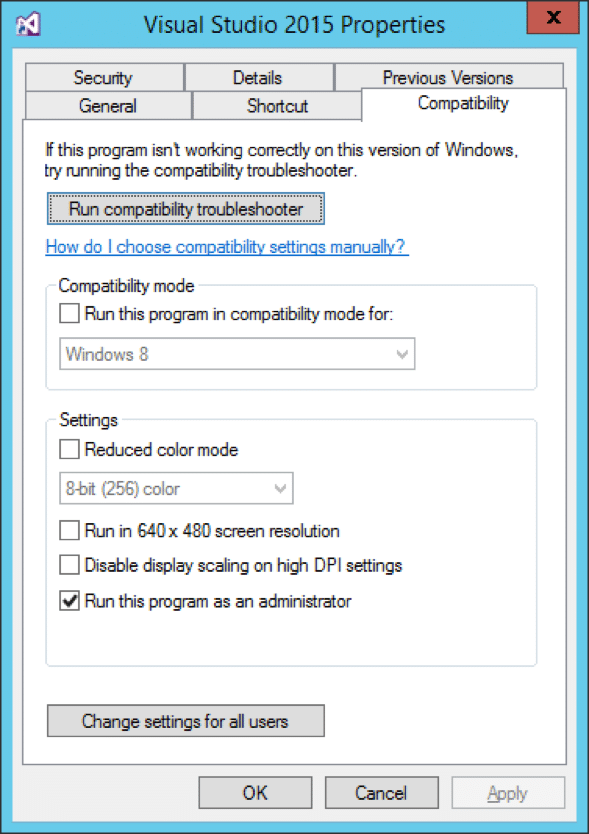
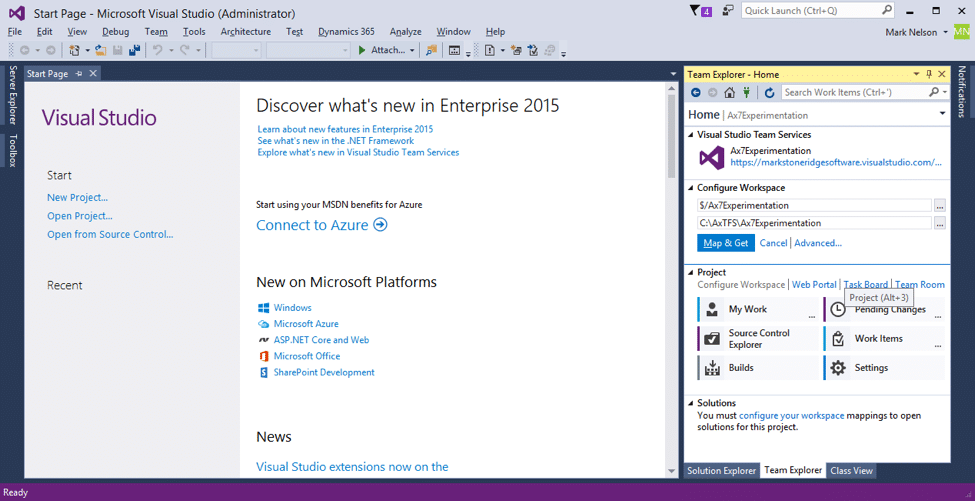
- Start Visual Studio 2015 as an Administrator. I would recommend checking the box on the Compatibility tab of the shortcut properties.
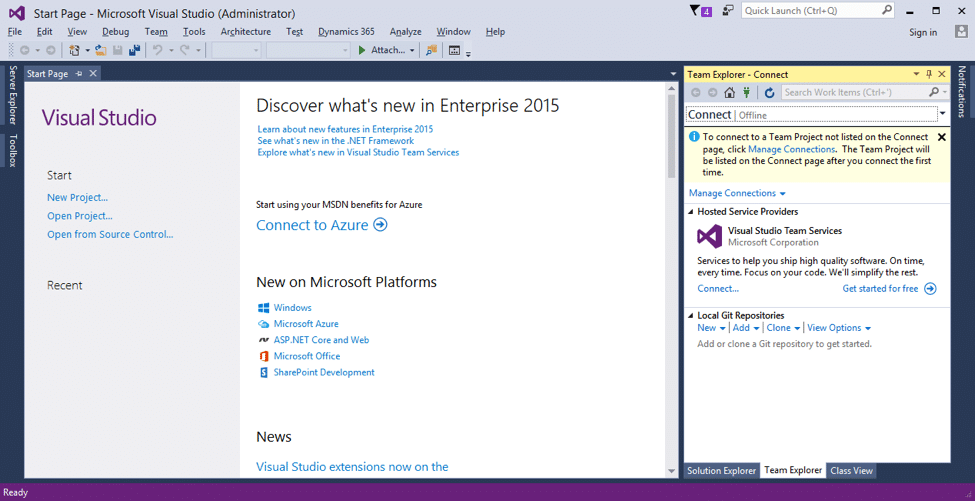
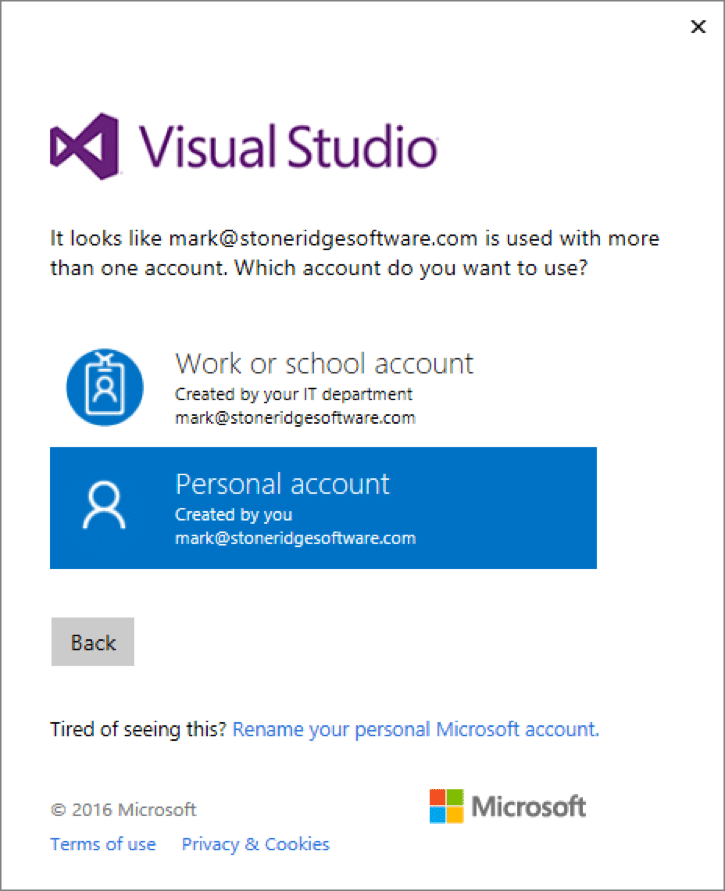
- If you haven’t done so already, sign into your Microsoft Account (the one you used to create the project). If prompted, you will need to select Personal account.
- From the Team menu, select Manage Connections… to open the Team Explorer window.
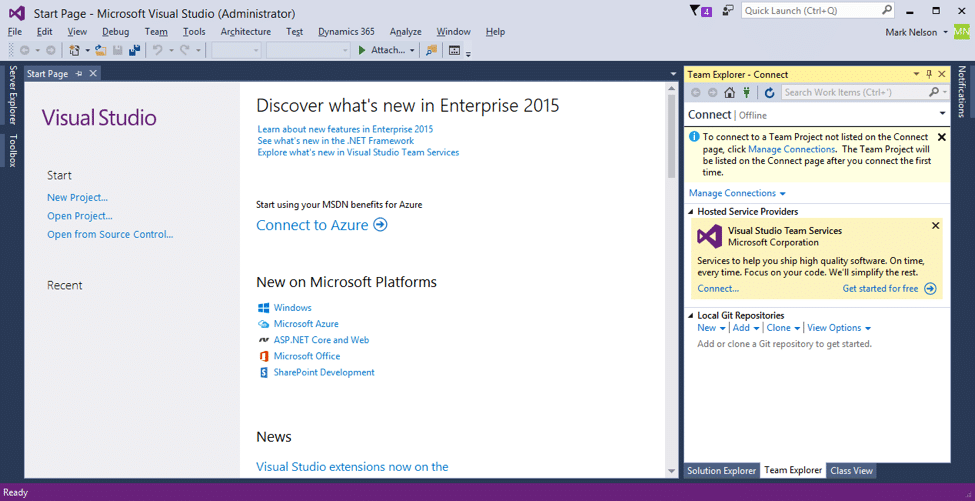
- Click the Connect… link in the middle of the Team Explorer window. From the resulting dialog, select your Team Foundation Server.
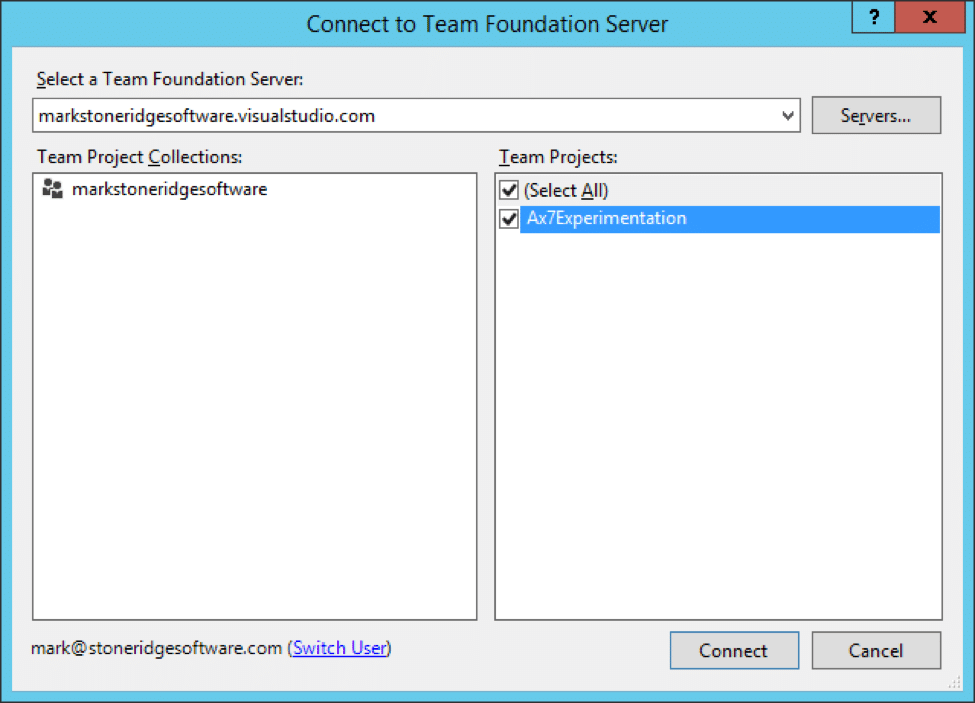
- Click Connect.
Now you are prompted to configure your workspace mappings. This will create a local folder that holds a copy of all your files. It also acts as your staging folder, holding a copy of new files until you submit them.
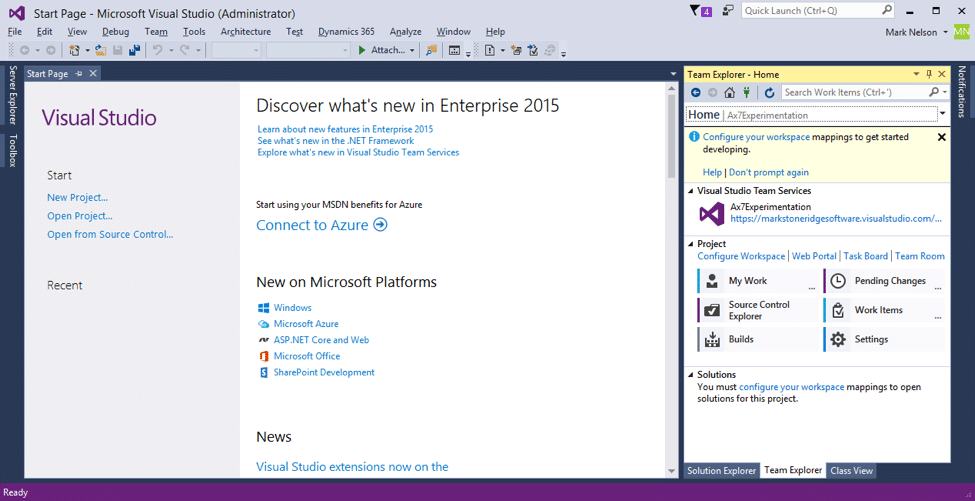
- Click the Configure your workspaces link.
- Choose a local folder to store your code.
For Dynamics 365 for Operations (Ax7) work, this folder will only contain your projects and non-Ax7 code. All your Dynamics metadata artifacts will reside in another folder. I will store my code in a new root-level folder called AxTFS.
- Enter your folder name and click the Map & Get button.
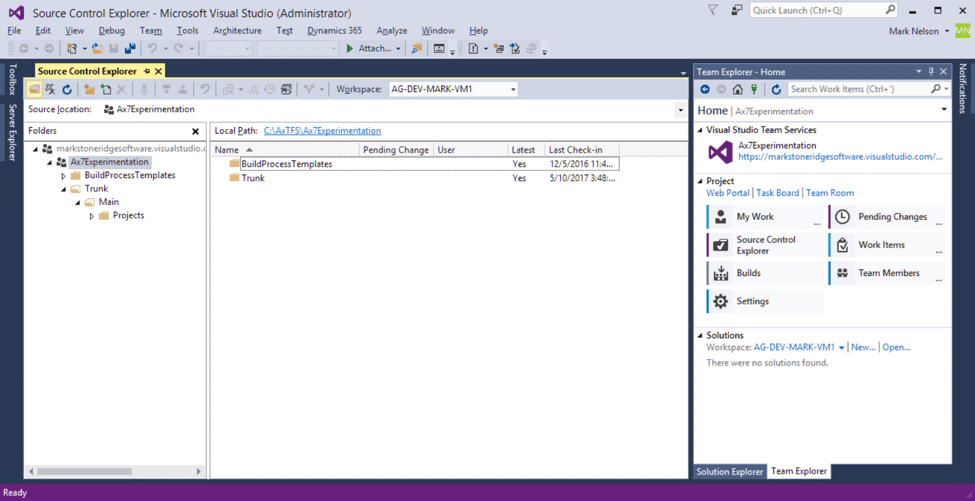
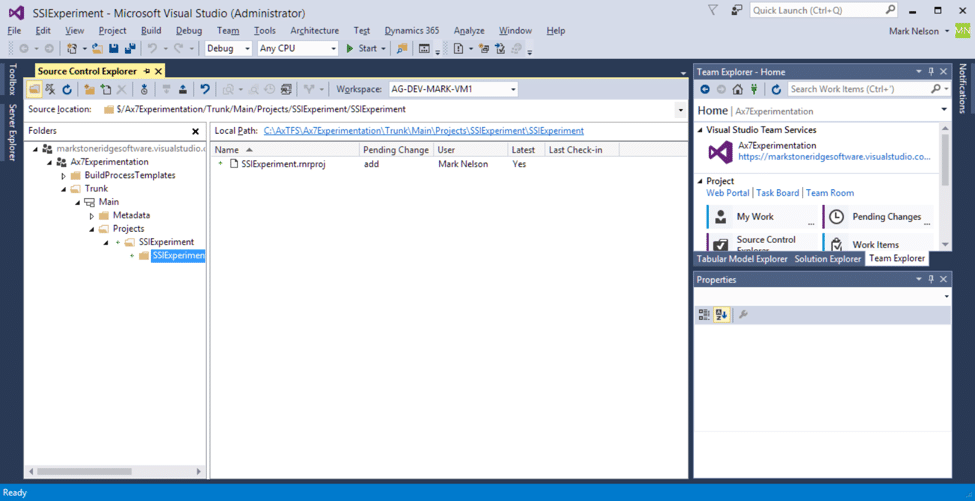
You now have a local folder mapped to your VSTO. Click the Source Control Explorer button to open the explorer. Here we will finish the workspace mappings and create the initial required folders. We will start with folders that represent the trunk and main branch; Trunk and Main. Because this folder will hold the files related to Visual Studio projects, we will create a Projects folder. Create the folder structure by right-clicking on each parent node and choosing New Folder.
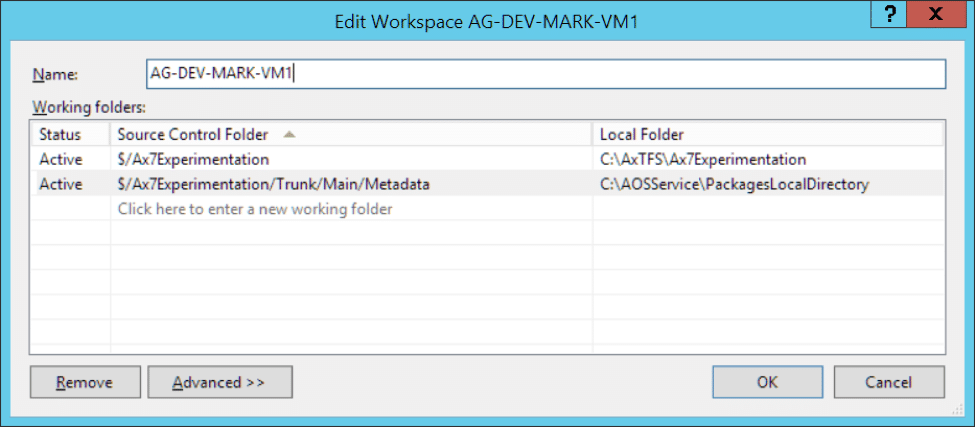
Lastly, we must tell VSTS where to store the Dynamics Ax metadata files. These files are managed by Visual Studio and are in a folder controlled by the AOS service; C:\AOSService.
- Right-click the Main folder and choose New Folder to create a folder for our metadata. Name the folder Metadata.
- To change the mapping for this folder, expand the Workspaces drop-down in the toolbar and choose Workspaces…, then click Edit…
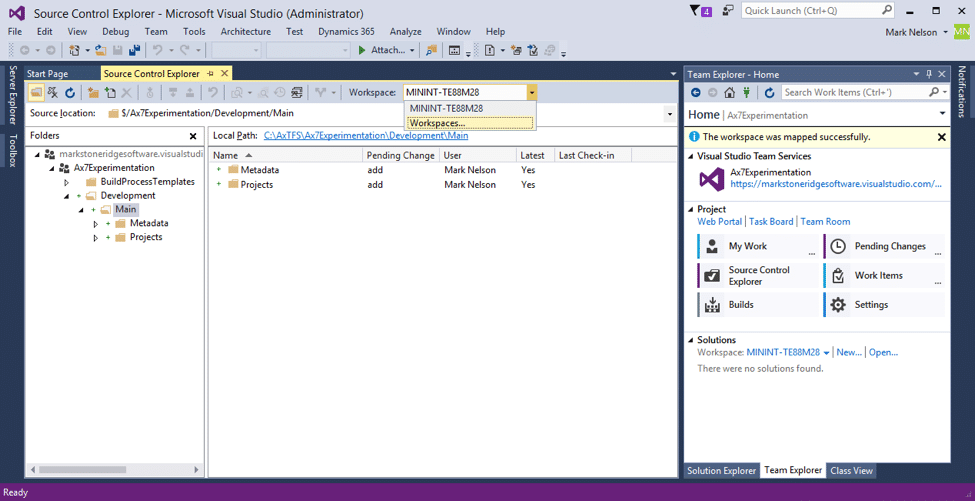
- Remap the Metadata folder to the PackagesLocalDirectory folder by adding a new line to the grid.
- Click OK.
- When prompted, click Yes to get the latest files. There won’t be any new files however because we just created this repository.
- Click Close to close the Manage Workspaces dialog.
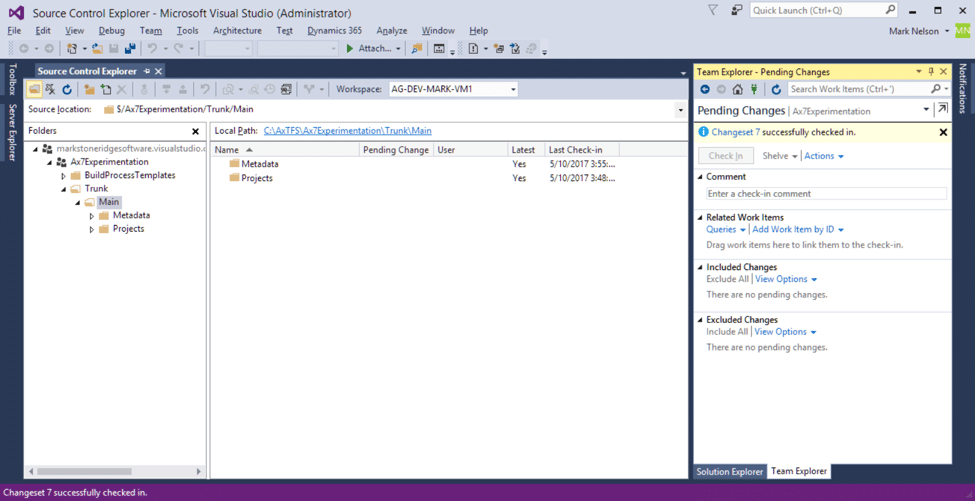
Now we will submit the folders and add the structure to VSTS.
- Click the Pending Changes button to see the list of pending changes. Enter a check-in comment and click the Check In button.
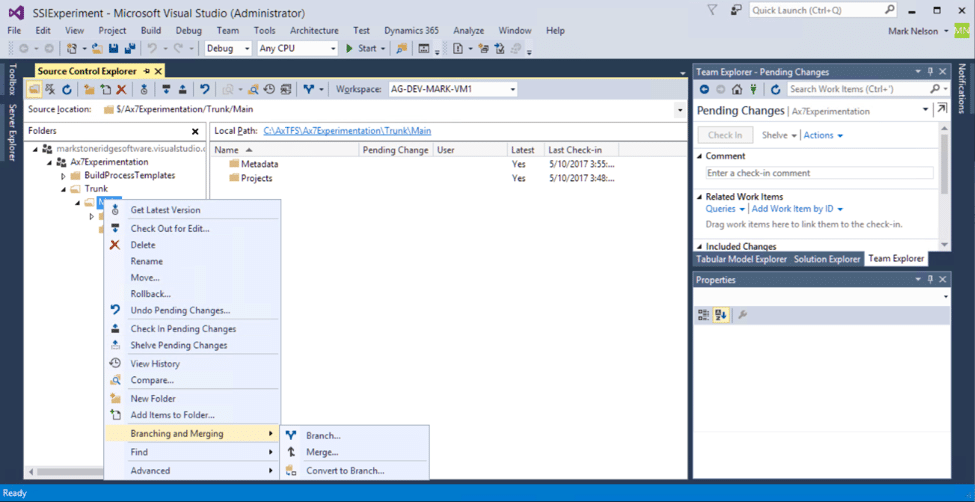
The next step is to convert the Main folder into a branch.
- To do this, right-click the Main folder, choose Branching and Merging > Convert to Branch.
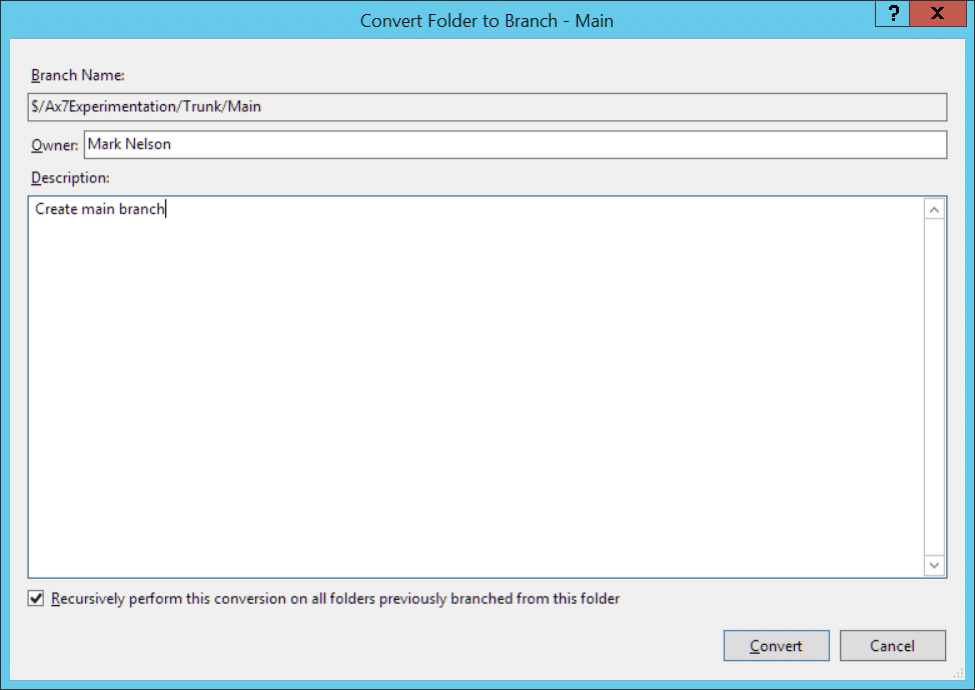
- Enter a comment and press Convert.
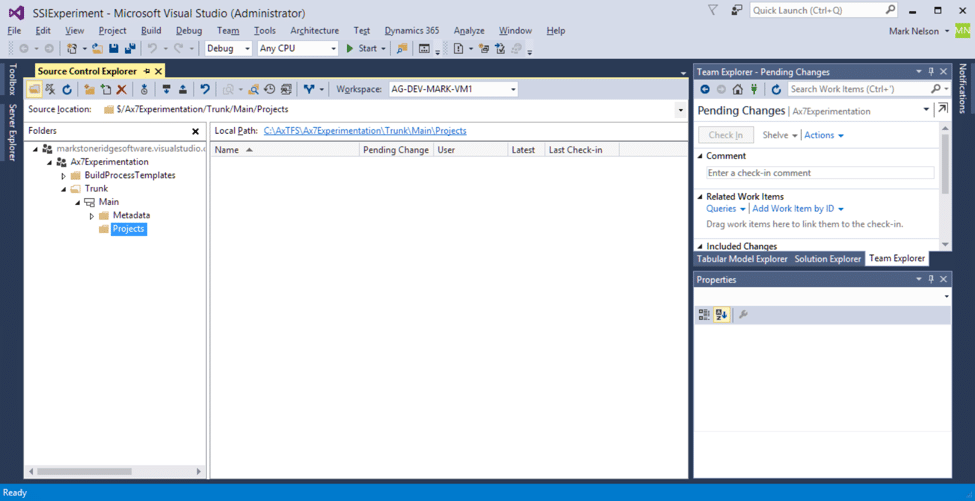
Notice that the folder icon has changed to a branch icon.
When you create a new Dynamics 365 for Operation (Ax7) project, you should store the project in your VSTS controlled Projects folder. The Metadata folder mapping we created will allow Visual Studio to create the project elements in the correct location and still allow you to add them to version control.

Under the terms of this license, you are authorized to share and redistribute the content across various mediums, subject to adherence to the specified conditions: you must provide proper attribution to Stoneridge as the original creator in a manner that does not imply their endorsement of your use, the material is to be utilized solely for non-commercial purposes, and alterations, modifications, or derivative works based on the original material are strictly prohibited.
Responsibility rests with the licensee to ensure that their use of the material does not violate any other rights.