


Dynamics NAV Alternative User Profile ID Viewing and Configuration Mode Updates
Through Dynamics NAV shortcut settings, a NAV Administrator may launch alternative user profiles and/or customize the experience for all users within a given profile.
Creating a Profile ID in Dynamics NAV
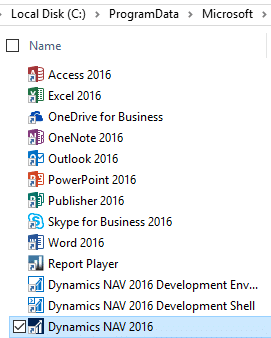
1) Go to the file location of your NAV RTC (client), highlight and right click. Select Send To: Desktop (create shortcut).
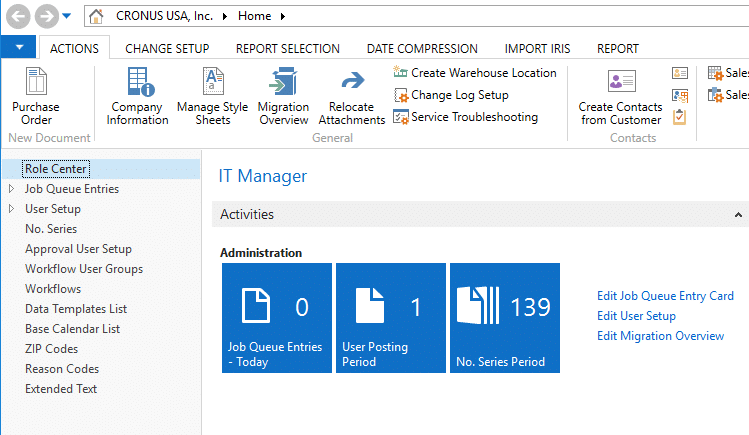
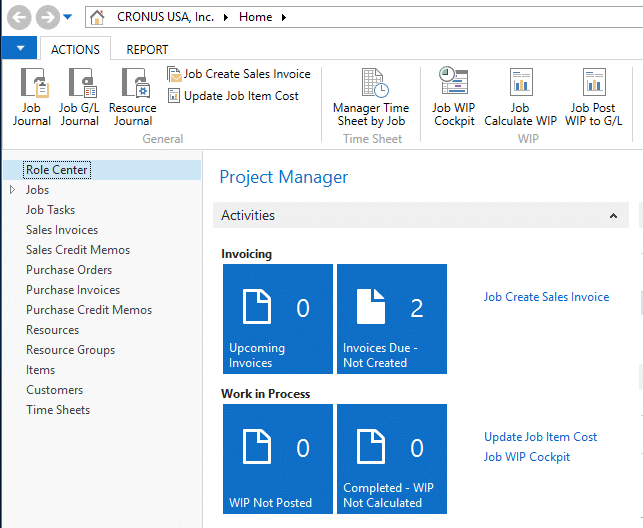
2) Double click on the shortcut and the NAV client should then open to the user personalization assigned to you through the User Personalization page in NAV. In the below example, I am assigned the IT Manager profile.
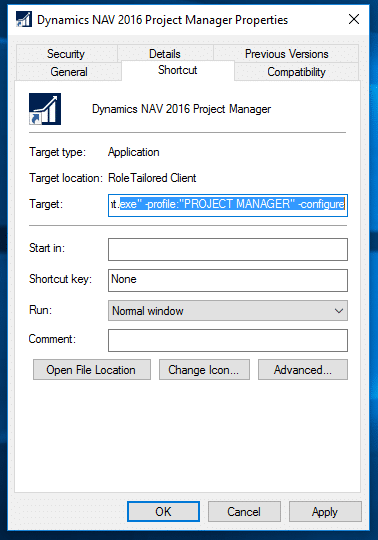
3) Right click on the shortcut icon and select: Properties
a. The text within Target field should contain the client program location, ending like below:
i. \Microsoft.Dynamics.Nav.Client.exe"
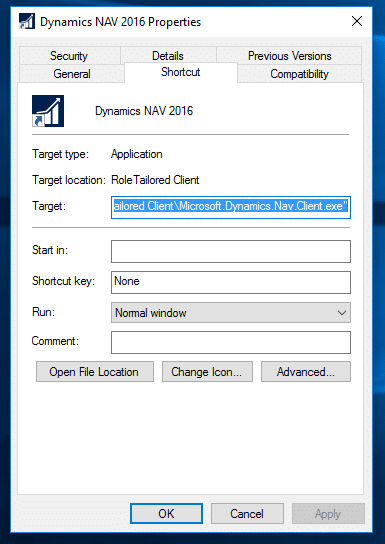
b. Add additional text to the end of the “Target” string like the example below:
i. \Microsoft.Dynamics.Nav.Client.exe" -profile:”PROJECT MANAGER”
ii. To see the full list of profiles in your NAV environment, search in NAV for “Profiles”.

4) Now when you double-click on the shortcut icon, the NAV client will open to the user personalization identified in the Target (Project Manager in this example).
5) You could also re-name the shortcut to ‘Project Manager’ and create more shortcuts for other alternative user profile IDs.
Configuration Mode
1) To customize/update the Role Center view for all users within a user profile ID, right click on the shortcut icon and select Properties again. In the below example, the customization is for user profile ID: Project Manager.
a. Add the additional text:
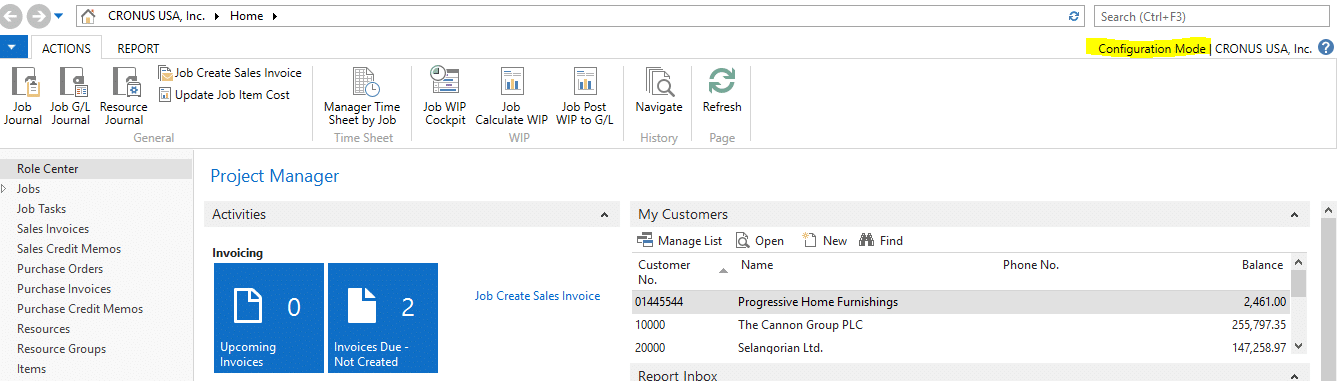
i. \Microsoft.Dynamics.Nav.Client.exe" -profile:”PROJECT MANAGER -configure
2) When launching NAV, you will then notice ‘Configuration Mode’ in the upper right hand corner. This means that any customizations you make while in the client will be saved and applied to all users assigned that profile ID. These changes include:
a. Customizations to the Role Center
b. Customizations to the Navigation Pane
c. Customizations to individual pages (field visibility, order, promotion, ribbon options, fact boxes, etc…)
3) Be sure to exit Configuration Mode when the customizations are complete. Launching NAV from the normal program list (or from a shortcut menu without configuration mode enabled) will run the client like normal. In other words, customizations made will only affect your specific login.

Under the terms of this license, you are authorized to share and redistribute the content across various mediums, subject to adherence to the specified conditions: you must provide proper attribution to Stoneridge as the original creator in a manner that does not imply their endorsement of your use, the material is to be utilized solely for non-commercial purposes, and alterations, modifications, or derivative works based on the original material are strictly prohibited.
Responsibility rests with the licensee to ensure that their use of the material does not violate any other rights.