


Manage Your Warehouse and Inventory in Dynamics 365 Field Service
In Dynamics 365 Field Service, managing warehousing and inventory involves overseeing stock levels, warehouse locations, and product catalogs is a powerful feature that streamlines processes for you and your team.
The system allows businesses to track real-time inventory, handle stock adjustments, and manage replenishment processes efficiently. By defining multiple warehouse locations and monitoring inventory movement, companies can ensure that stock levels are maintained and that parts are available when needed. Integration with Field Service operations helps link inventory to work orders and asset management, providing field technicians with up-to-date information and enabling them to request parts or update inventory status directly from the field.
In this blog, we will walk you through the steps on how to set up and use various tools in this feature, including:
- Creating a warehouse
- Adding product inventory
- Checking product inventory
- Transferring products from one warehouse to another
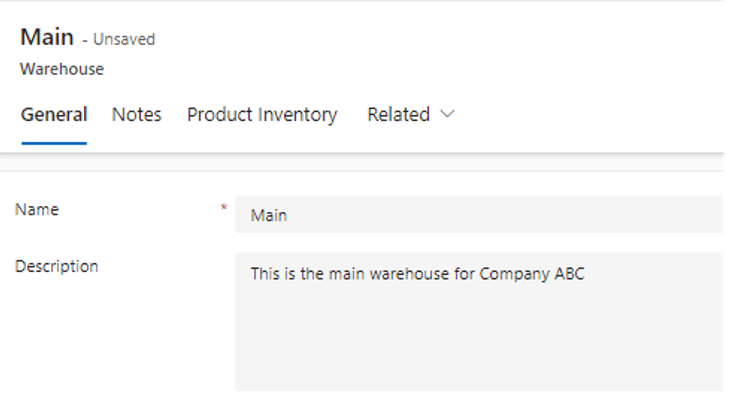
How to Create a Warehouse in Dynamics 365 Field Service
Warehouses in Field Service are defined as any company location that holds inventory such as actual warehouses, installation trucks, distribution centers, or loading docks.
- On the left side panel, navigate to Inventory > Warehouses
- Click +New
- Enter a Name and a Description (optional) to define the purpose of the warehouse

- Click Save
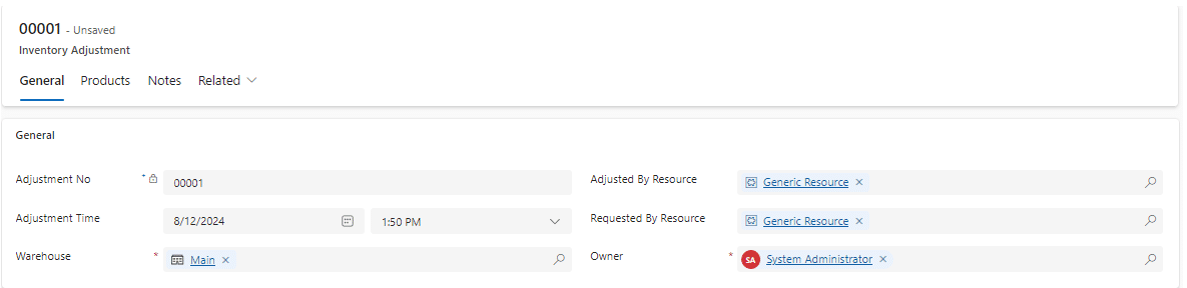
Adding Product Inventory
Product Inventory is tracked in a warehouse by tracking the Number of Units available. Product Inventory is added or removed using inventor adjustment records. To add product inventory to a warehouse:
- On the left side panel, navigate to Inventory > Adjustments
- Click +New
- Select the Warehouse to add inventory
- Choose an Adjustment time if the current time is not valid
- Select the resource that requested and adjust the change if necessary

- Click Save
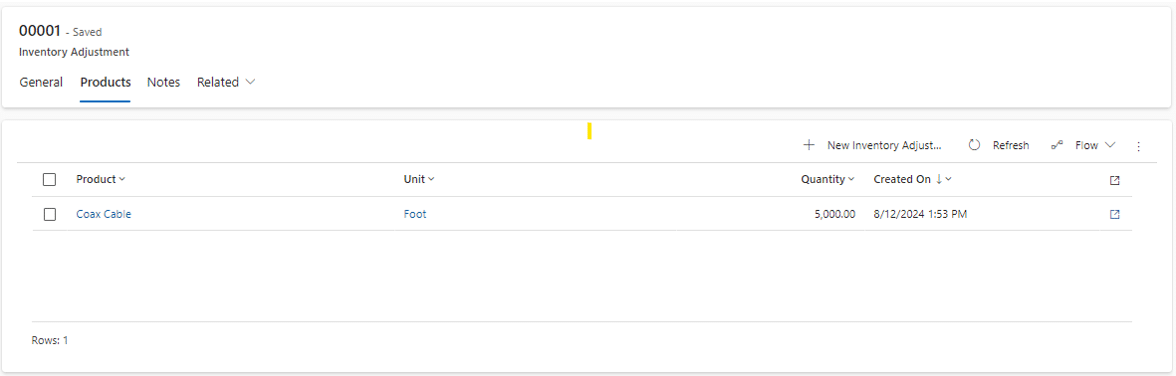
- After Saving the record, click the Products tab
- Click +New Inventory Adjustment Product
- Select a Product, Unit, and Quantity to add to the selected warehouse


NOTE: A positive quantity is added to the inventory. Whereas, entering a negative quantity will remove.
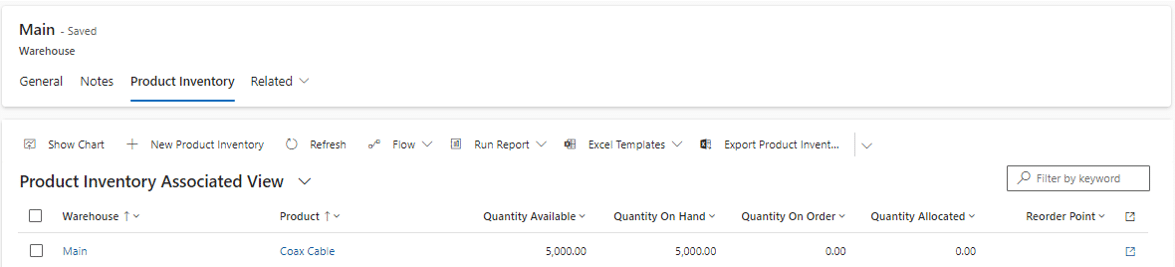
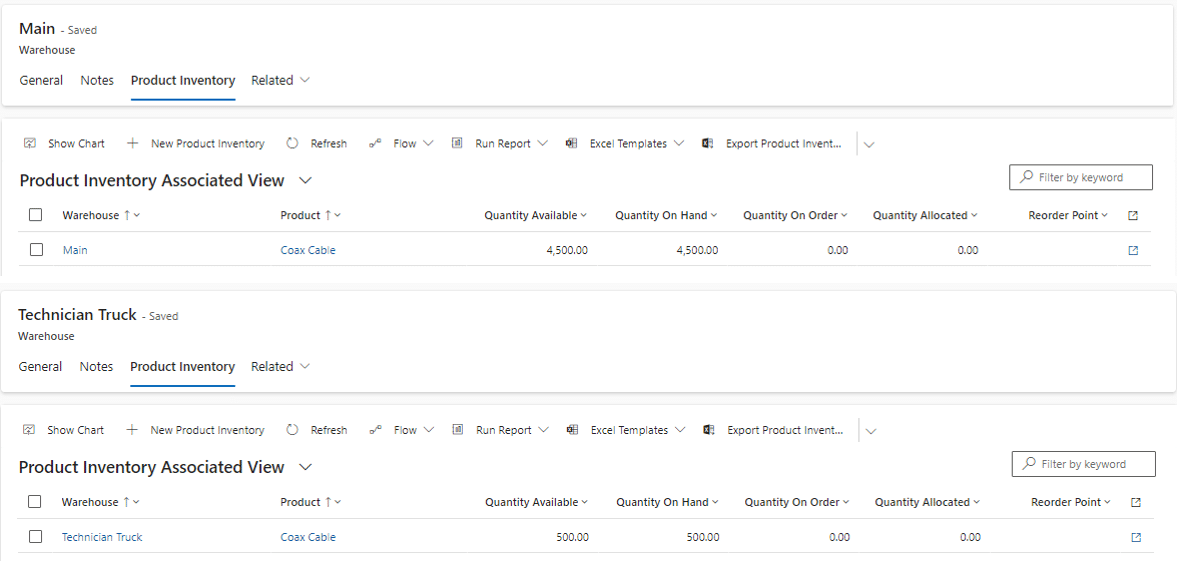
Checking Product Inventory at a Warehouse
To see the current quantity available, on hand, on order, or allocated at a specific warehouse:
- On the left side panel, navigate to Inventory > Warehouses
- Click to open the Warehouse
- Click the Related tab and choose Product Inventory

Transferring Products From One Warehouse to Another
To transfer product from one warehouse to another (for instance, product removed from the main warehouse and added to the truck of an installer (technician):
- On the left side panel, navigate to Inventory > Transfers
- Click + New
- Under Source Warehouse, choose the Warehouse the product is being removed from
- Under Destination Warehouse, choose the Warehouse the product is being added to
- Enter the Resource performing the change under Transferred by Resouce
- Click Save
- In the Inventor Adjustment Products subgrid, click + New Inventory Adjustment Product
- Choose the Product from the list available (Note: Unit will automatically apply)
- Choose the quantity of the product being transferred
- Click Save and Close
NOTE: The product will automatically be removed from the Source Warehouse and added to the Destination Warehouse.
Want to Learn More About Managing Your Warehouse and Inventory in Dynamics 365 Field Service?
Reach out to the experts at Stoneridge! Dynamics 365 Field Service is a powerful tool that can empower your service technicians and customers to foster a stronger relationship. We can help you set up and configure your Microsoft Field Service Management software so it benefits your business.

Under the terms of this license, you are authorized to share and redistribute the content across various mediums, subject to adherence to the specified conditions: you must provide proper attribution to Stoneridge as the original creator in a manner that does not imply their endorsement of your use, the material is to be utilized solely for non-commercial purposes, and alterations, modifications, or derivative works based on the original material are strictly prohibited.
Responsibility rests with the licensee to ensure that their use of the material does not violate any other rights.