


Power BI with Dynamics NAV – Demo Install
This post will cover how to integrate your Dynamics NAV installation (NAVDEMO instance will be used for examples) with Power BI, using the Power BI Gateway - Personal.
Power BI with Dynamics NAV Background
You can find some information on the background of Power BI with Dynamics NAV at this link: https://powerbi.microsoft.com/en-us/documentation/powerbi-content-pack-microsoft-dynamics-nav/
This post is useful, but glosses over the process of making your OData URL accessible to Power BI. There are actually a few methods to do that:
1. On Premise: Power BI Gateway - Personal
2. On Premise: Configure an inbound-rule to your Firewall to expose the OData URL
3. Azure/Hosted: Configure an endpoint to expose the OData URL
I want to give proper credit to this blog post by Steven Renders: http://thinkaboutit.be/2015/12/connecting-the-power-bi-dynamics-nav-content-package-to-a-local-nav-2016-instance/ I found Steven’s post helpful in getting our tests up and running though we did find some differences or changes (possibly in the Power BI Gateway itself) that are worth clarification.
With all that in mind, our post will focus on the minimum requirements to connect Dynamics NAV to Power BI. We'll specifically focus on using the Power BI Gateway - Personal method, and cover the quickest and lightest footprint to try out Power BI with Dynamics NAV.
Prerequisites for Power BI in NAV Demo Install
1. Office 365 Account
2. Dynamics NAV "NAVDEMO" installation or equivalent. These steps will generally apply to any NAV installation, but the details and examples are used against a NAVDEMO database. We are considering a separate post to cover the intricacies of a "Production" database.
Contents
- Setup OData for the Dynamics NAV Service Tier
- Verify OData for the Dynamics NAV Service Tier
- Download and Install Power BI Gateway - Personal
- Power BI Get Data - Connect to Microsoft Dynamics NAV
- Addendum: CRONUS USA, Inc. Data Setup
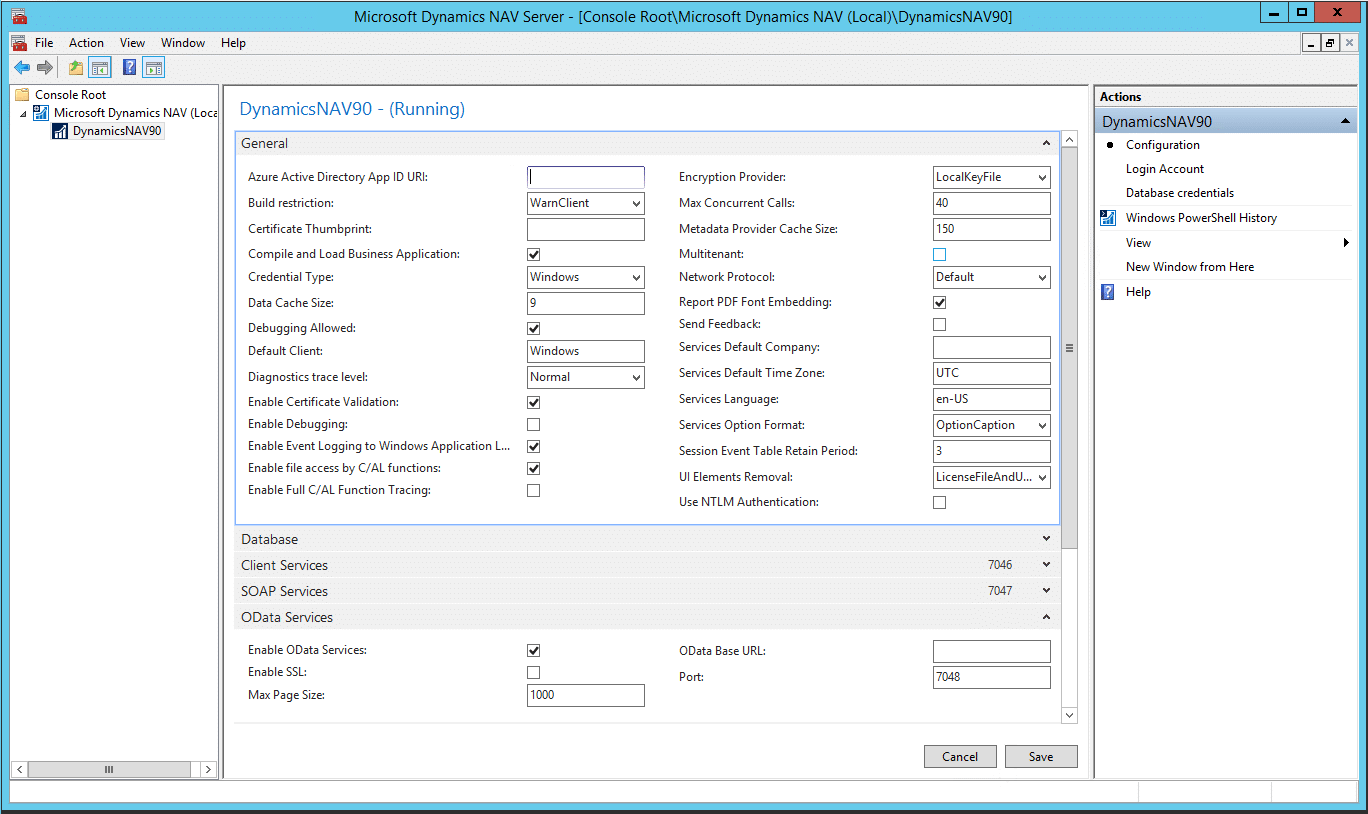
Setup OData for the Dynamics NAV Service Tier
1. Open Dynamics NAV Administration
2. On the left-hand pane, click on the Server Instance (DynamicsNAV90)
3. Expand the OData Services tab:
a. Click the "Edit" button
b. "Enable Odata Services" = Yes
c. "Save"
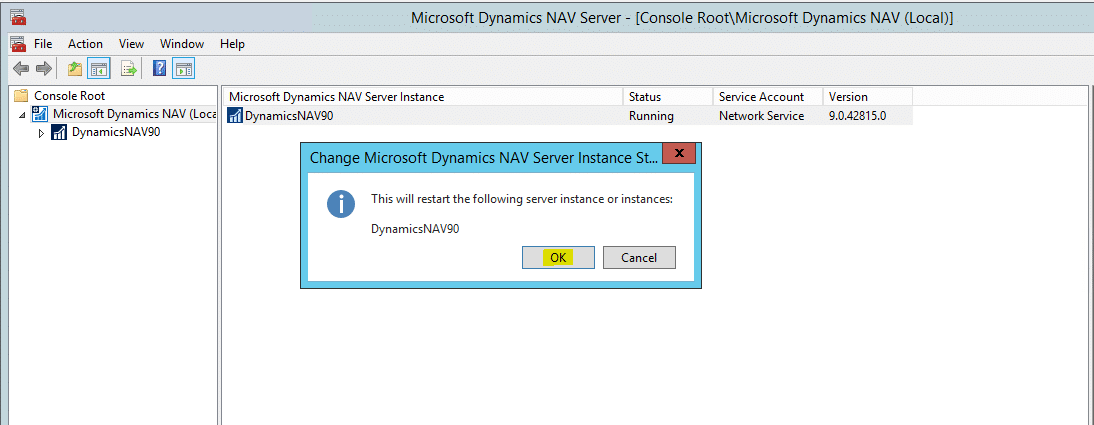
4. Restart the Server Instance (DynamicsNAV90)
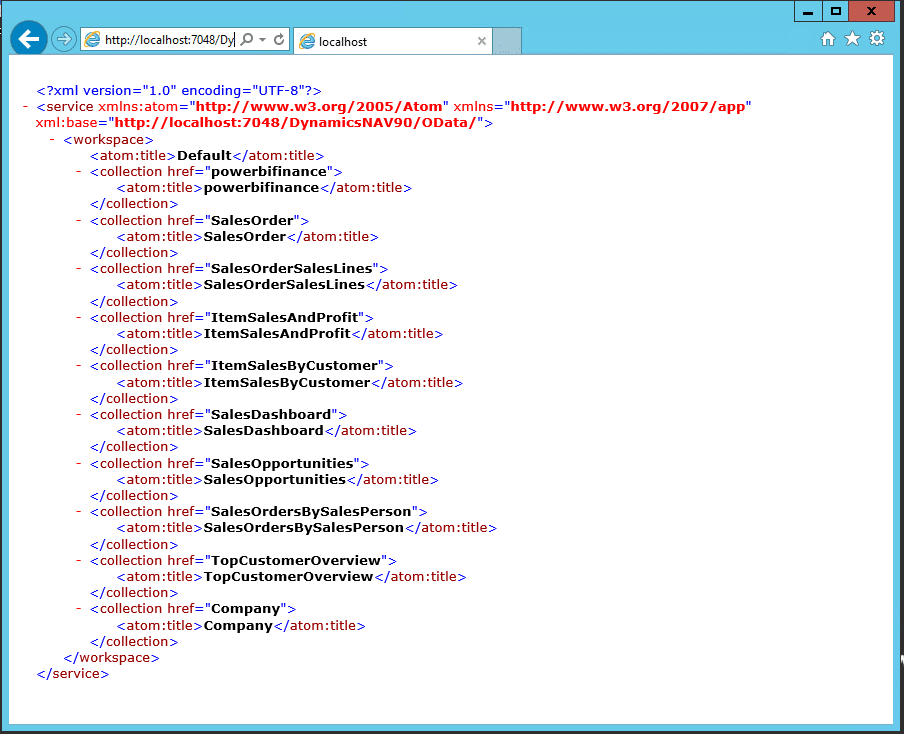
Verify the OData URL is Accessible
1. Open a web browser and enter the following URL:
a. Syntax: http://[servername]:[ODataPort]/[serverinstance]/OData/
b. Example: http://localhost:7048/DynamicsNAV90/OData/
2. This is the "generic" OData URL that is not company-specific.
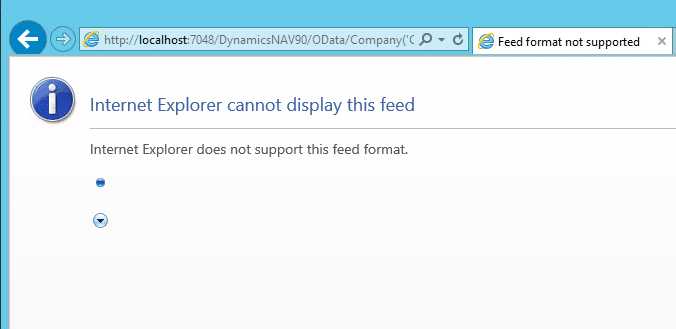
3. To verify the specific OData Company URL:
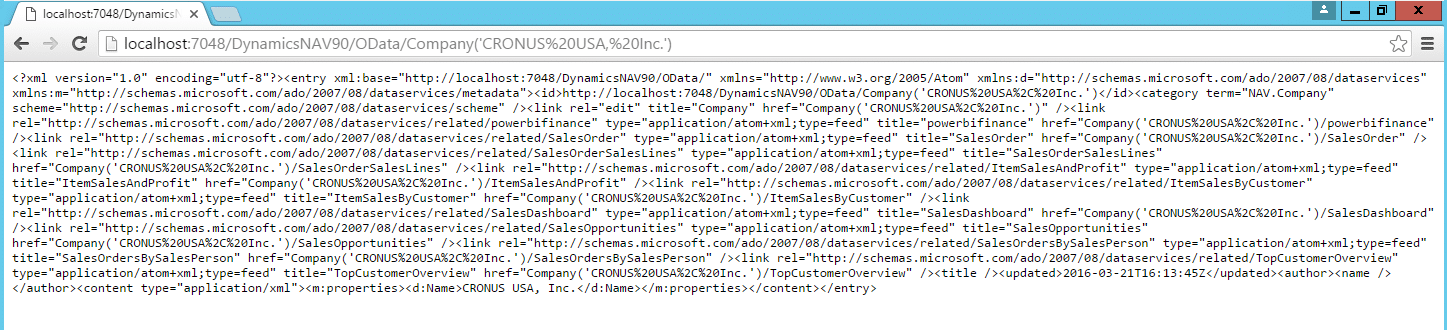
a. Syntax: http://[servername]:[ODataPort]/[serverinstance]/OData/Company('[companyname]')/ Note that companyname is case-sensitive.
b. Example: http://localhost:7048/DynamicsNAV90/OData/Company('CRONUS USA, Inc.')/
Note: Most versions of IE will give a message "Cannot display this feed."
Using another browser such as Chrome will work to display/verify the feed:
Download and Install Power BI Gateway - Personal
1. Go to www.powerbi.com, sign-in with your Office 365 credentials.
2. Prior to grabbing the NAV package from Power BI, Go to Downloads > Power BI Gateways (https://powerbi.microsoft.com/en-us/gateway/)
3. Download and install the Power BI Gateway - Personal.
4. Walk through the installation Wizard:
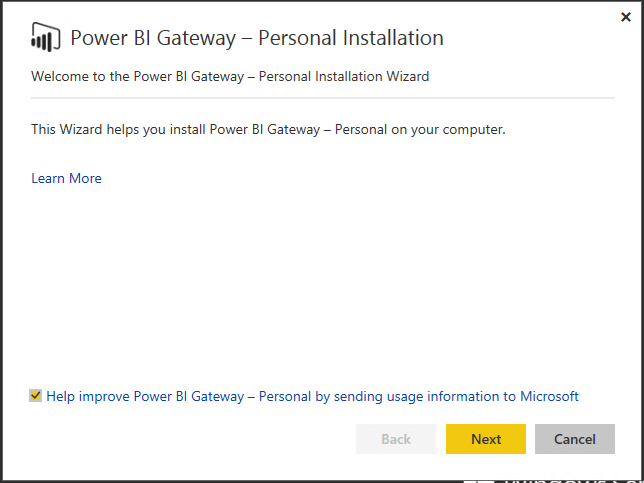
1. Accept the license terms and click Next
2. Use the default installation location (can be changed if needed) and click Next
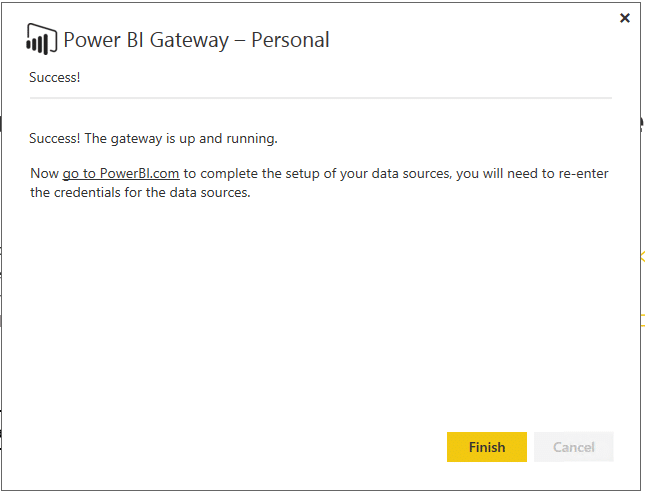
3. You'll be informed when installation is complete:
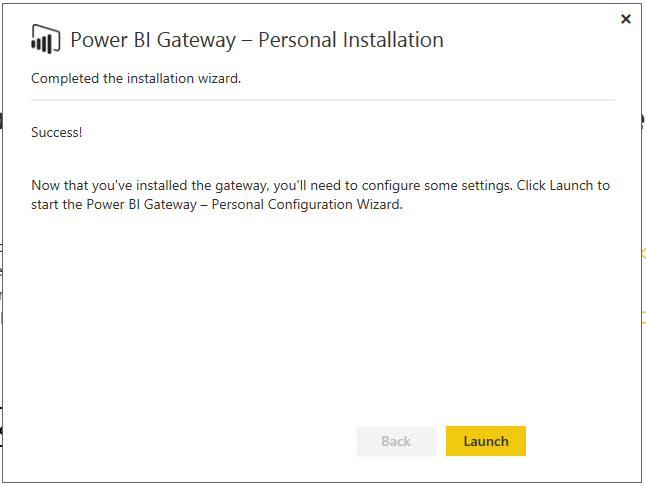
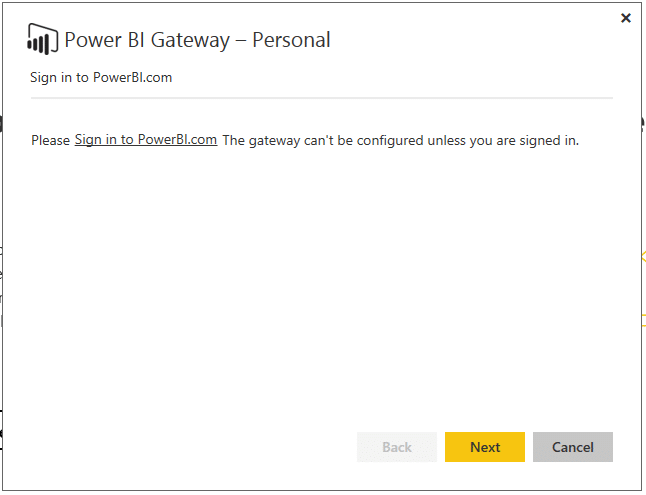
1. Click Launch to run the Power BI Gateway - Personal
2. Sign-in to Power BI using your Office 365 credentials

After this sign-in, Power BI should ask to set up data sources.
Power BI Get Data - Connect to Microsoft Dynamics NAV
With your Dynamics NAV OData Service accessible and the Power BI Gateway - Personal installed and running, you are ready to connect Power BI to Microsoft Dynamics NAV:
1. Go to www.powerbi.com (sign-in with Office 365 credentials)
2. Get Data > Services
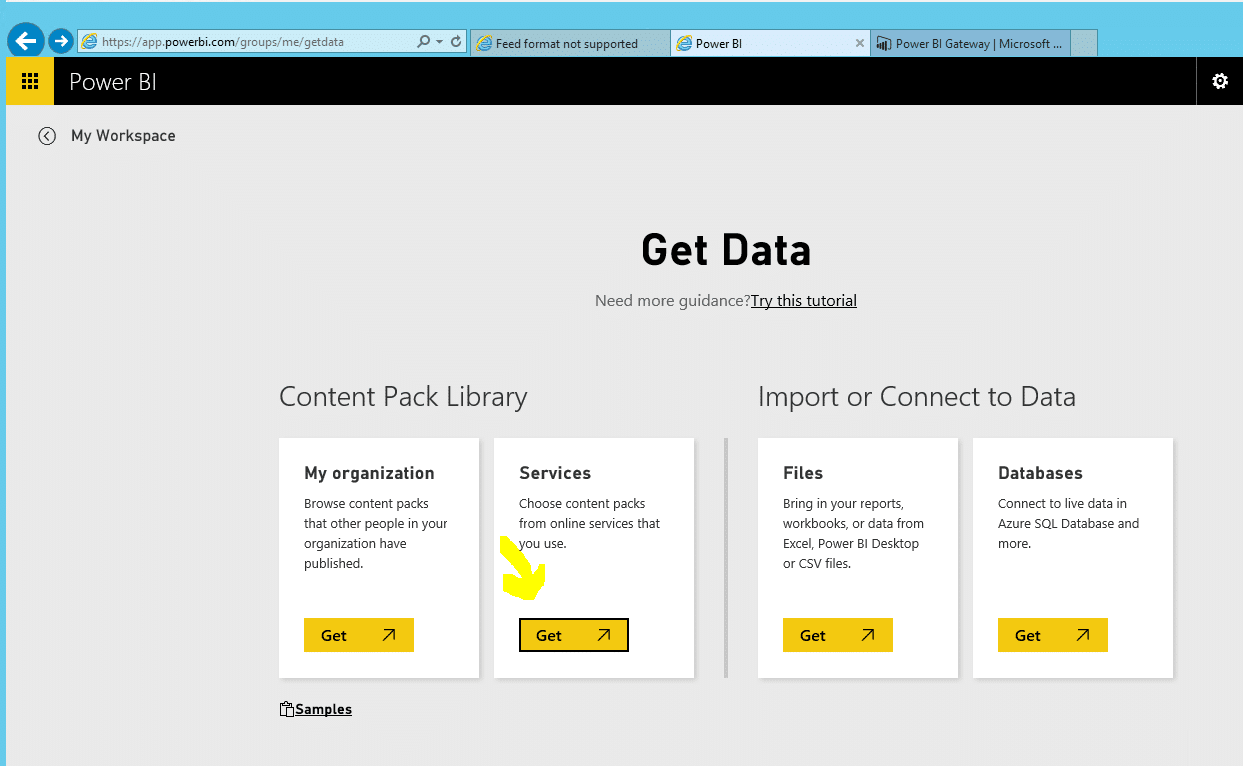
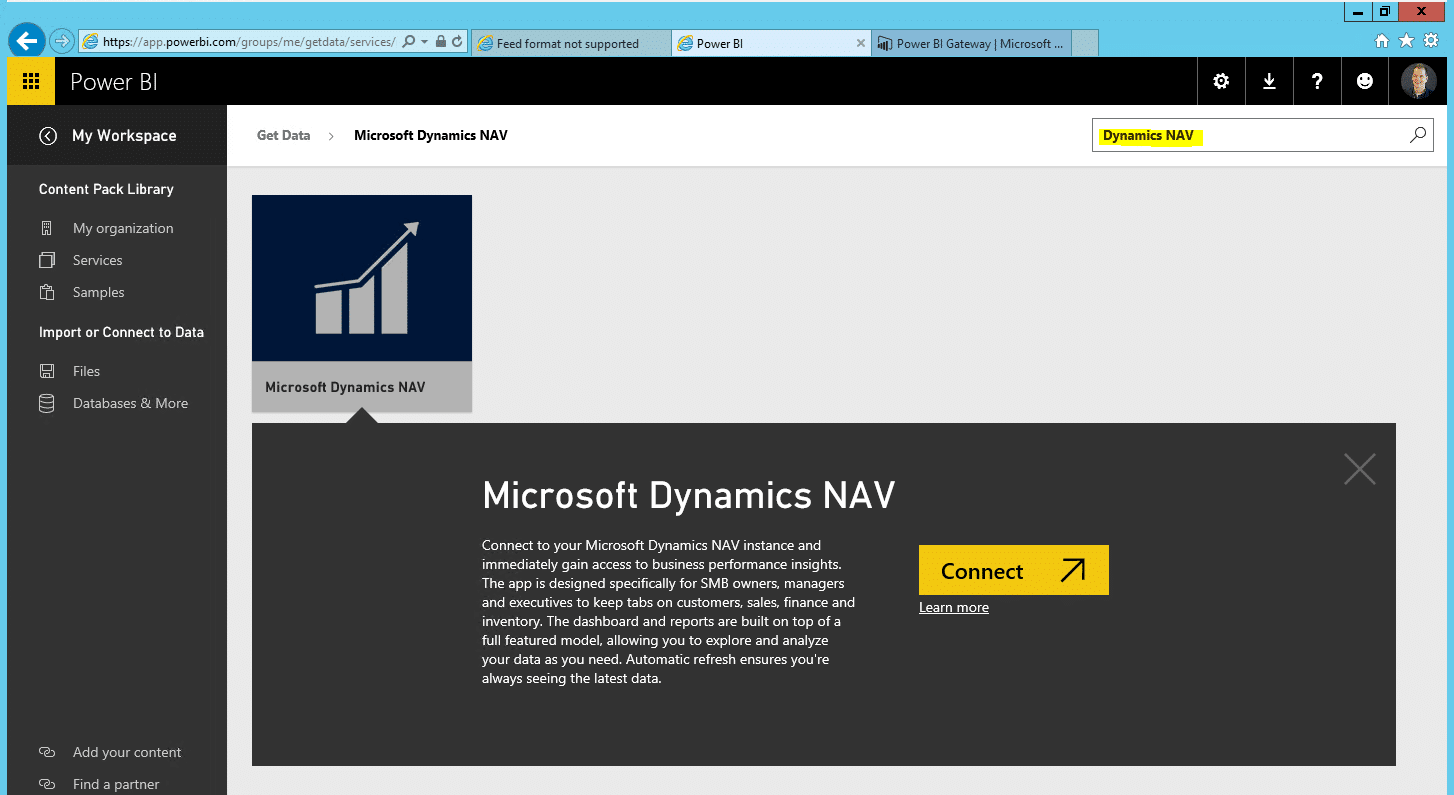
3. Search for Dynamics NAV, click on Microsoft Dynamics NAV and click Connect.
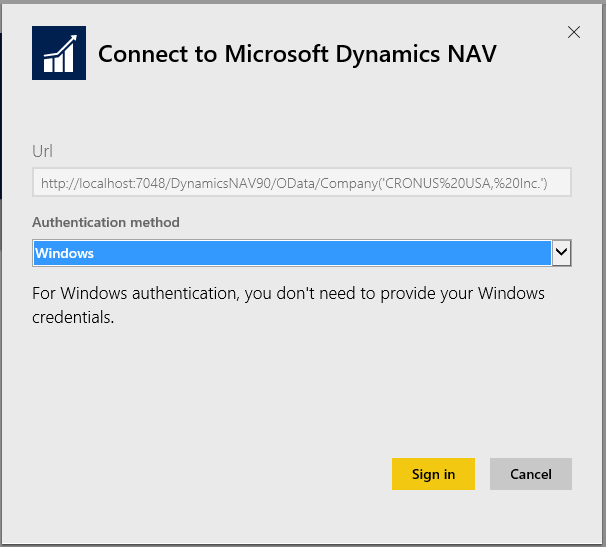
4. In the OData Feed URL, enter the URL you tested in the "Verify the OData URL is Accessible" step.
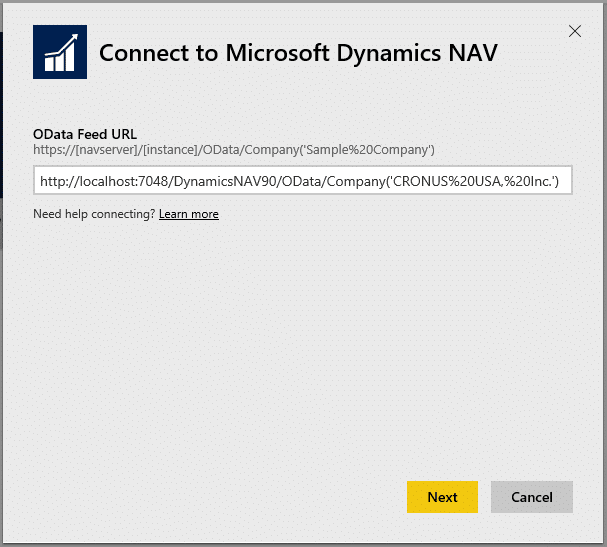
5. After clicking next this will ask for an Authentication Method. Choose "Windows" and click Next.

Once imported, your Dynamics NAV dashboard will be accessible on Power BI.
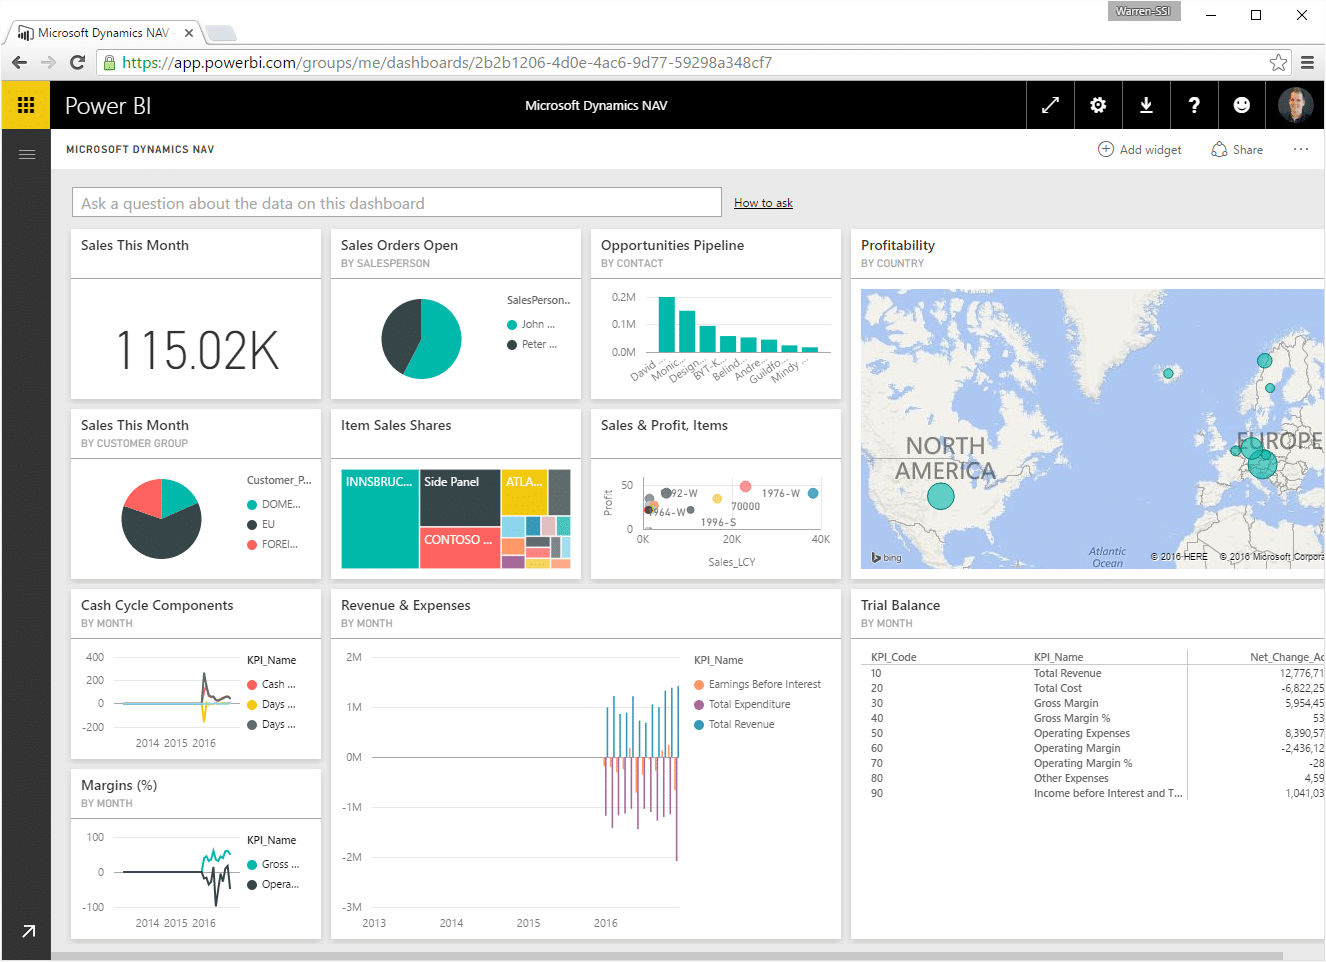
Enjoy!
Addendum: CRONUS USA, Inc. Data Setup
Note: We didn't encounter this issue every time we connected a database to Power BI, but we have run into it multiple times.
Issue - Error When "Importing" to Power BI
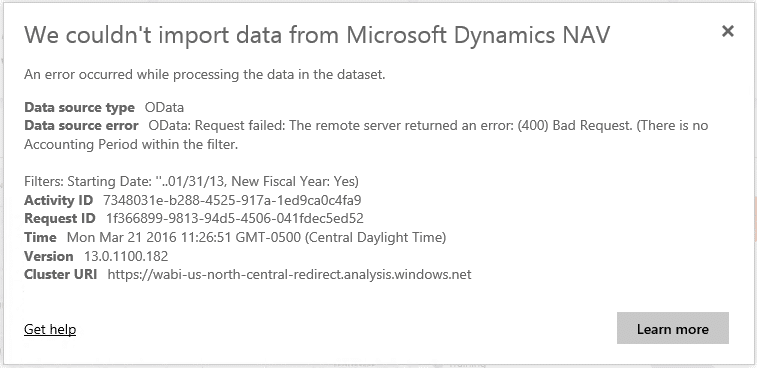
Solution - Add Accounting Periods for 2014, 2013, and 2012
1. Open Dynamics NAV (RTC)
2. Open the Company you are connecting to Power BI (CRONUS USA, Inc.)
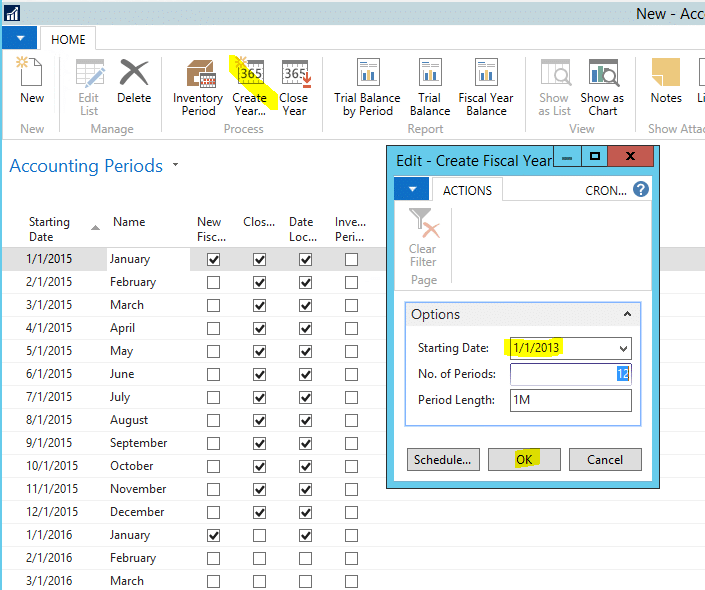
3. Use the "Search" bar to go to Accounting Periods
4. From Accounting Periods, click Create Year.
5. In the "Starting Date" field, enter 01/01/14 (leave No. of Periods and Period Length with their default values)
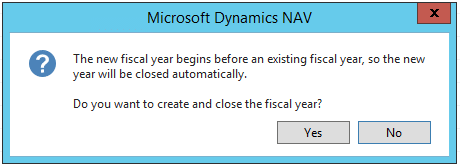
6. Click OK, then Yes when prompted to generate the year.
7. Repeat these steps for 2013 and 2012.
For the sake of consistent data, create for 2014 first, then 2013, then 2012.
After adding these Accounting Periods, the Import should run successfully.

Under the terms of this license, you are authorized to share and redistribute the content across various mediums, subject to adherence to the specified conditions: you must provide proper attribution to Stoneridge as the original creator in a manner that does not imply their endorsement of your use, the material is to be utilized solely for non-commercial purposes, and alterations, modifications, or derivative works based on the original material are strictly prohibited.
Responsibility rests with the licensee to ensure that their use of the material does not violate any other rights.