


Automated Data Entity Import Using DIXF in Dynamics AX
Data Import Export Framework (DIXF) is available for various versions of Dynamics AX (AX 2012, AX2012 R2, AX 2012 R3 and Dynamics 365 for Operations). Refer to the Microsoft’s DIXF User Guide for instructions on how to install DIXF for your version of Dynamics AX.
Often times, DIXF is used for data migration projects, when the client needs their data migrated from the legacy system to Dynamics AX. Some common examples would be Master data – Custom, Vendor, Addresses etc., Open transactions - GL opening balances, Open customer invoices, Open vendor invoices etc.
But, there are more applications of DIXF than one-time data migration from a legacy system. Recently, I came across a scenario where I used DIXF for an automated integration. I was intrigued by finding that without any customizations, we can use out-of-the-box DIXF functionality to define a folder where new data files are dropped. DIXF can automatically pick up the files on a defined recurrence, process the data and once done processing, move the files to a ‘Completed’ folder.
Steps to setup automated Data Entity import using DIXF:
- Setup the ‘Processing group’
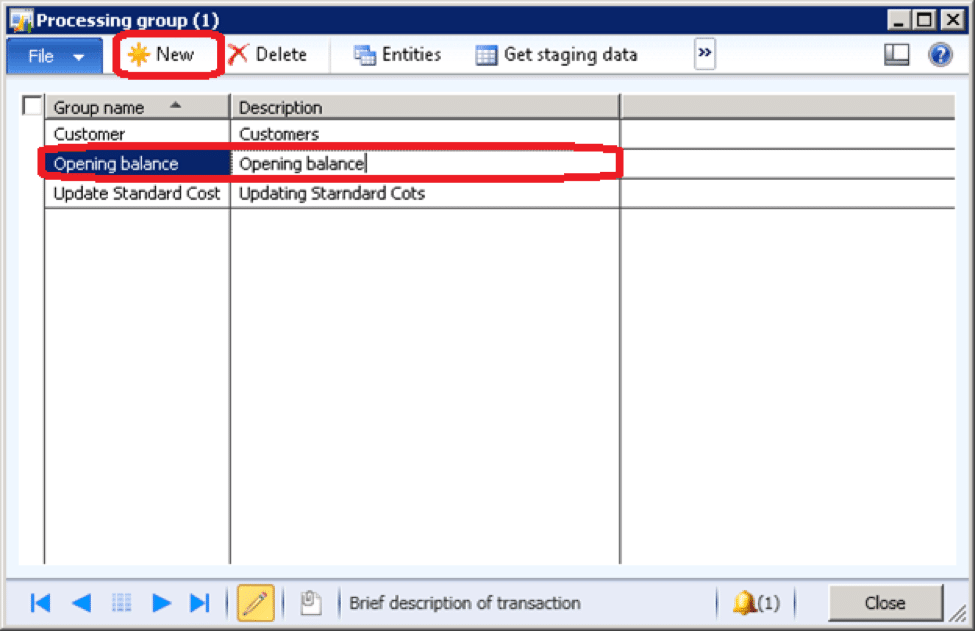
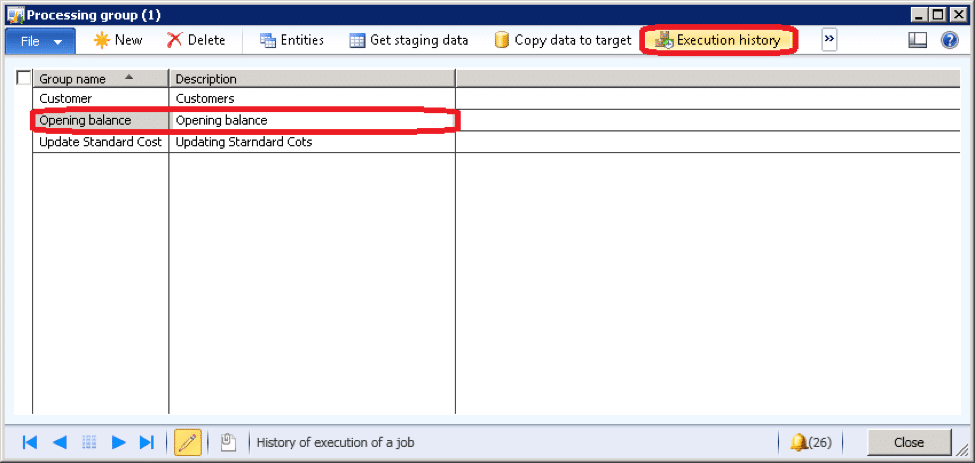
The first step is to setup the Processing group. Go to Data import export framework > Common > Processing group
Click ‘New’ to create a new Processing group. For example I created a new ‘Opening balance’ processing group for my scenario.
- Define Entities
Once you have defined the processing group, the next step is to define the entities that’ll be used to import the data into Dynamics AX. Click ‘Entities’ button on the ‘Processing group’ form.
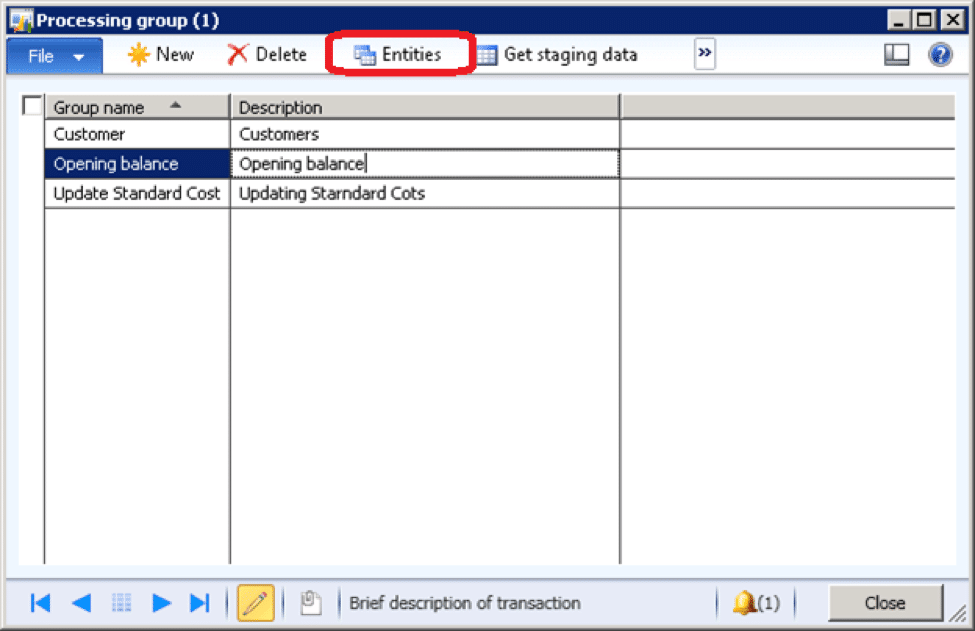
Select the entities that’ll be used for importing the data. For example: I selected the opening balance entity.
There are many data entities available out-of-the-box. You can find the complete list here. If you can’t find an entity that you need for your scenario, creating custom DIXF isn’t a cumbersome task.
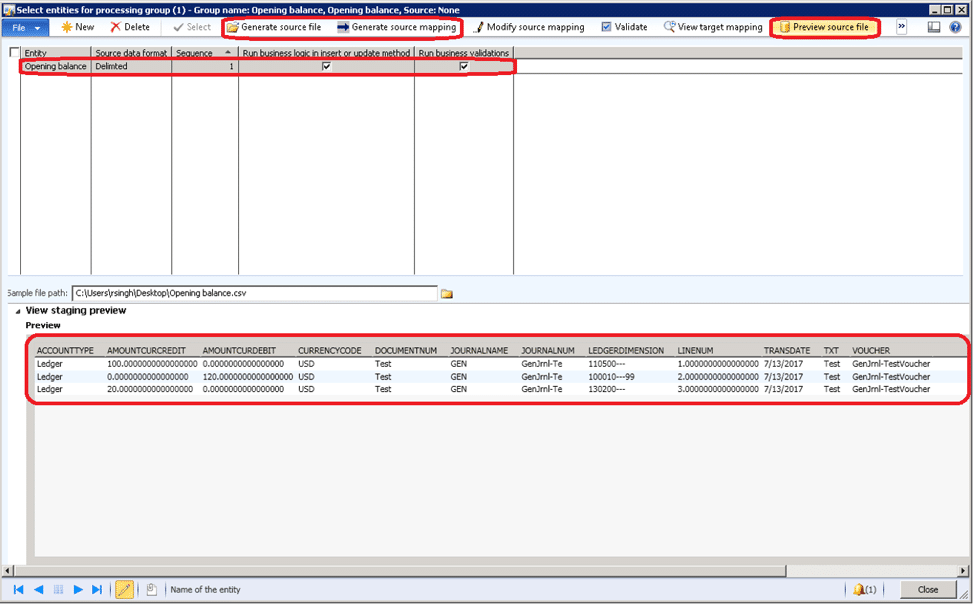
NOTE: You can either ‘Generate source file’ or ‘Generate source mapping’ by providing a ‘Sample file path’. Ensure your source mappings are completed and click ‘Preview source file’ to validate your data.
- Setup ‘Staging data execution’
The next step is to setup the ‘Staging data execution’ process for importing the data. Click ‘Get staging data’ button on the ‘Processing group’ form.
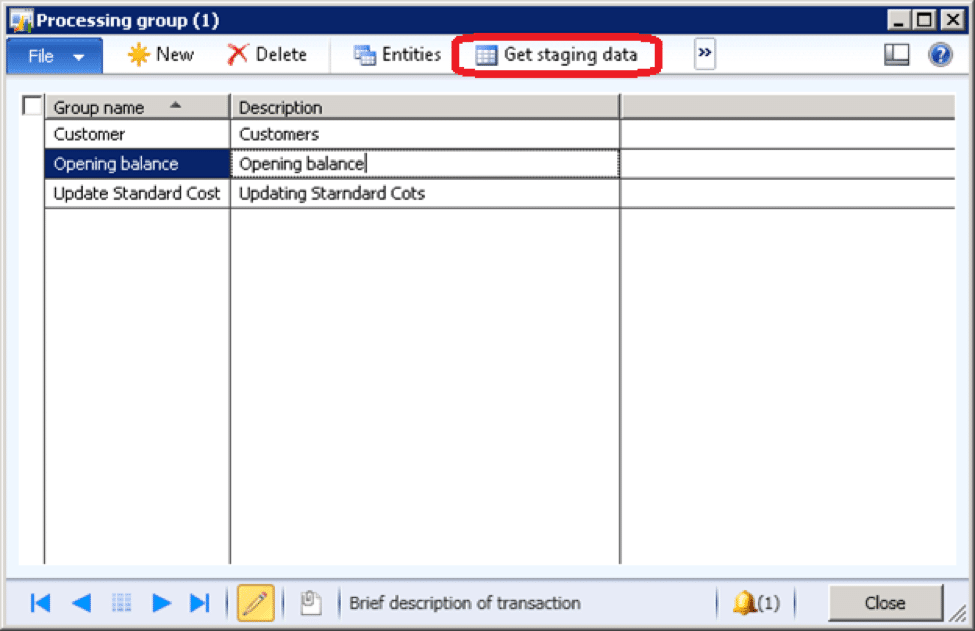
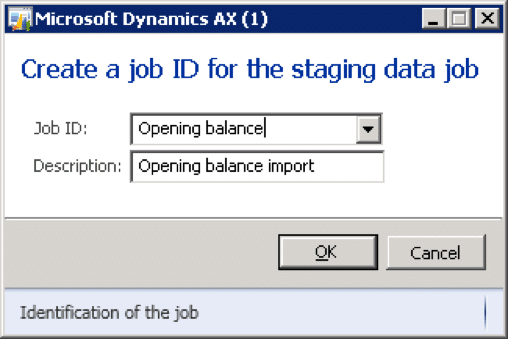
Provide a value for ‘Job ID’ and ‘Description’ and click ‘Ok’.
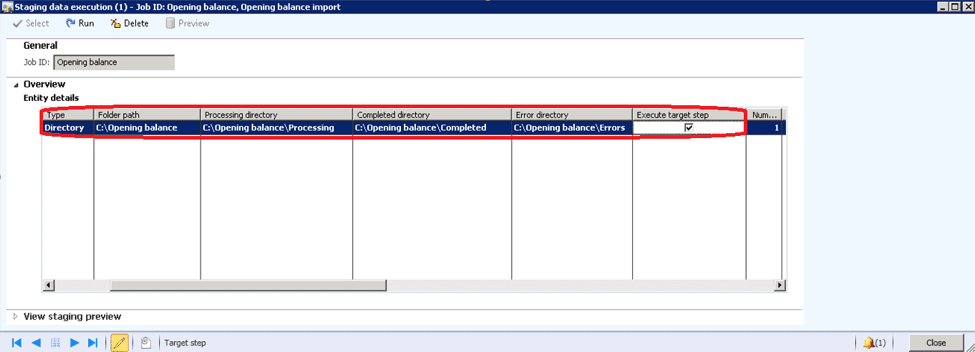
Set the following in the ‘Overview’ tab
Type: Directory – this is used to specify that DIXF will look for new files in this directory to process.
Processing directory: - this is used to specify the directory where files will be moved when are being processed by DIXF.
Completed directory: - this is used to specify the directory where files will be moved after they are processed by DIXF.
Error directory: - this is used to specify the directory where files will be moved if any error(s) occurred during their processing by DIXF.
Execute target step: Checked – this is checked to automatically execute the step to copy the data from staging table to target tables.
- Setup batch process for automated import
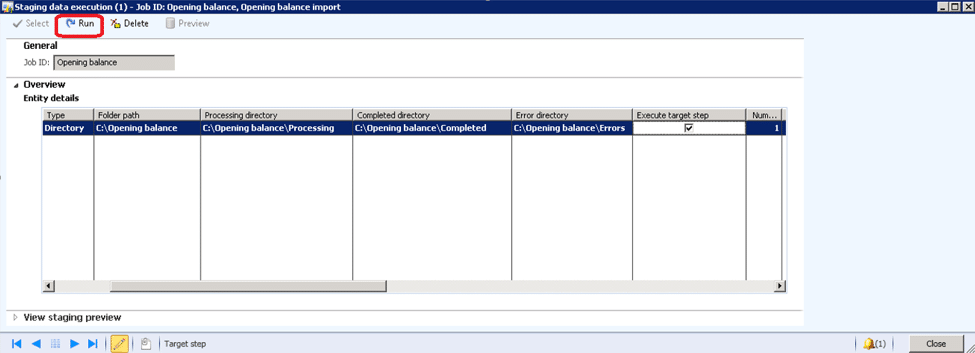
The final step is to setup the batch process for doing automated import. Click ‘Run’ on ‘Staging data execution’ form.
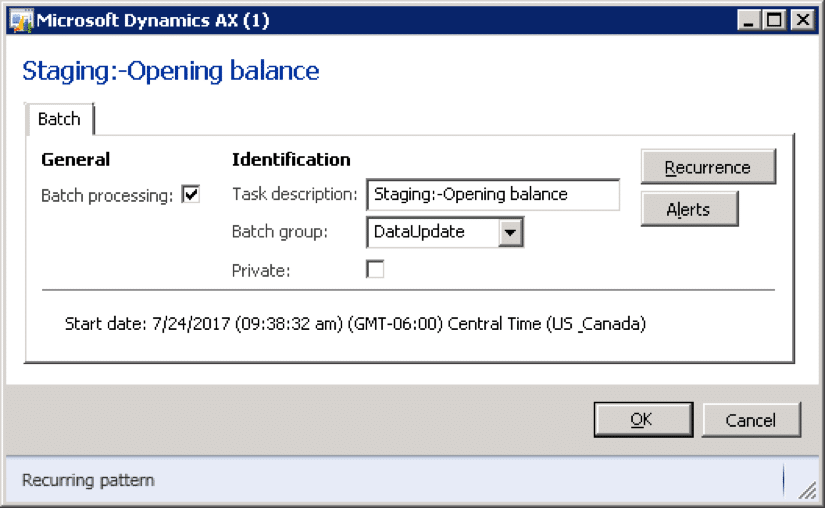
Select ‘Batch processing:’, define ‘Task description:’ and ‘Batch group:’ and click ‘Recurrence’.
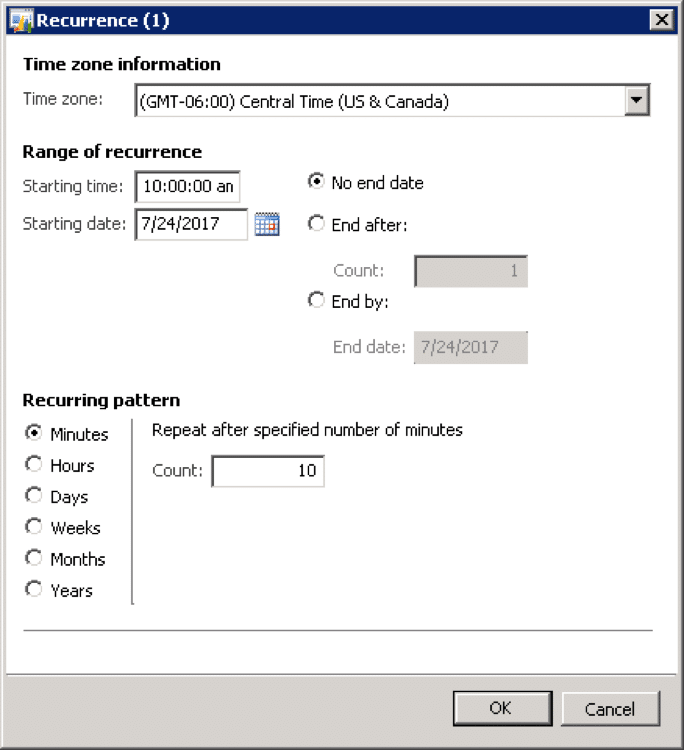
Define your desired recurring pattern. For example: I’m setting the recurring pattern to execute the process every 10 minutes, starting from 10:00AM on July 24th, 2017 and no end date. Click Ok.
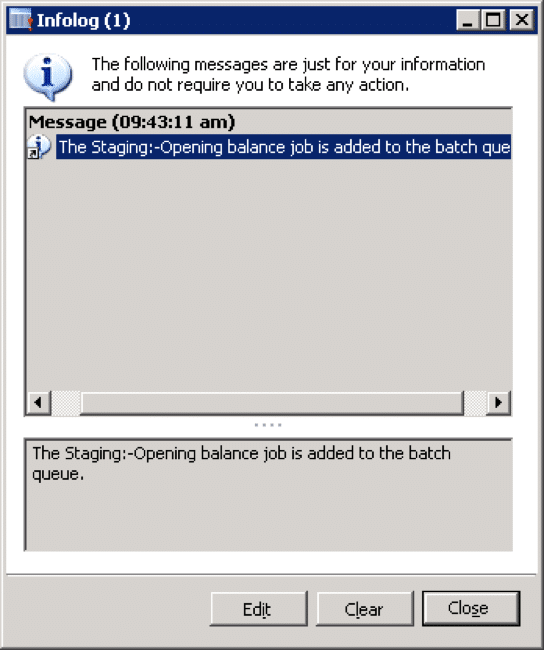
This Infolog message will confirm that the batch process has been setup for your automated import process.
To view the execution history, Click ‘Execution history’ button on the ‘Processing group’ form.
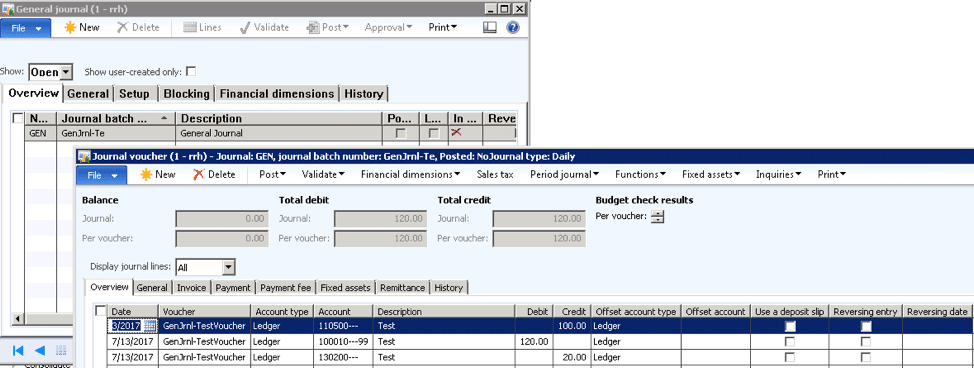
Once the DIXF processes the file, the file will be moved to the ‘Completed’ directory and the data will be imported in Dynamics AX.
Now, all you need to do is just drop the new files in the defined folder and DIXF will do the rest to import the data automatically.

Under the terms of this license, you are authorized to share and redistribute the content across various mediums, subject to adherence to the specified conditions: you must provide proper attribution to Stoneridge as the original creator in a manner that does not imply their endorsement of your use, the material is to be utilized solely for non-commercial purposes, and alterations, modifications, or derivative works based on the original material are strictly prohibited.
Responsibility rests with the licensee to ensure that their use of the material does not violate any other rights.