


Linking Your Bank Account to Dynamics 365 Business Central
*This post was written for Dynamics 365 Business Central but the content also applies to Dynamics NAV. You may notice some slight differences in the screenshots, but the information and steps are directly applicable to the NAV solution.
Integrating data sources into your financial system is a great way to automate the flow of information between systems and ultimately enable your business to work smarter. As a leader in your organization, one key area to the health of your business is cash flow and current cash positioning. Integration of banking information in Dynamics 365 Business Central is just one of the key features we recommend implementing. Completing this integration links information from your bank account(s) into the financial system for use by finance professionals & leaders in your organization for reporting and bank reconciliation.
How does Bank Integration work? I’ve included the Microsoft video outlining the simple process to integrate Bank Feeds into Dynamics 365 Business Central. Linking your bank account(s) allows reporting access to your cash position; including daily, weekly, and monthly bank transaction imports – showing inbound cash and outbound payments that have cleared each bank account. For customers with multiple bank accounts, Dynamics 365 Business Central has the ability to link to multiple accounts! Additionally, if there are transactions that occur outside of your scheduled feed, additional entries can be imported using the Payment Reconciliation Journal. Once the information is imported, it can be accessed by users with appropriate permissions – either view only or bank reconciliation access.
The best part of this integration is that it is included in your Microsoft Dynamics 365 Business Central subscription!
Ready to enable your business with cash flow information and simplify the bank reconciliation process? Check out the video and my step-by-step instructions below.
https://youtu.be/JxiJCkgIB6c?list=PLcakwueIHoT8K1m148oMqo7amR2a7Bz-8
Steps to set-up Bank Integration in Dynamics 365 Business Central:
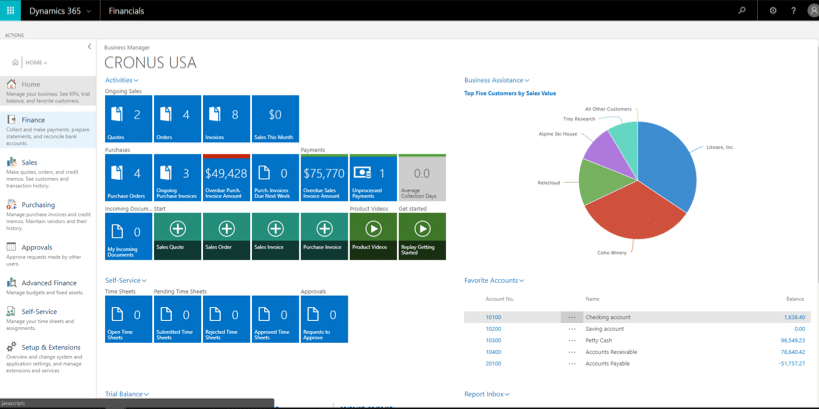
- Log into Dynamics 365 Business Central
- To access Bank Accounts, click from the Home screen on the left-hand navigation pane to “Finance”
- Then click on “Bank Accounts”, click on “+new” to create a new Bank Account
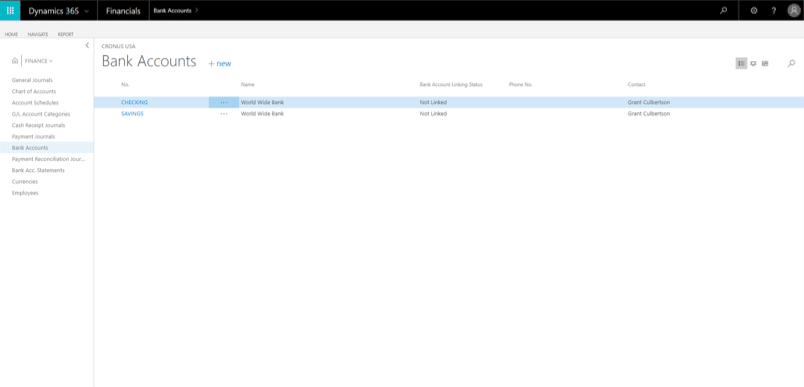
- Select “Create New Linked Bank Account” from the top of the page

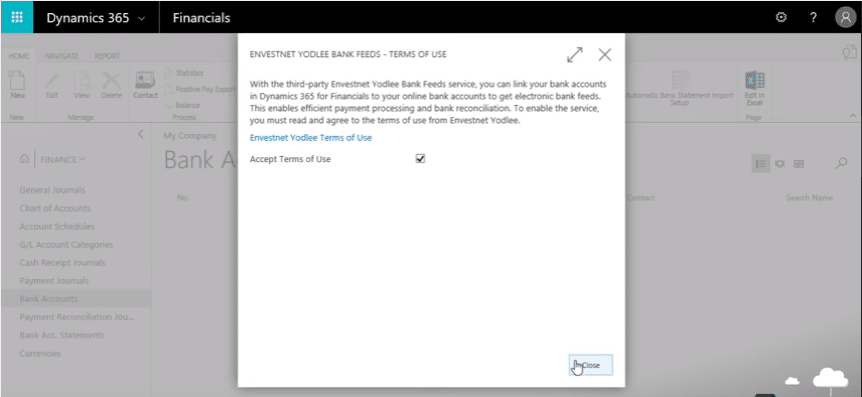
- Enable Bank Feed Service by reading & accepting the Terms of Use
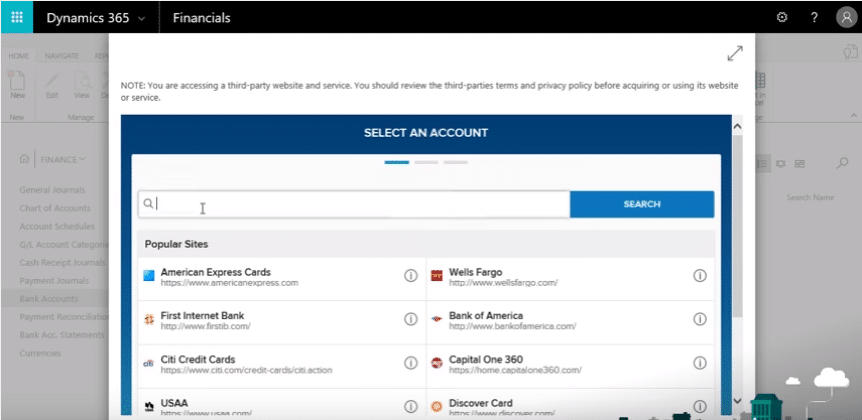
- Search for your bank by typing “Wells Fargo” or “Bank of America” – there are dozens of supported banks!
- Then enter your banking log-in credentials – the username & password Dynamics 365 Business Central will use to access your account
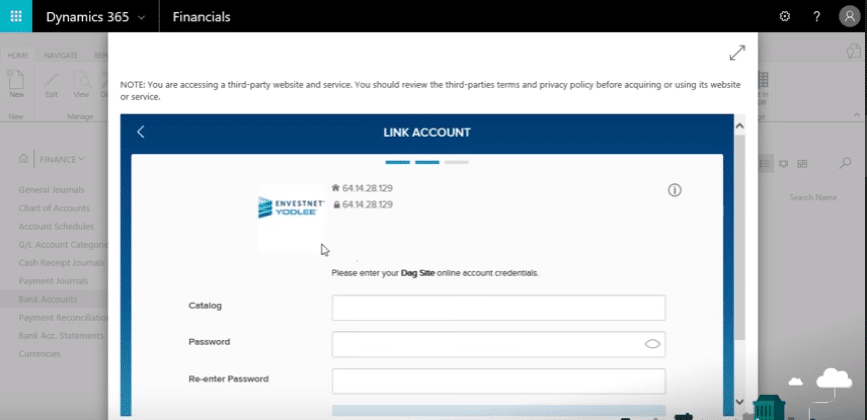
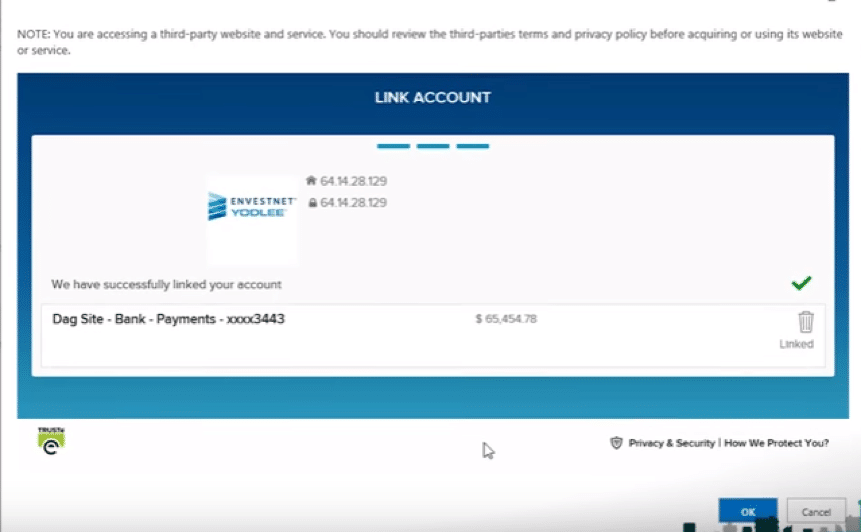
- Confirm the credential and return to the bank account list by clicking OK in the lower right corner of your screen
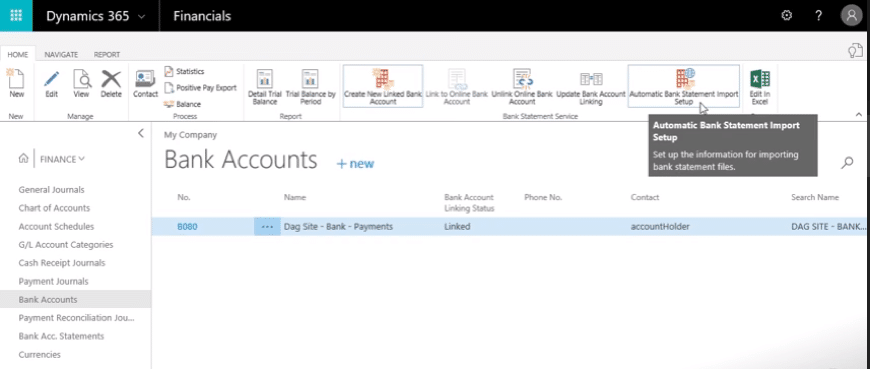
- Once complete, you can return to the bank account card and select “Automatic Bank Statement Import Setup” – this will allow you to set the frequency of information imported into Dynamics 365 Business Central
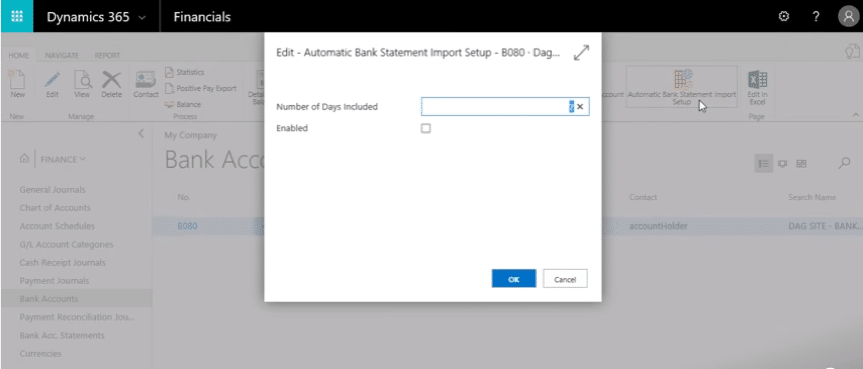
- Then select the frequency (number of days) you would like to pull in data – remember this can be updated easily if the information is not being imported at the right cadence for your business.
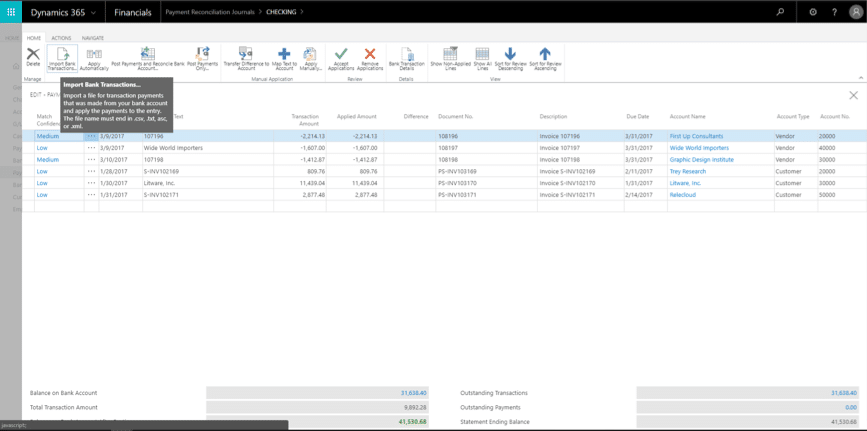
- Lastly, you can use the Payment Reconciliation Journal to import additional entries as needed by clicking on Payment Reconciliation Journal
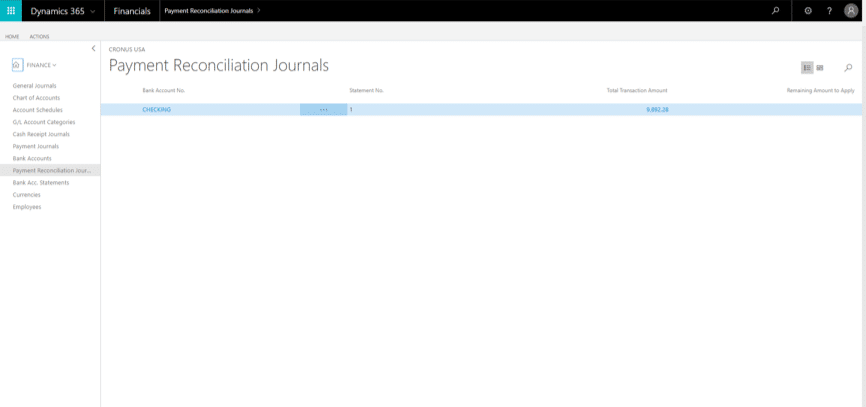
- Then select “Import Bank Transactions”
You’ve now got the information needed both to have scheduled data imports from your bank account as well as pull in additional information “on the fly”!

Under the terms of this license, you are authorized to share and redistribute the content across various mediums, subject to adherence to the specified conditions: you must provide proper attribution to Stoneridge as the original creator in a manner that does not imply their endorsement of your use, the material is to be utilized solely for non-commercial purposes, and alterations, modifications, or derivative works based on the original material are strictly prohibited.
Responsibility rests with the licensee to ensure that their use of the material does not violate any other rights.