


New User Setup Checklist in Dynamics 365 for Customer Engagement
I frequently work with clients where the IT department creates a new user for Dynamics 365 for Customer Engagement (CRM), but doesn’t complete the subsequent steps that are required to make that user “fully functional” in CRM. Here is a checklist for new user setup in Dynamics 365 CRM.
1. Assign a License
- The individual should show up as a user in your Microsoft 365 Admin Center. You need to have Office 365 admin access (different than CRM admin access) to assign a license. Depending on the organization, you may need to have IT complete this step.
- Find and select the correct user from the list, a pane will open from the right side. Under “Product Licenses” click “More”.
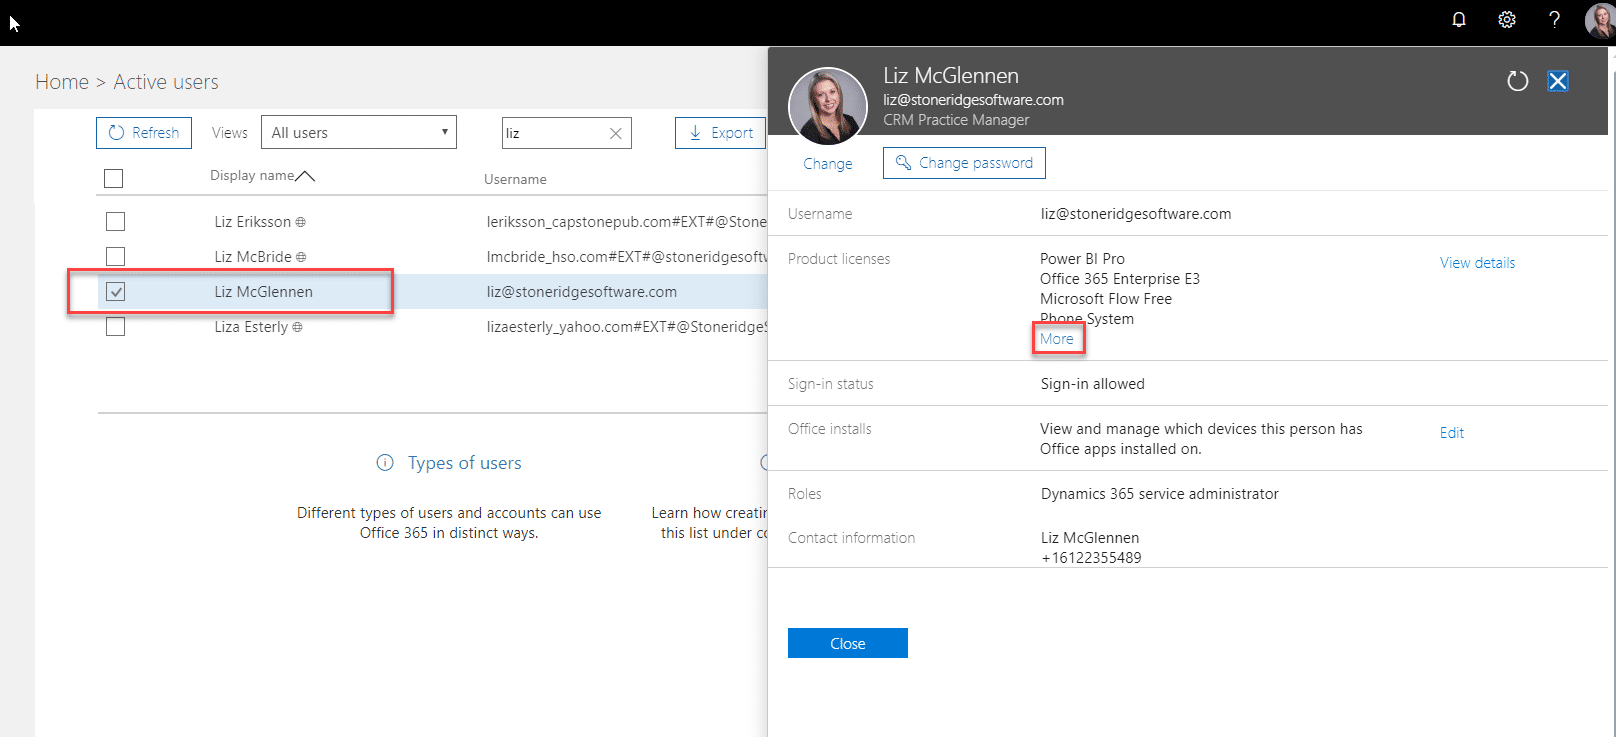
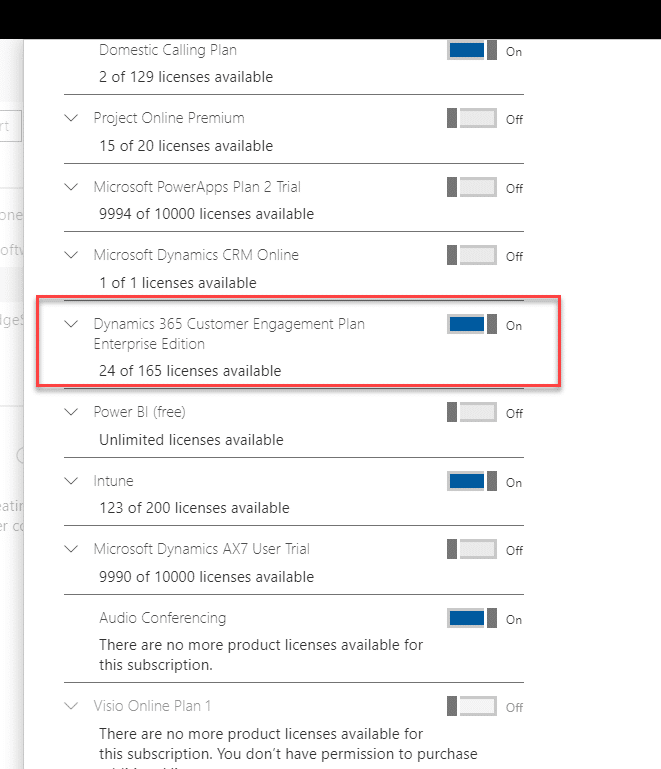
- This opens the list of licenses that you can give to that user. Find the appropriate CRM license, this name may vary and turn it on. Scroll down to the bottom of the page and click Save.
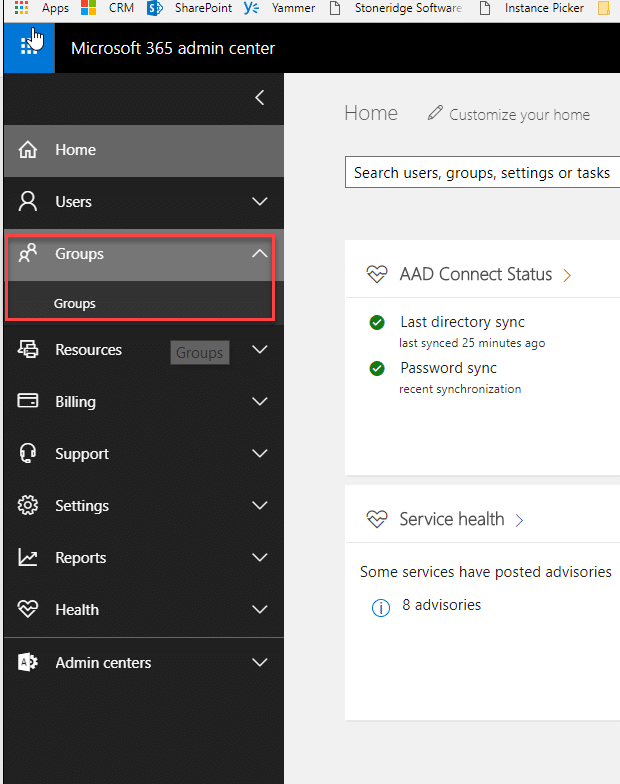
2. Security Group in Microsoft Admin Center
- Some organizations use security groups and others don’t. Security groups are useful if you have users that you want to access your production (live) CRM environment but they don’t need access to the other environments such as a dev or sandbox org. Are you using Business Units? If so put the user into the correct Business Unit before assign the security role. When you move the user from one Business Unit to another it removes the security role.
We can move out of Microsoft Admin Center and into CRM now. From this point, if you are just a CRM admin and not a D365 admin you’ll be able to complete the following steps yourself.
3. Are you using Business Units?
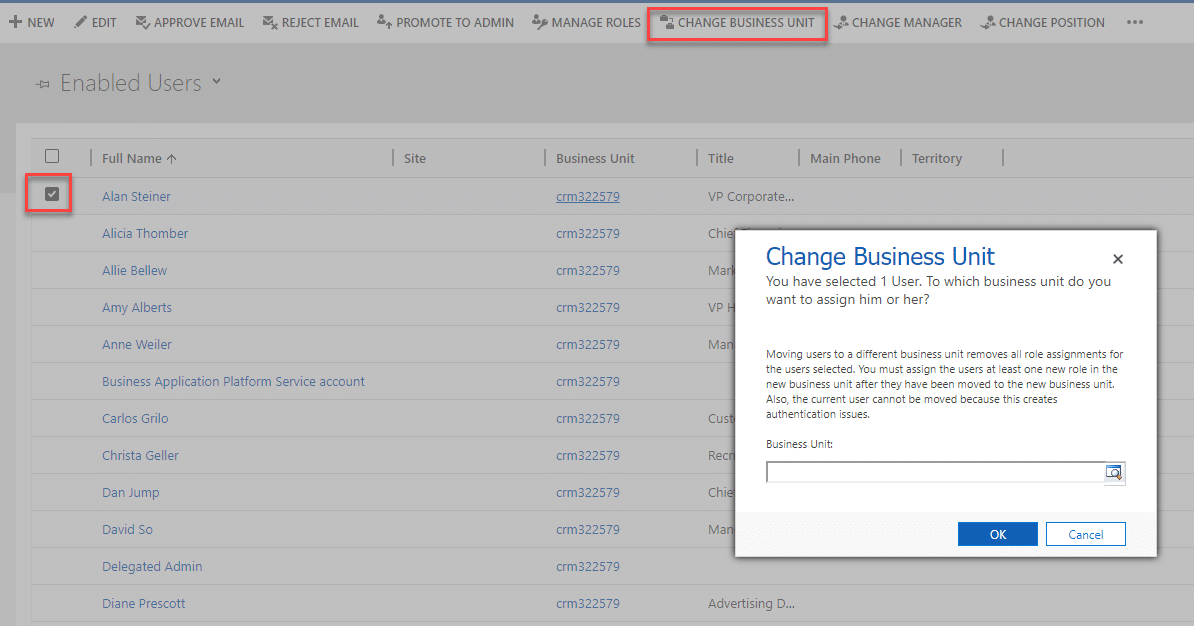
- If you aren’t using Business Units you can move to step 4. If you are using them, then you should move the user into the appropriate Business Unit before proceeding to the next step. To do this navigate to Settings > Security > Users. Select the user and click “Change Business Unit” on the command bar. A new window will open and you’ll be able to look up and select the business unit.
- It’ll save you time doing this step now because when you move a user from one Business Unit to another it’ll remove their security roles.
4. Security role in CRM
- A user needs a security role in order to access the system. It is important to give the correct role or roles so that they have the appropriate access to the system.
- Select the user, click “Manage Roles” and check/uncheck the appropriate roles.

5. Are you using Teams?
- If you’re using Teams in CRM you’ll want to make sure to add that use to the Team(s) that they need to be on.
- Navigate to Settings > Security > Teams. Open the Team record. On the subgrid on the right, click the plus sign to add the new user to the team.
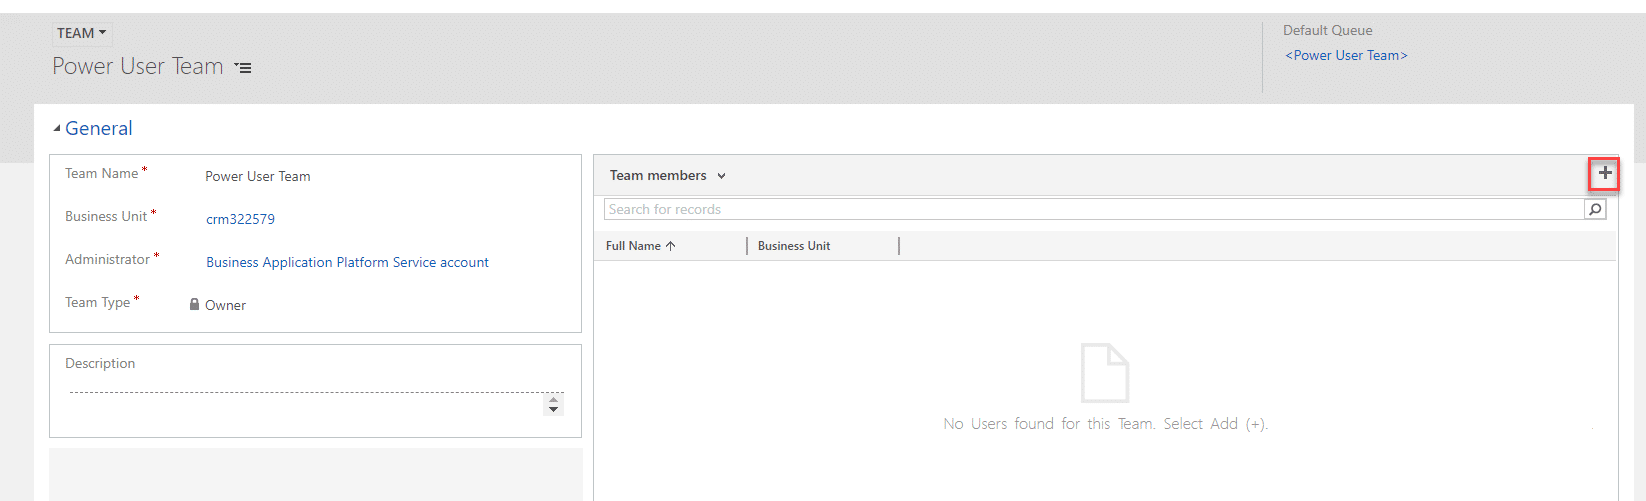
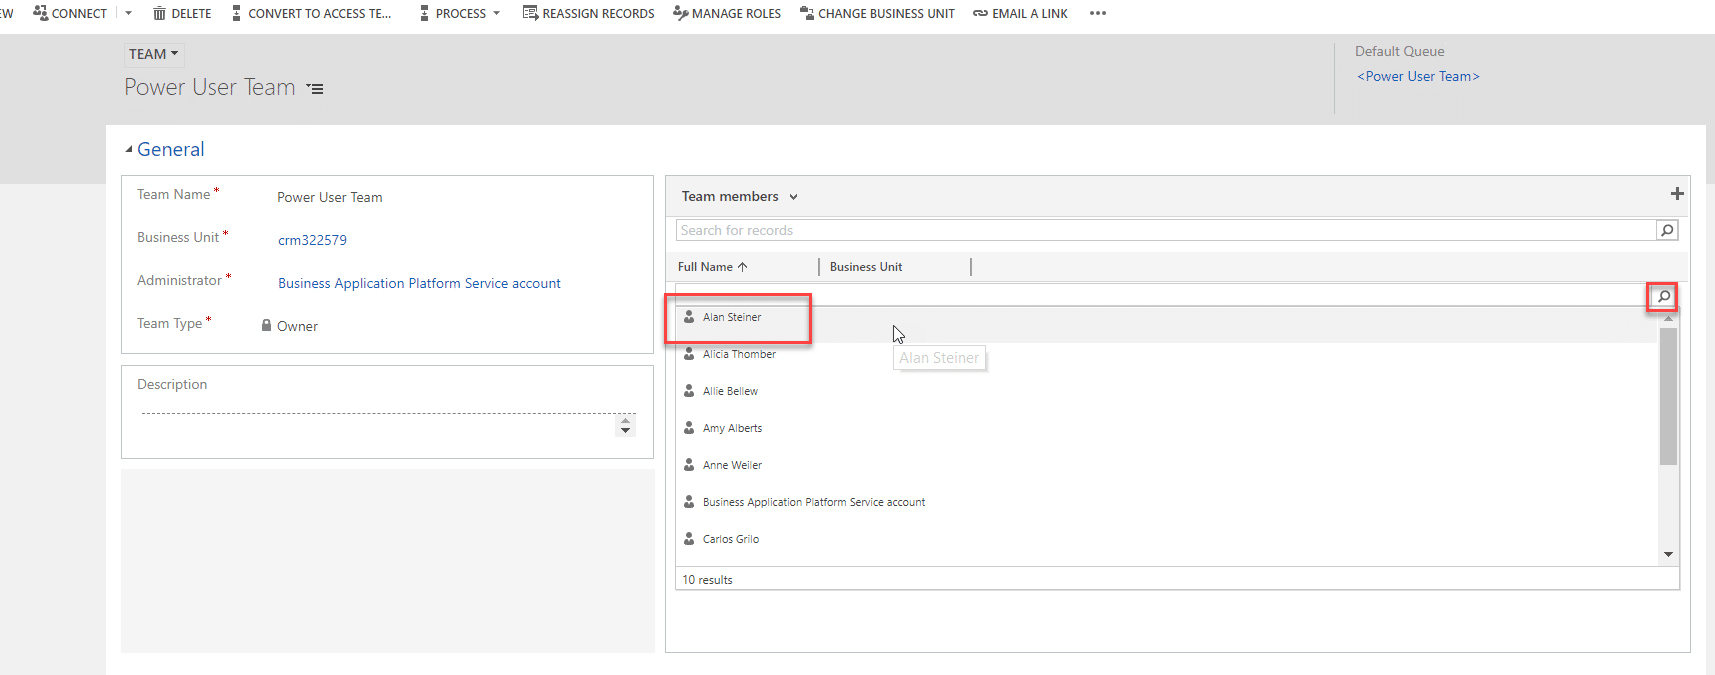
Note: I often see people go to this search instead of the plus sign. The top search bar doesn’t allow you to add a user to the team.

6. Enable Mailboxes
- If you want users to be able to send email, receive email or sync appointments and contacts then you need to complete this step.
7. Are you using the legacy Outlook client or the new App for Outlook?
- If you’re version 8.2 you can consider moving to the new App for Outlook. If you’re on version 9 or newer I highly recommend the App for Outlook.
8. Update Personal Settings
- There isn’t a way to control the individual personal settings from the CRM interface. There are some important items that need to be set though. I like to use a utility in the xrmtoolbox called User Settings Utility.
- Connect to the org, open the utility, click “Load the users, select the user(s) you want to update settings for on the left. On the right, you can update any of the personal settings for that user.


Under the terms of this license, you are authorized to share and redistribute the content across various mediums, subject to adherence to the specified conditions: you must provide proper attribution to Stoneridge as the original creator in a manner that does not imply their endorsement of your use, the material is to be utilized solely for non-commercial purposes, and alterations, modifications, or derivative works based on the original material are strictly prohibited.
Responsibility rests with the licensee to ensure that their use of the material does not violate any other rights.