


How to Use the Dataverse Search Tool in Dynamics 365 Customer Engagement
Using the Dataverse Search Tool in Dynamics 365 Customer Engagement is a new and innovative way for you to manage and have access to multiple tables simply by typing a keyword into the search bar.
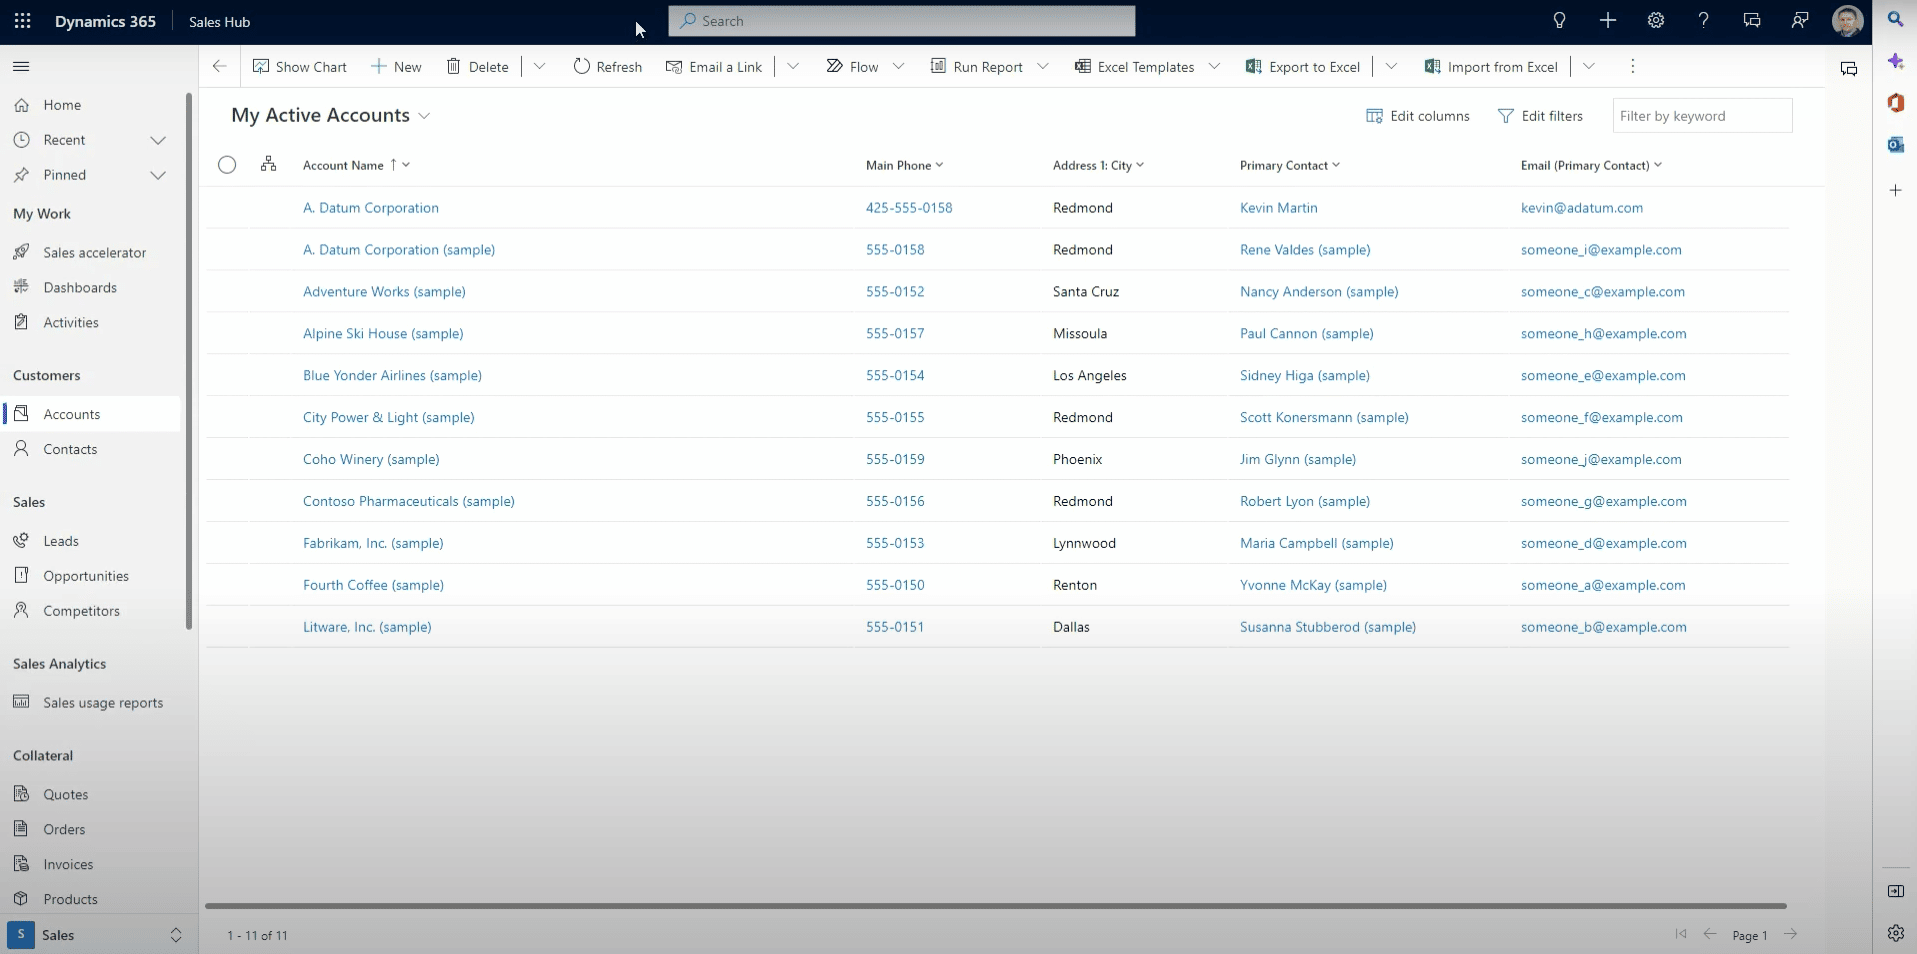
This new global search tool has a lot of unique new features. Once you start typing your keyword, it will pull up suggestions and results based on what you have stored in the Dataverse. It’s a smart tool as well in that it will find matches for inflection words, leverage AI to look for spelling mistakes, abbreviations, or synonyms, and pull up the correct records despite them.
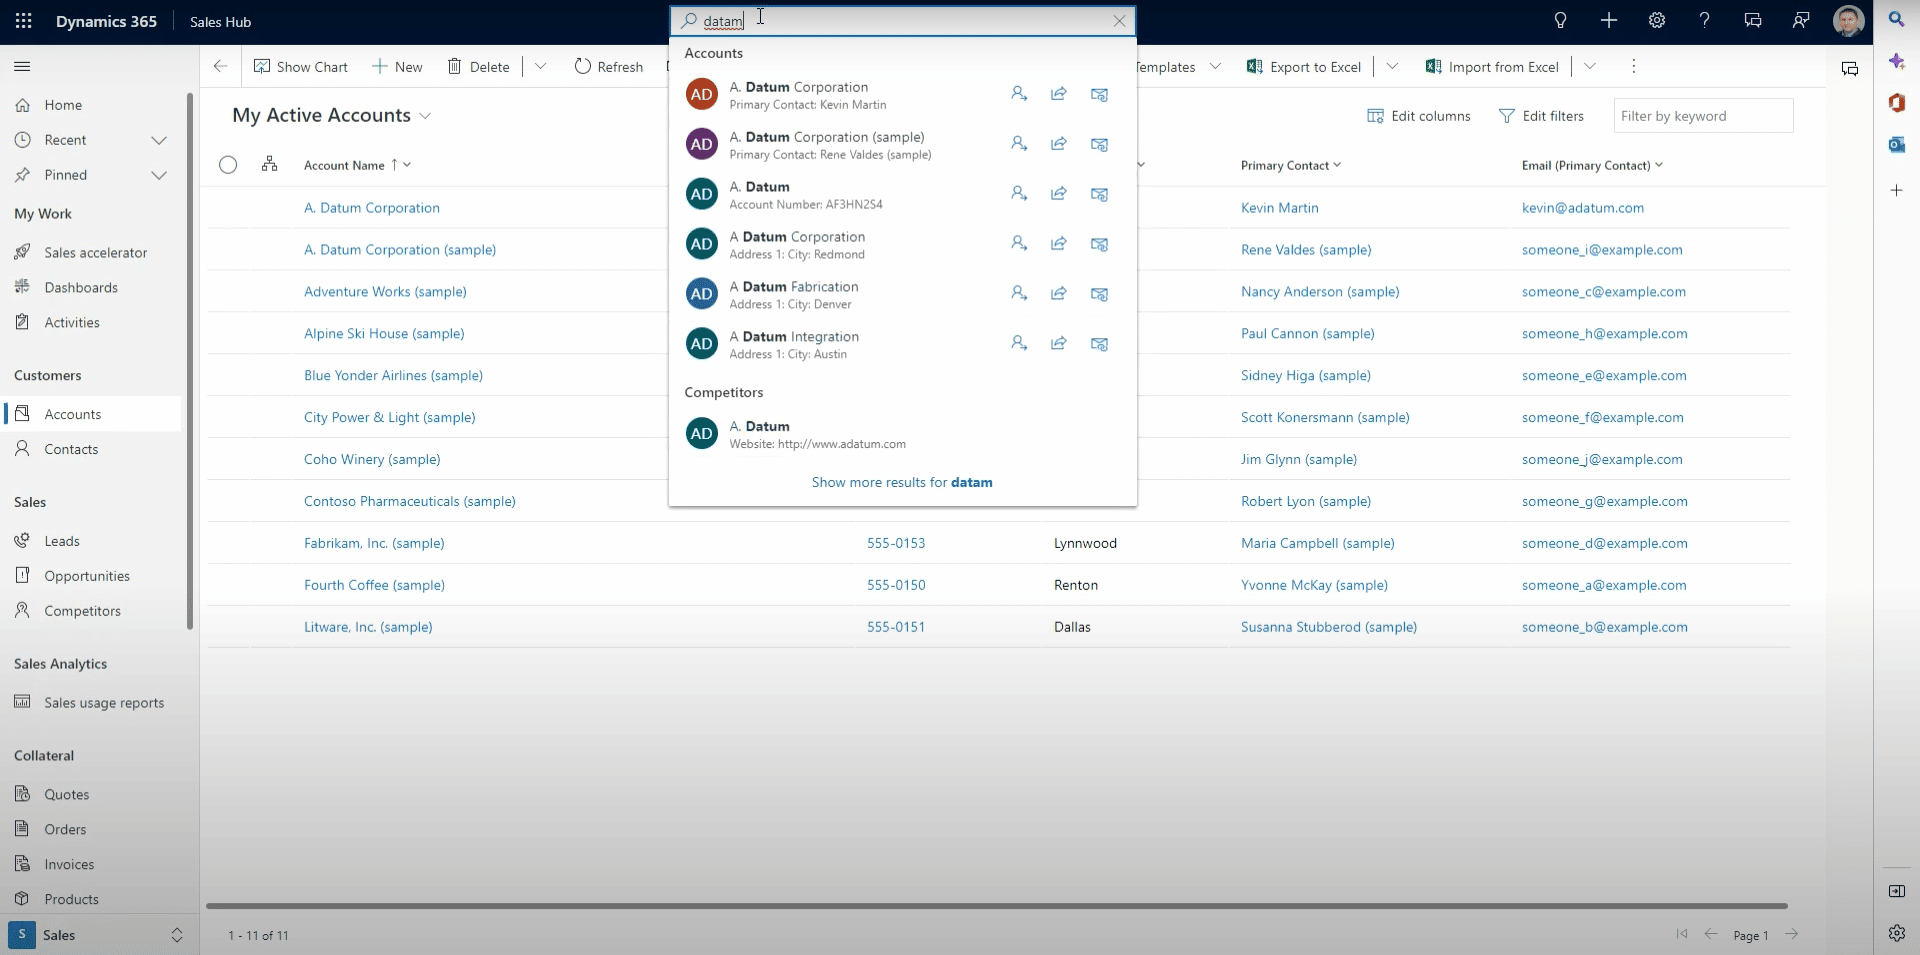
Once you find the record you are looking for you can assign, share, or email it right from the search bar. Of course, you can also go directly into the record and edit it to suit your needs.
It also provides you with filters to further help you find the specific records you are looking for. For example, if you have a custom table or other tables that are not enabled as part of the Dataverse search, an administrator can go in and make updates so you can see those tables. This means you won’t be limited by what comes out-of-the-box with your Dynamics 365 Customer Engagement environment.
There are a lot of features you probably had before in some various. This change to the search tool might have you wondering how those operate now. We have detailed some below, but if you have more questions, feel free to contact our team.
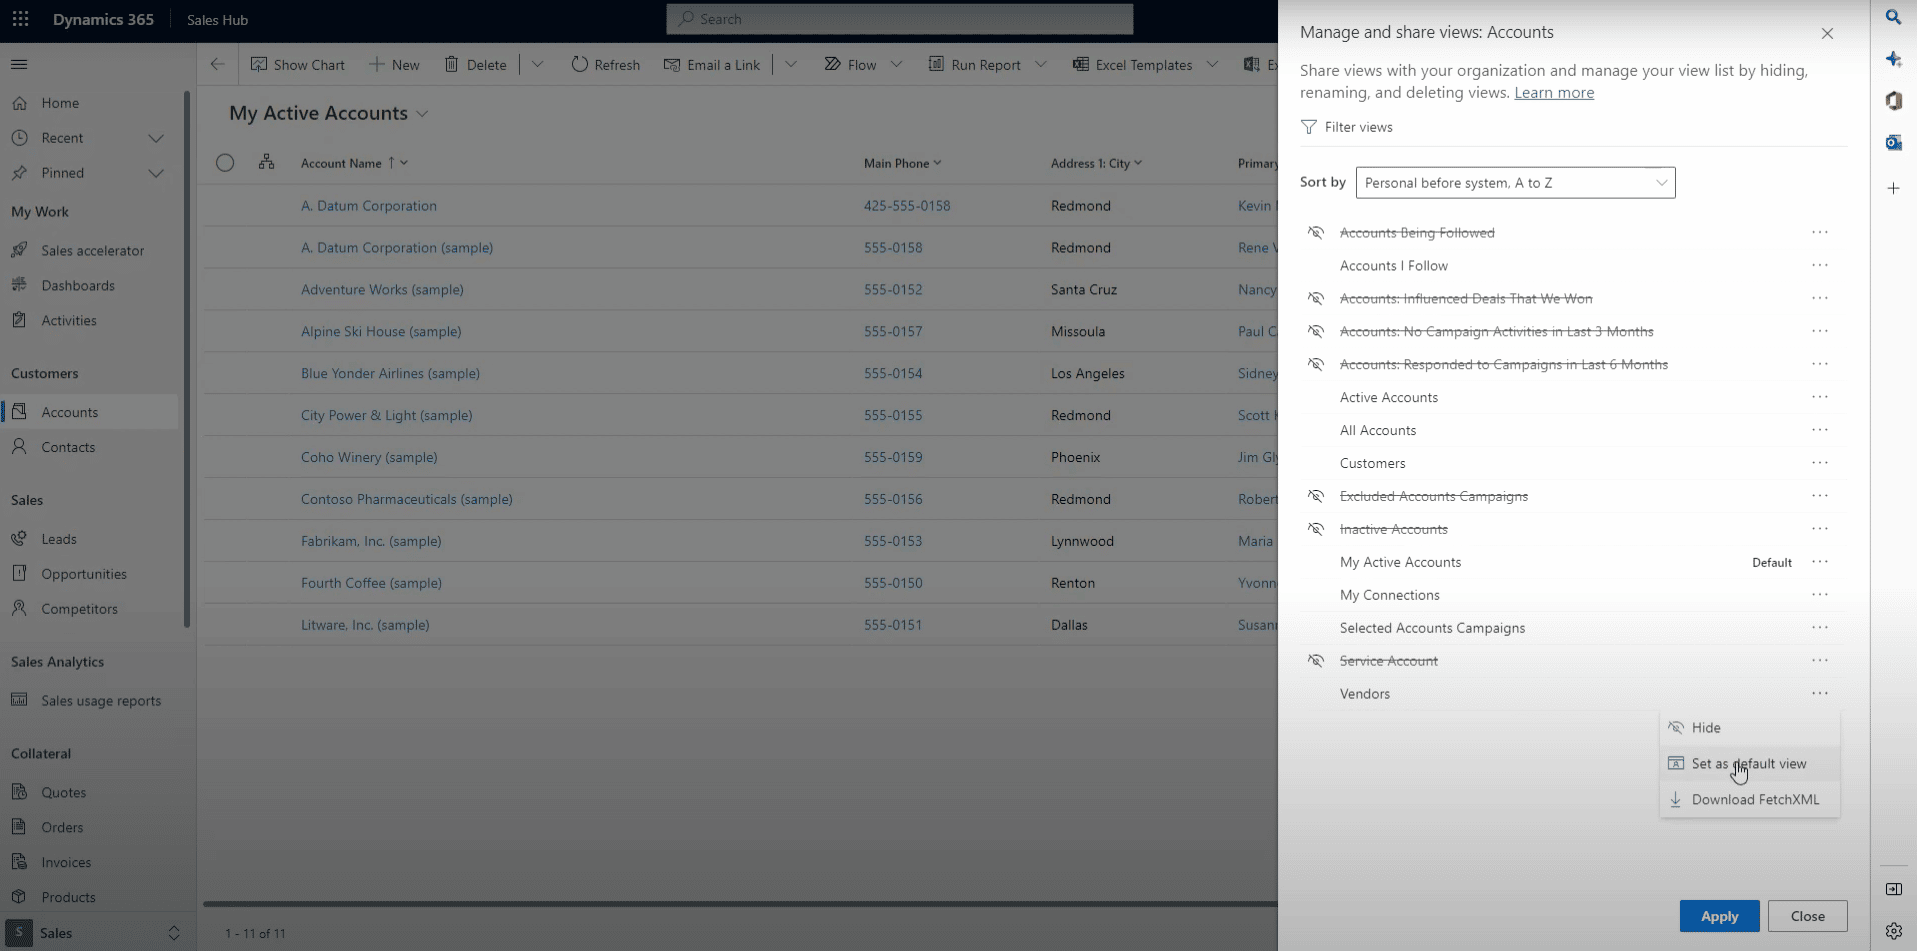
Manage and Share Views
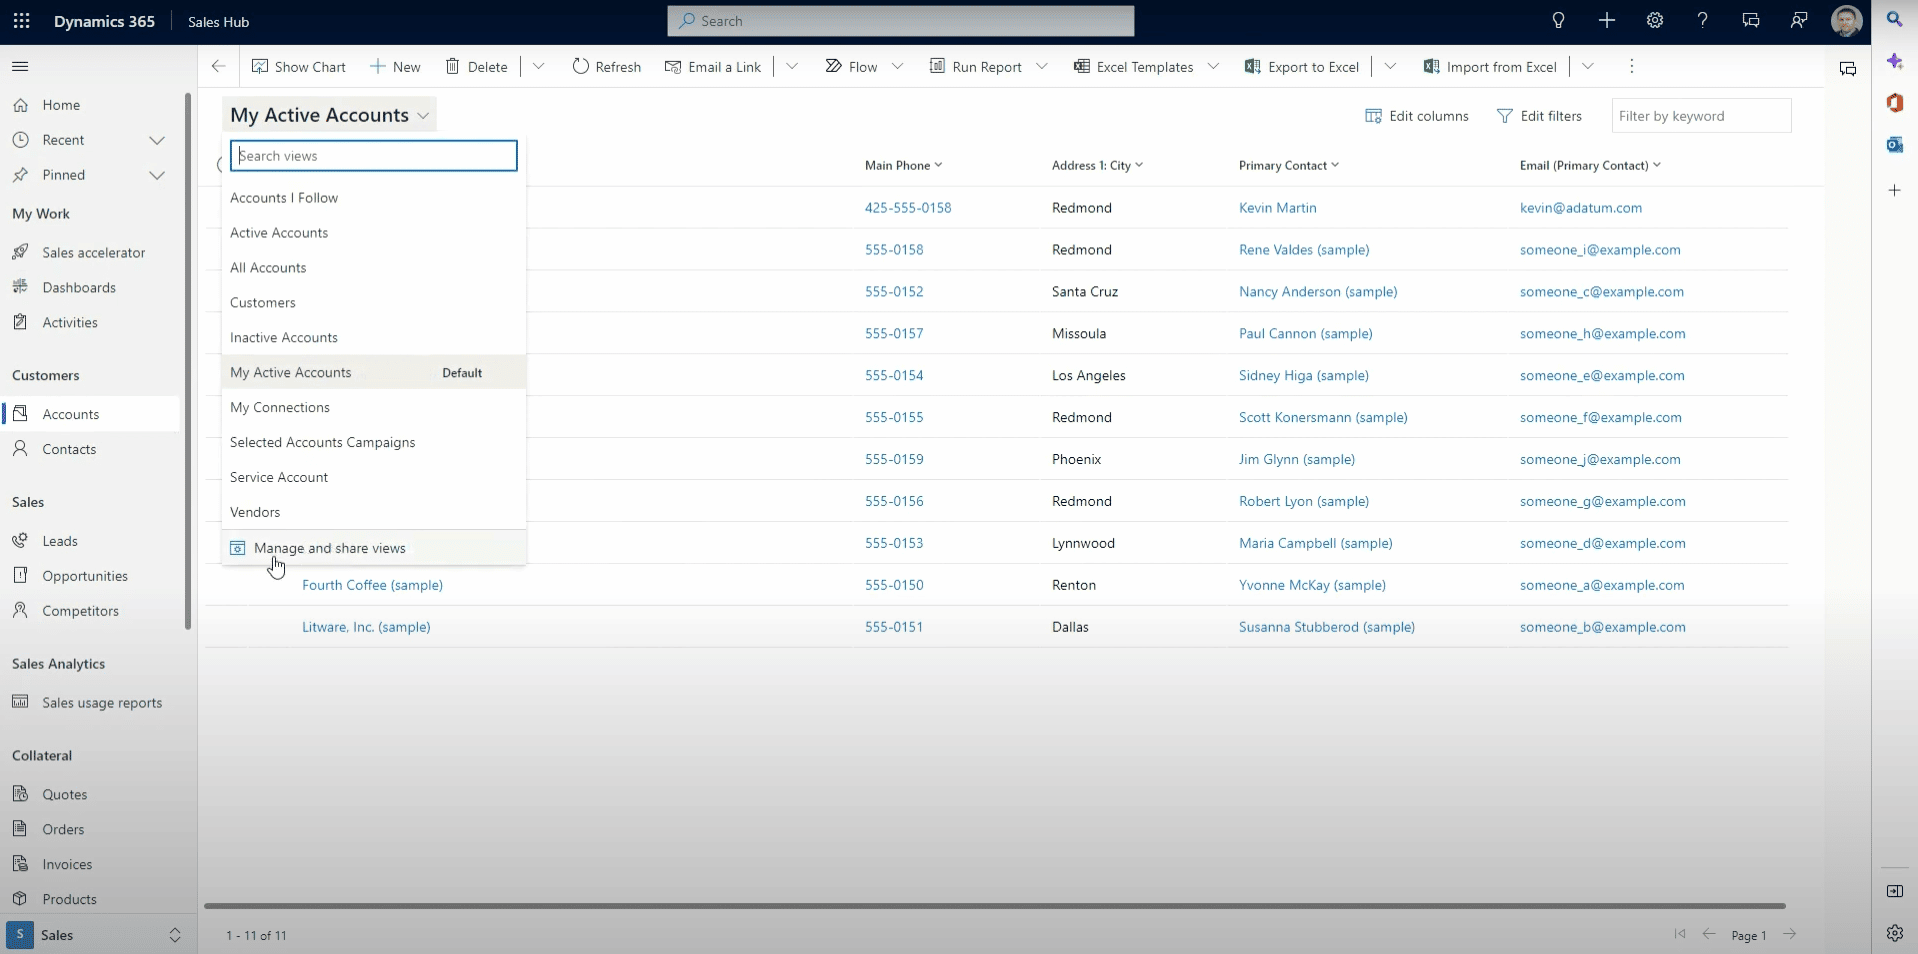
You can go in and hide/highlight specific views based on your business needs. Any user can do this if they get permission from an administrator.
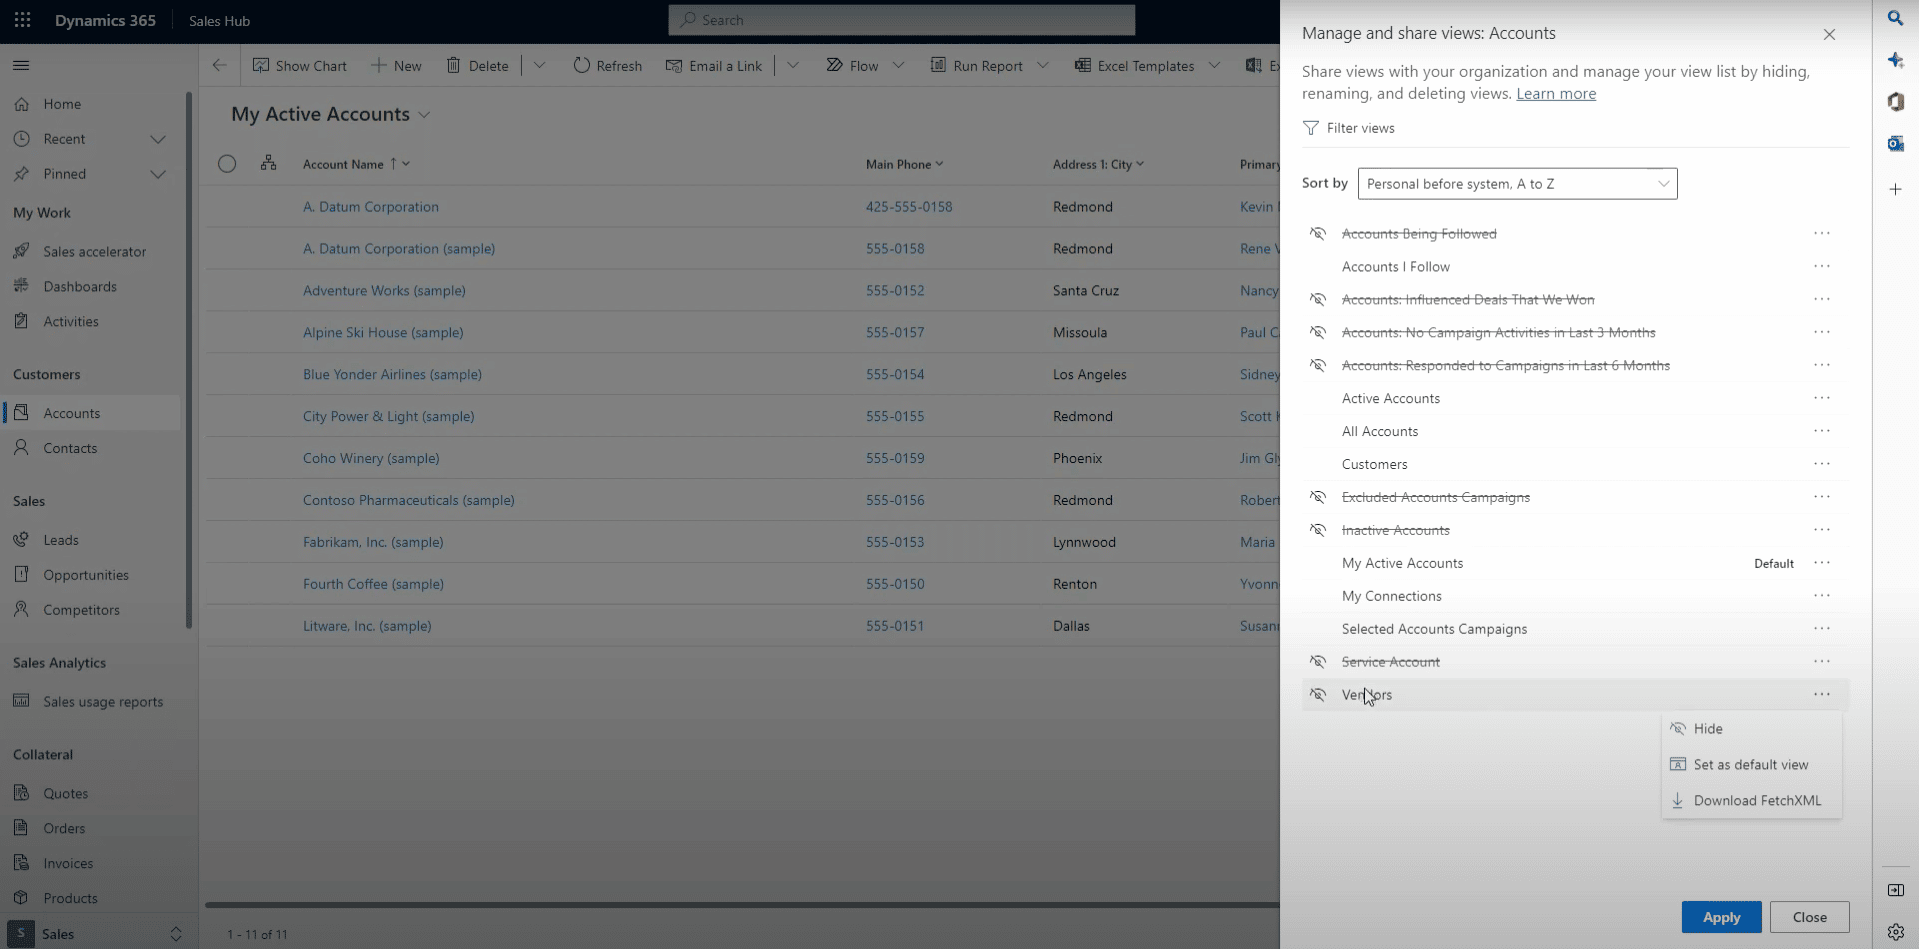
This helps you clean up your main views menu so you only see the ones that are relevant to what you work on. You can also set your default view here.
Filter Views
This gives you a few more options and enables you to hide or show views in bulk. For example, if you wanted to hide all views related to an inventory, you can simply filter out all the views on that topic and then select and hide them all.
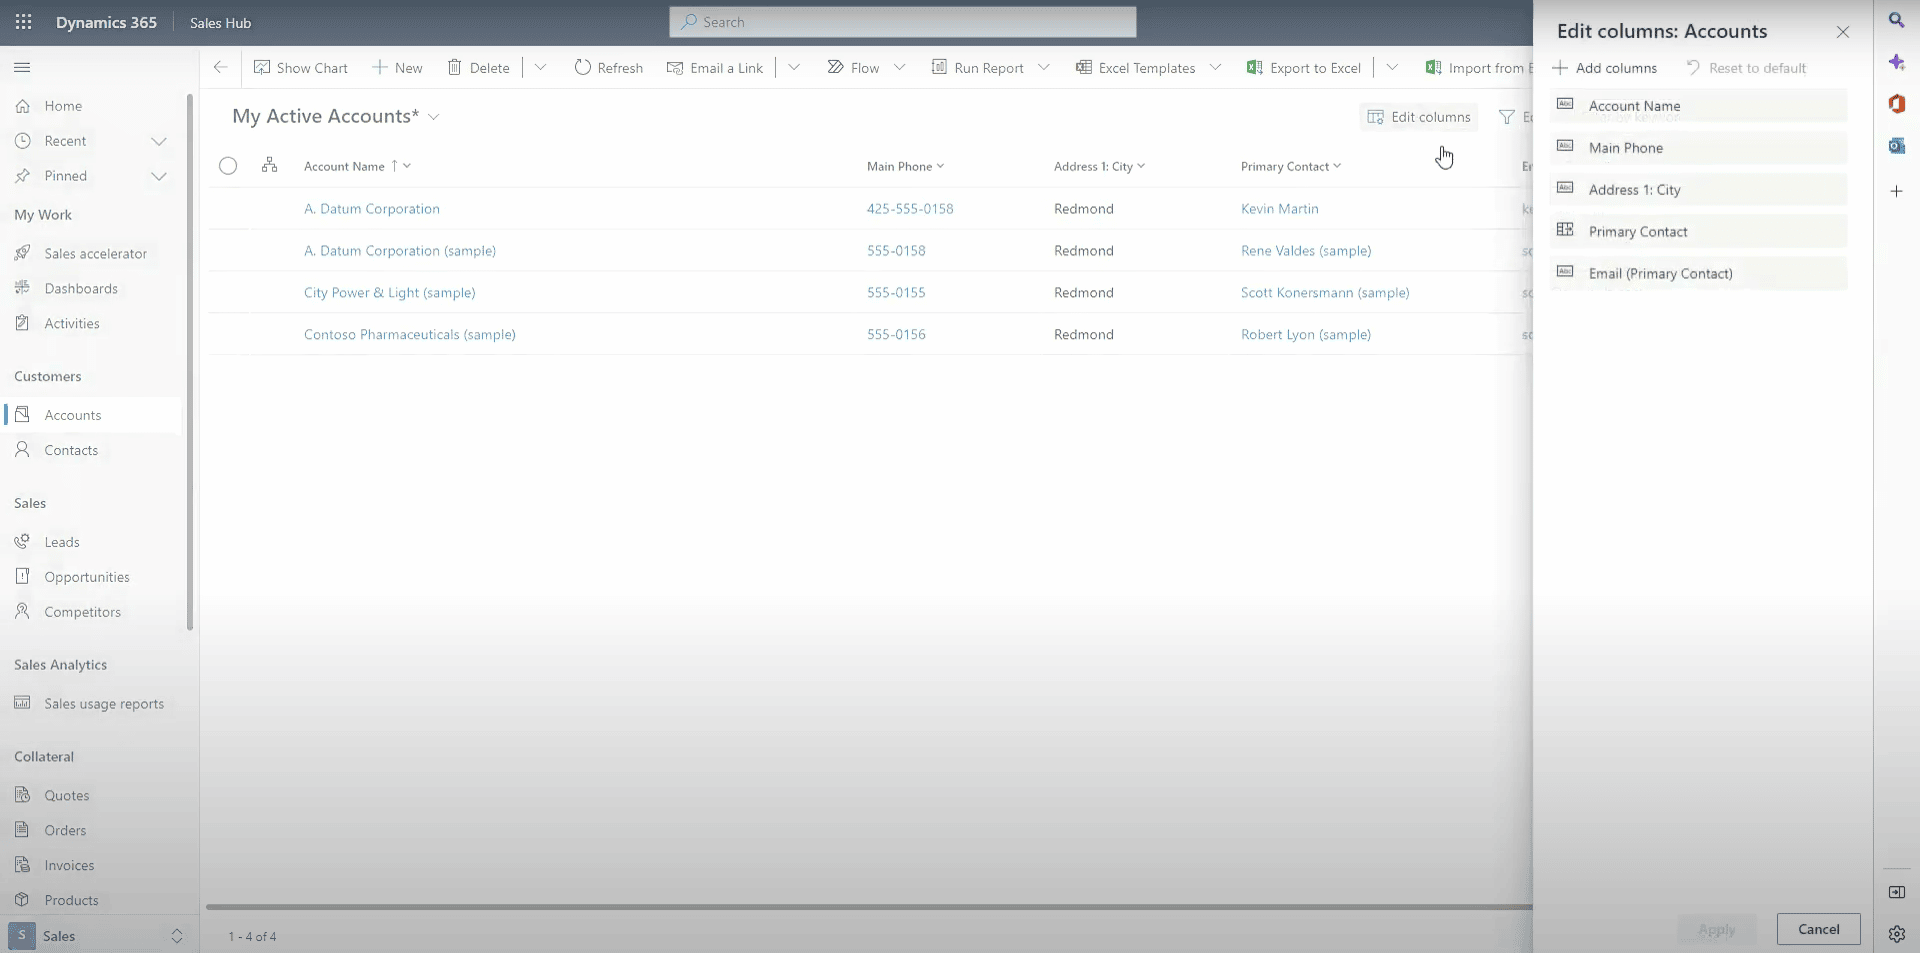
Create Views/Edit Filters
If out-of-the-box views and filters aren’t for you, you can also customer and create your own.

You can customize them by adding/removing rows and columns by clicking on "Edit columns". You can also mandate which fields must contain or do not need to contain data before your view is published.
Once you are done making all the changes and customizations you need, you can hit the main drop-down menus again and select “Save as a new view”. From there you give the view a Name and Description.

It’s that simple!
For a step-by-step guide, watch the video below:
{
"@context": "http://schema.org",
"@type": "VideoObject",
"name": "How to Use the Dataverse Search Tool in Dynamics 365",
"description": "Dataverse search is a go-to global search tool in Microsoft Dynamics 365. This tool was automatically added to Microsoft Dynamics 365 in the Wave 2 2022 release, and you may be wondering how to use it. This short demo will give an overview of dataverse search. Learn more about Microsoft Dynamics 365 at Stoneridgesoftware.com Timestamps: 0:00 - Overview 2:54 - Views 4:53 - Edit filters 5:23 - Add columns 5:47 - Save new view 6:52 - Outro",
"thumbnailUrl": "https://i.ytimg.com/vi/W3zy4qJP2Cw/default.jpg",
"uploadDate": "2022-11-10T22:27:00Z",
"duration": "PT7M3S",
"embedUrl": "https://www.youtube.com/embed/W3zy4qJP2Cw",
"interactionCount": "858"
}
Questions?
Please reach out to us! Our experts want to help you optimize your Dynamics 365 Customer Engagement environments.

Under the terms of this license, you are authorized to share and redistribute the content across various mediums, subject to adherence to the specified conditions: you must provide proper attribution to Stoneridge as the original creator in a manner that does not imply their endorsement of your use, the material is to be utilized solely for non-commercial purposes, and alterations, modifications, or derivative works based on the original material are strictly prohibited.
Responsibility rests with the licensee to ensure that their use of the material does not violate any other rights.