


Setting Up Continuous Integrations in Dynamics 365 for Operations
Previously I showed you how to set up version control in Dynamics 365 for Operations. Now we will look at setting up a continuous integration build for our project.
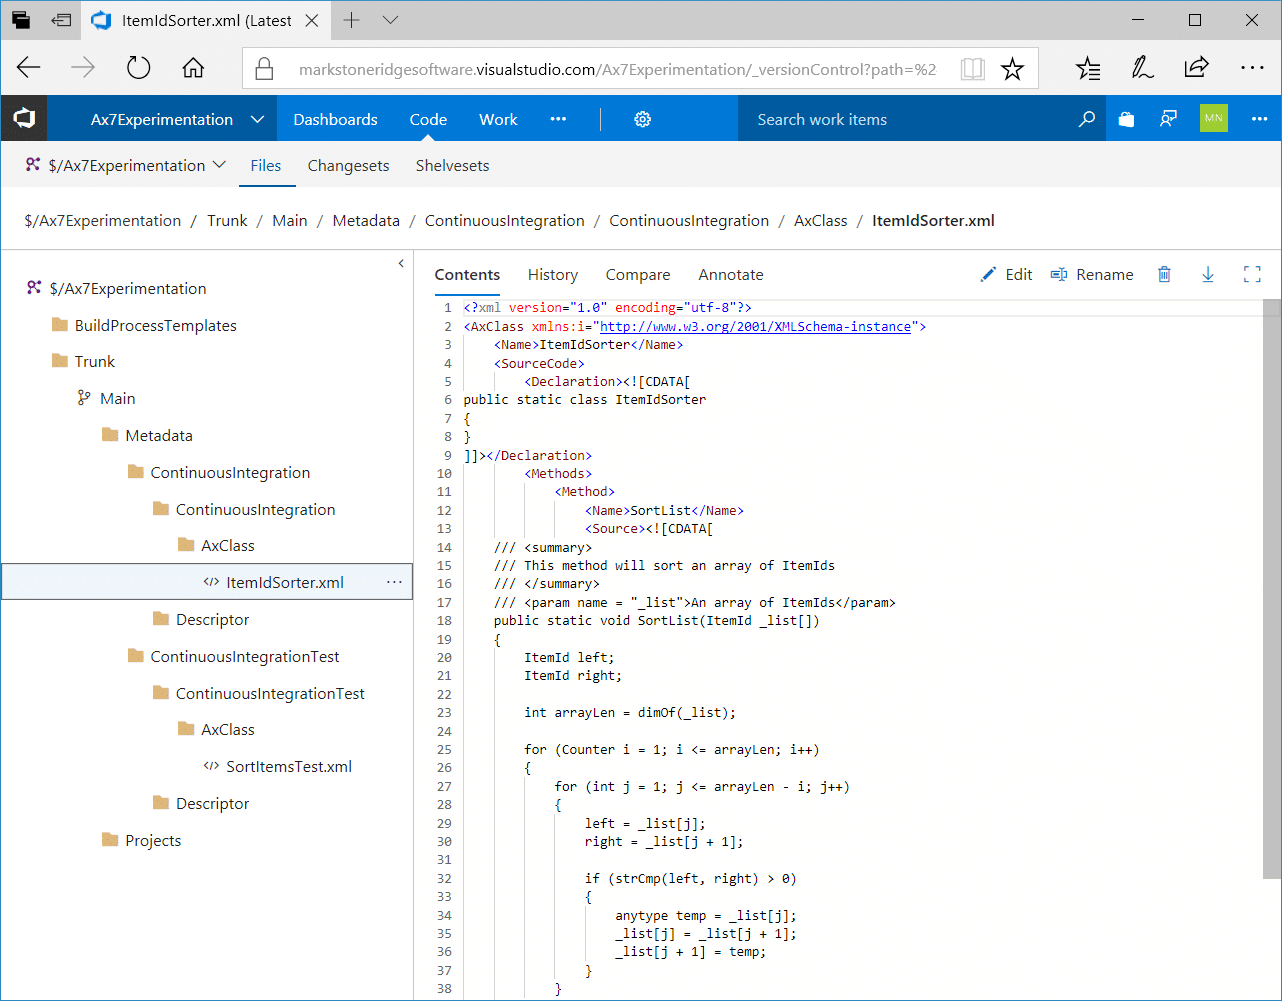
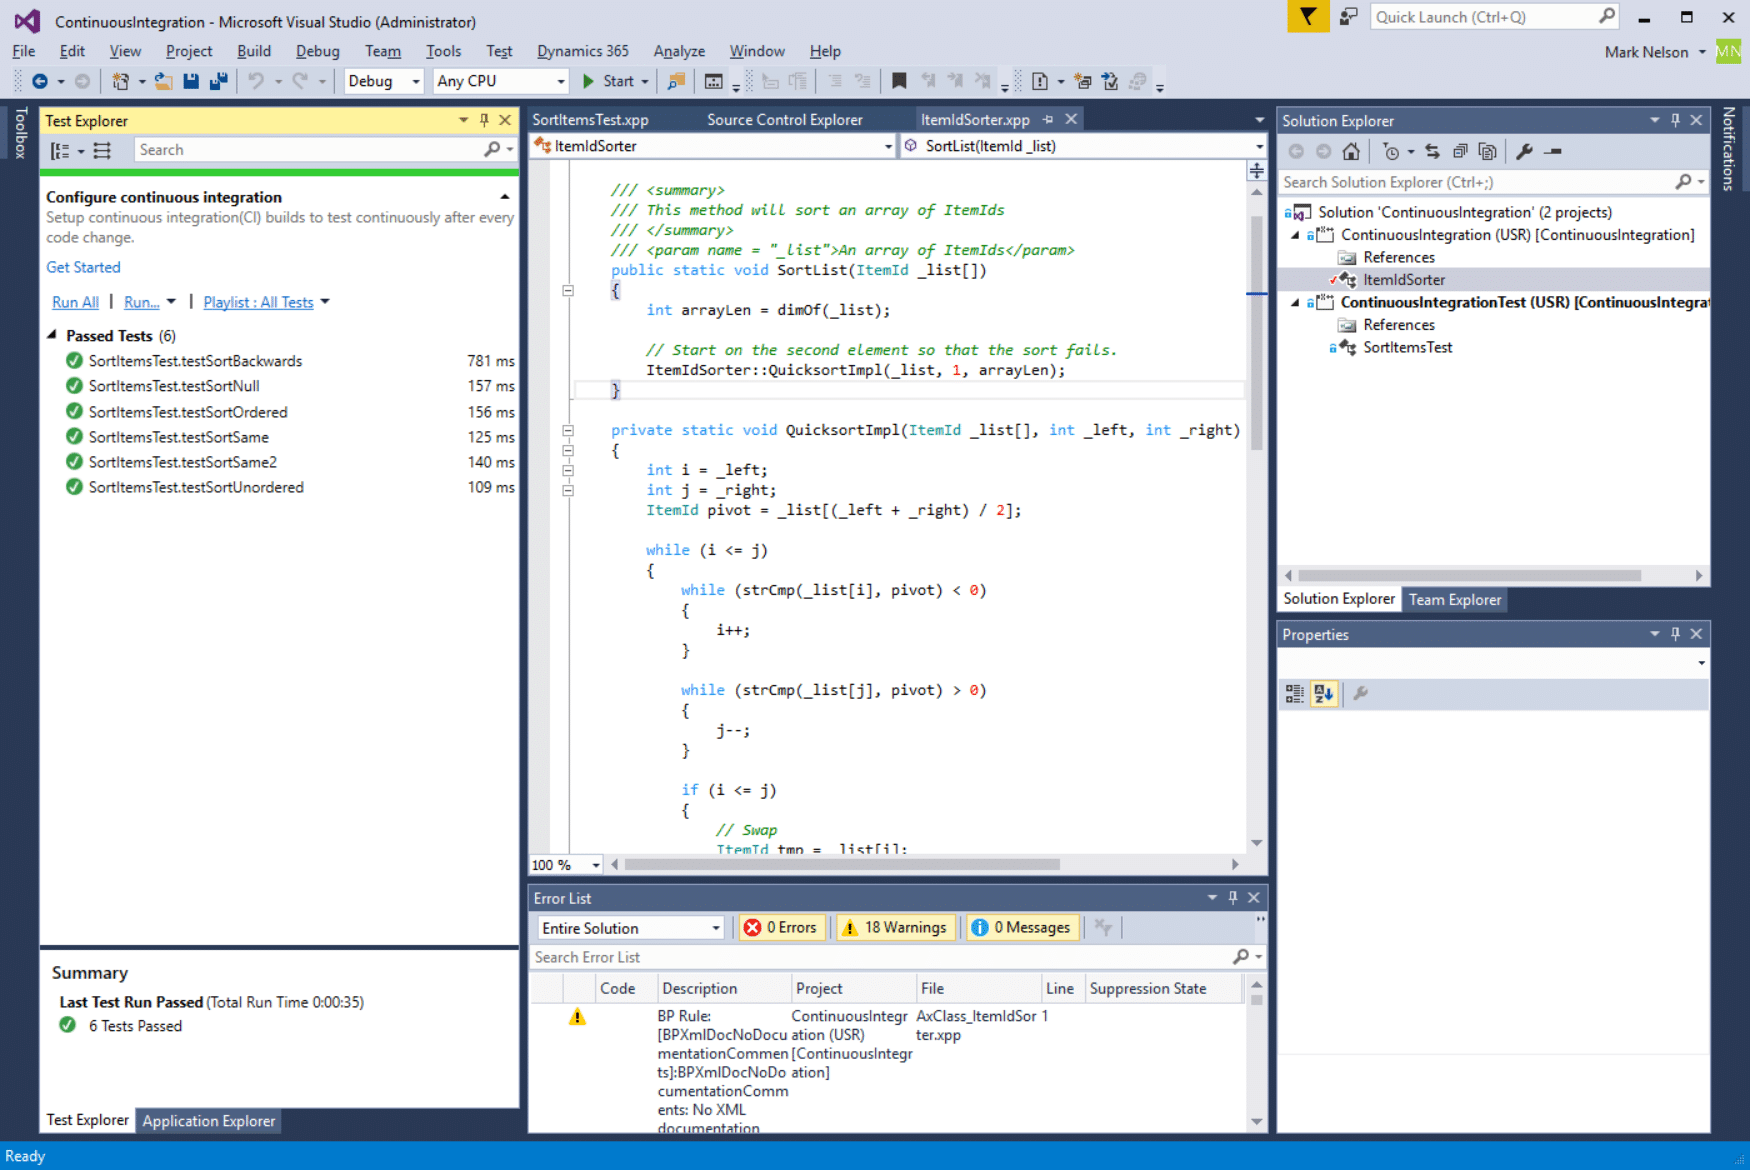
Let’s say we need to write a method that sorts an array of ItemId values. The method should sort the array in place so we can simply pass in our array and it will be sorted afterward. We’ll start by creating new projects and models called ContinuousIntegration and ContinuousIntegration Test. These projects will consist of a single class each. The first contains a simple method that performs a bubble sort on an array of ItemIds. The second contains a unit test class.
Once we verify that the code works as expected and our unit tests all pass, we can submit it to our code repository.
Create a Build agent
Now we need to set up a build agent using the SetupBuildAgent.ps1 PowerShell script found in the C:\DynamicsSDK folder. This script requires us to authenticate to VisualStudio.com using something called a Personal access token. This token is a string of characters that replace your username and password when authenticating to the site.
In my testing, I have found that the build agent must use a Personal access token created by the administrative account for your project. If you later add a user to your project, even if that user has admin privileges for that project, you cannot use an access token from that user.
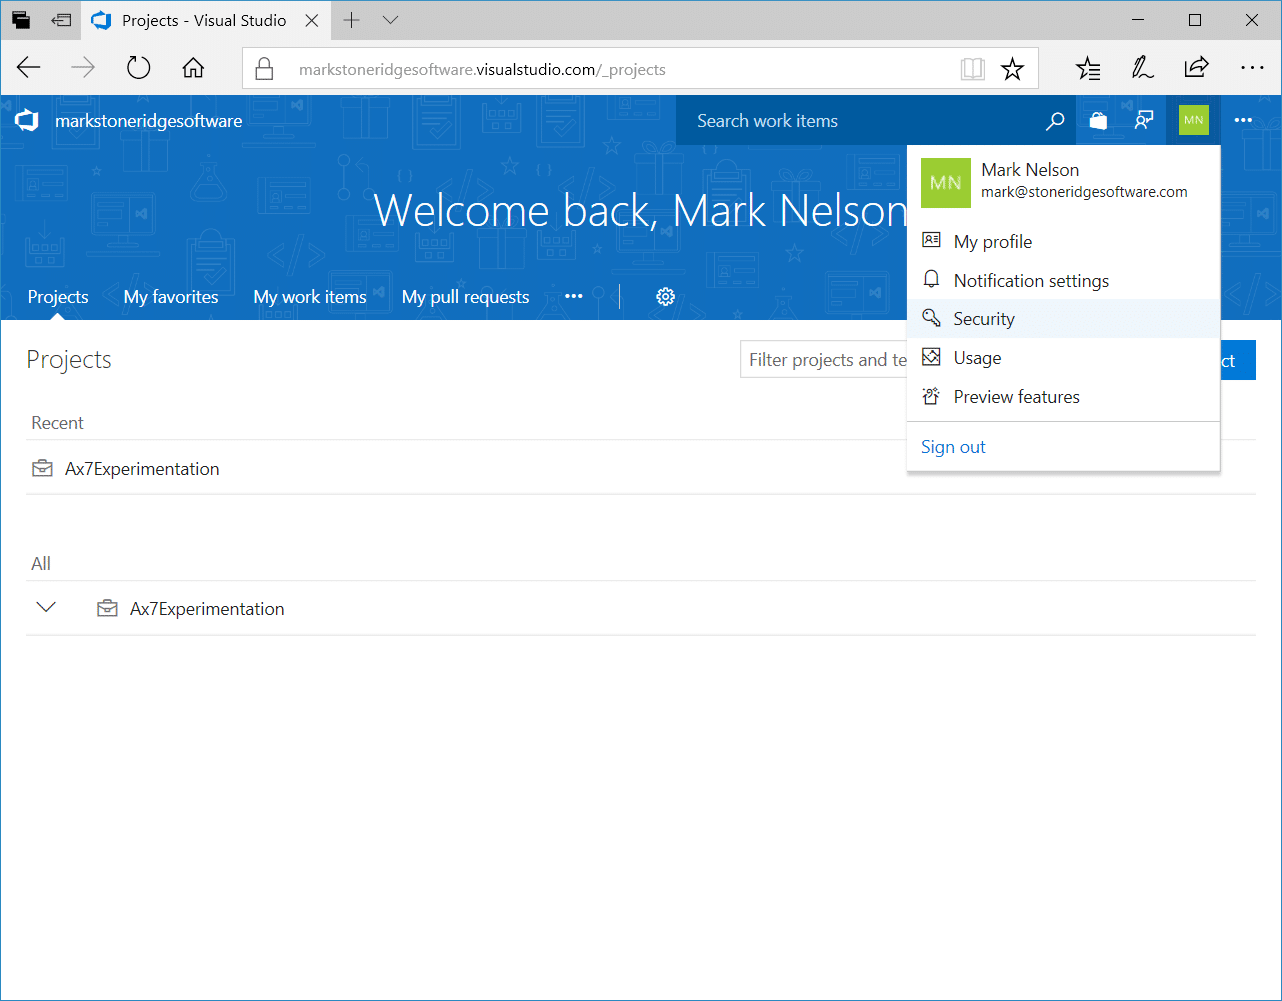
To create your Personal access token, navigate to VisualStudio.com, log in, click your user icon in the top-right corner, and choose Security.
Click the Add button to create a new Personal access token and give it a name.
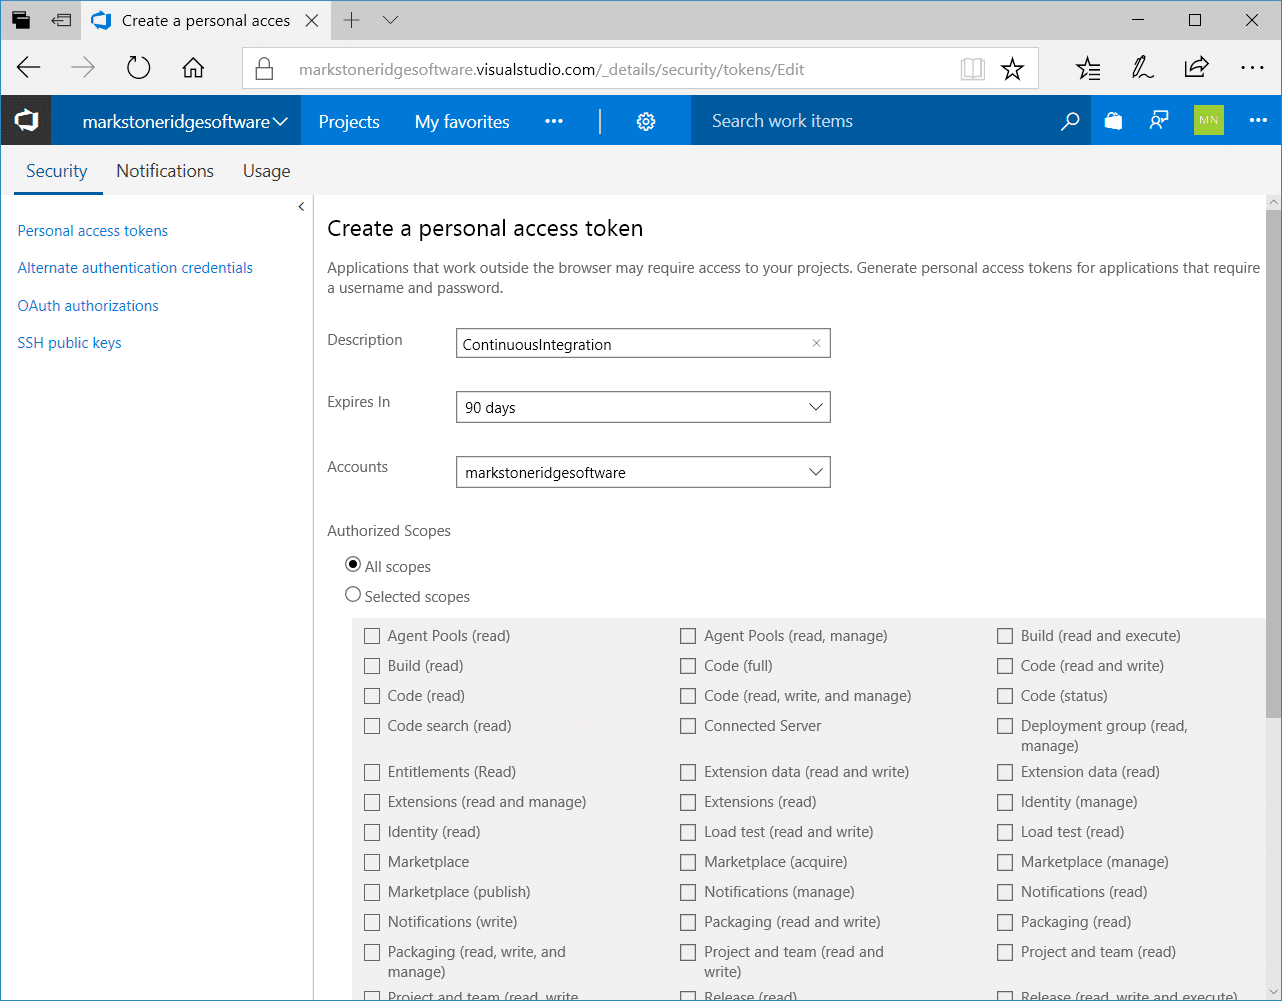
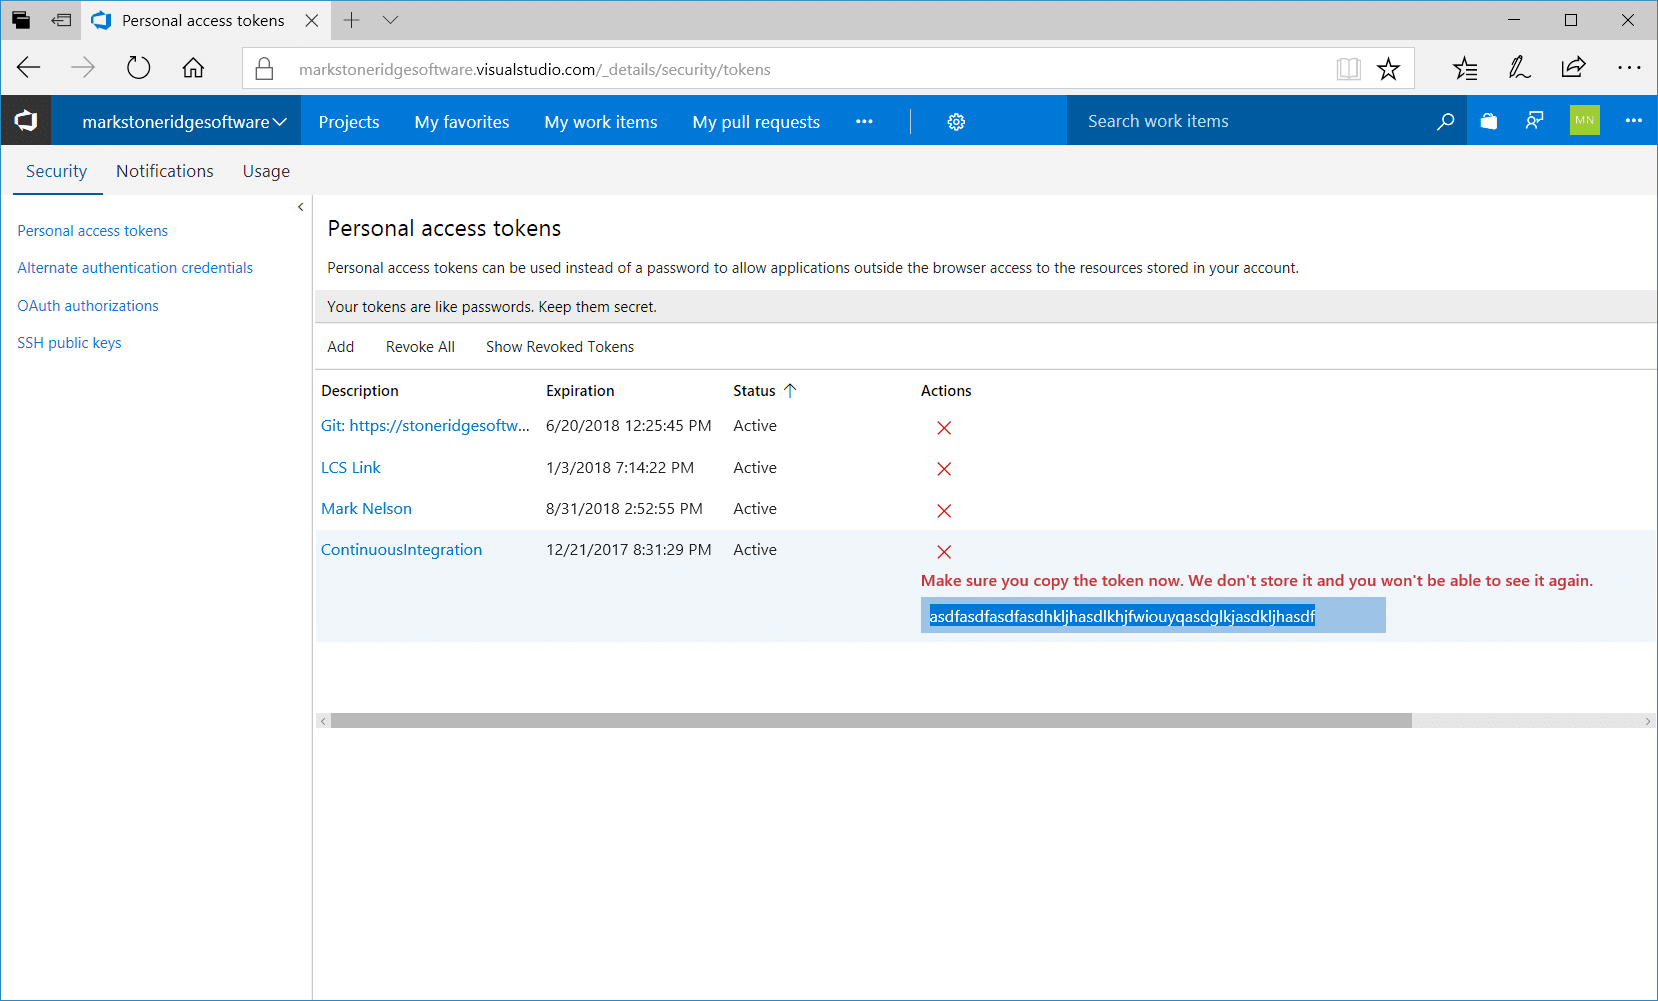
Scroll to the bottom of the page and click Create Token. You must now copy your token value and store it in a safe place until you are done setting up your continuous integration server. This token will only be displayed to you once. When you leave this page you will no longer be able to see its value.
(This is not my actual token.)
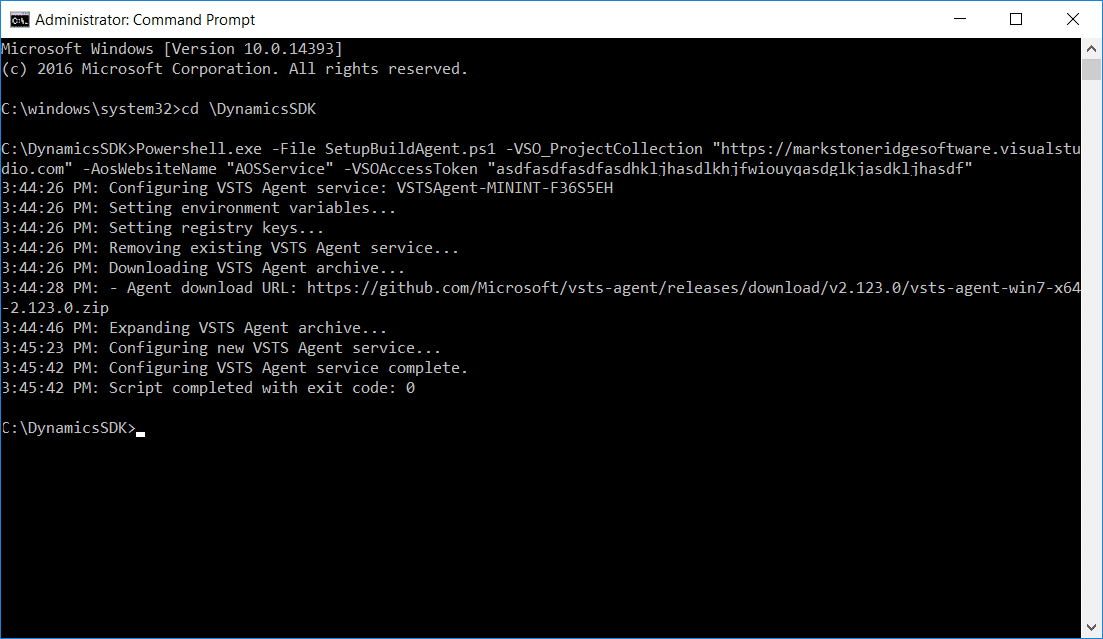
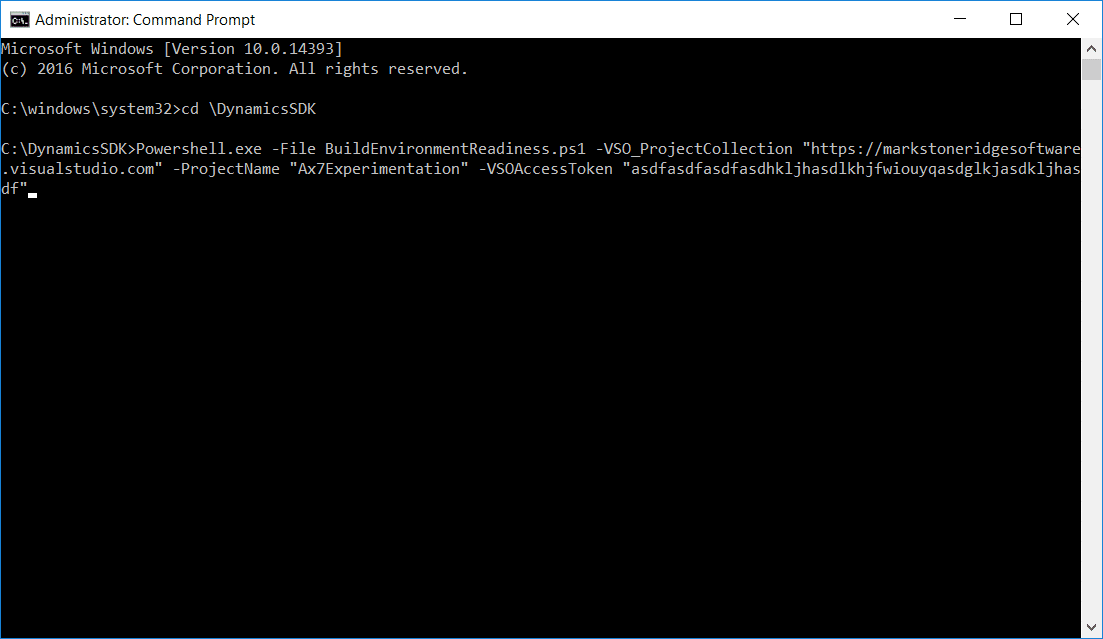
On your build VM, open an administrative command prompt and change to the C:\DynamicsSDK directory.
Now we need to call the SetupBuildAgent.ps1 script and pass it the values it needs to connect to our project. At a minimum we need to provide the following parameters:
- VSO_ProjectCollection: https://yourprojectname.visualstudio.com
- AosWebsiteName: AOSService
- VSOAccessToken: {your personal access token}
- AgentPoolName: Default
My command line would look something like this:

When you press enter, the script will download the latest version of the build agent as a Zip file, extract it to a VSOAgent folder, and create a Windows Service instance.
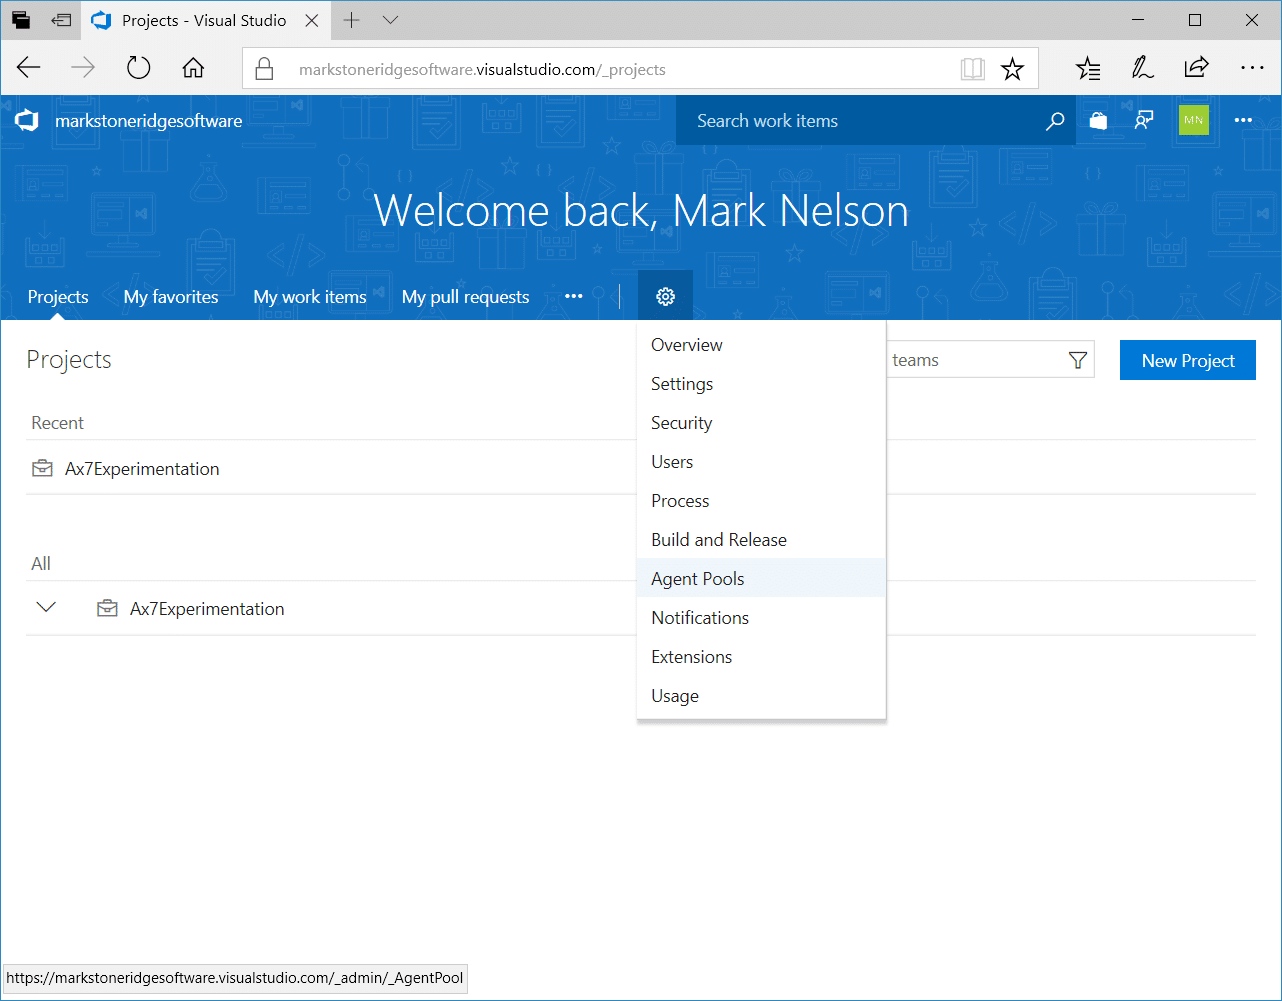
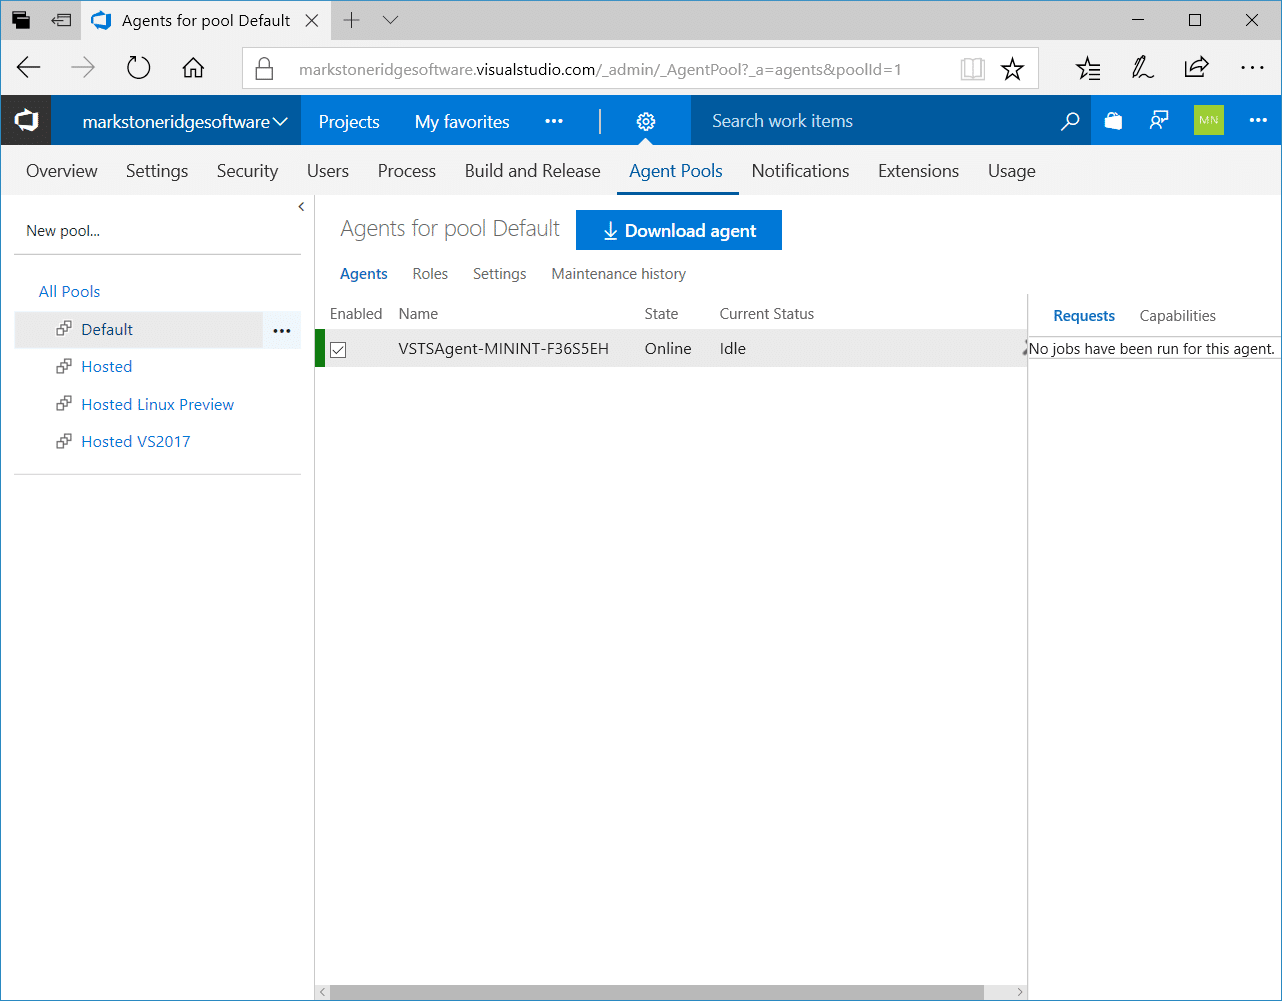
We can see the Build agent online if we navigate to our dashboard, click the settings button, and choose Agent pools.
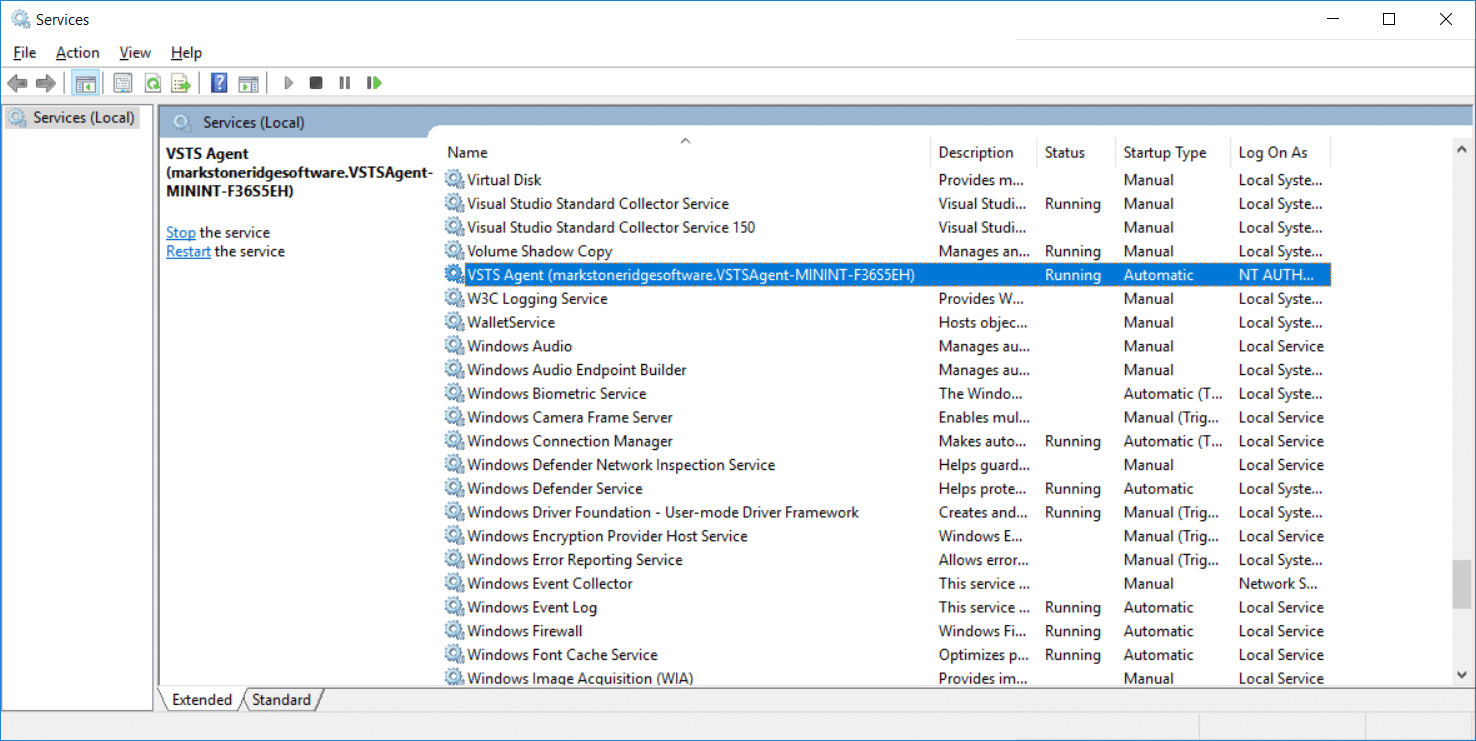
If we load the services control panel on our build VM we can see the new Windows service tied to this agent.
Create a Build Definition
The last step is to create a build definition. The build definition defines what steps will be taken when our continuous integration build runs and even defines when our build will run.
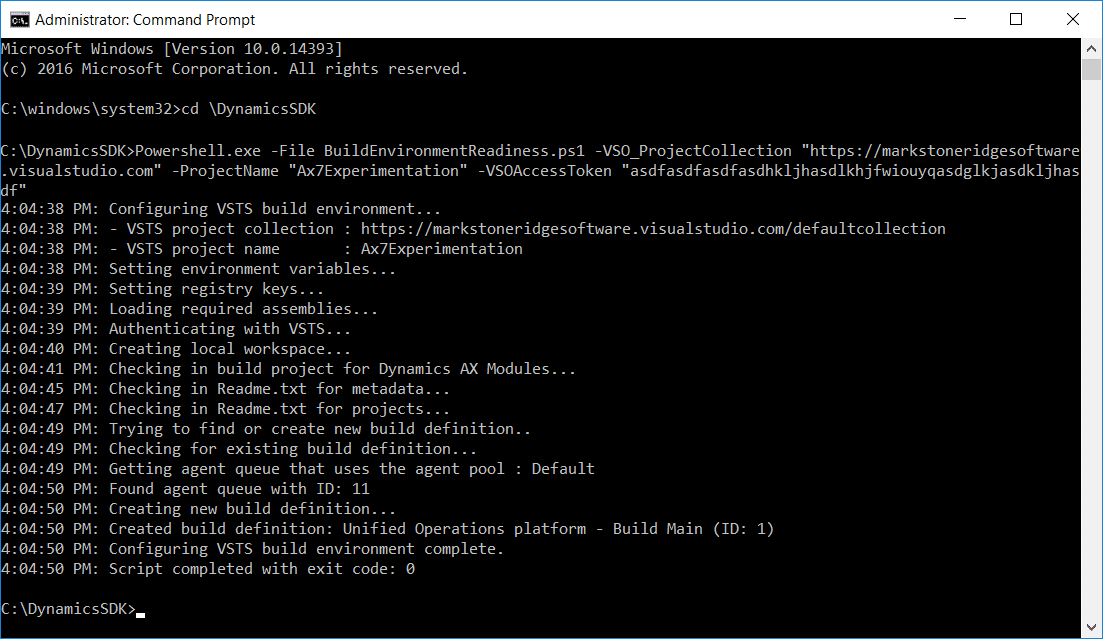
To create the build definition, we will use the BuildEnvironmentReadiness.ps1 PowerShell script.
When you press enter the script will create the build definition.
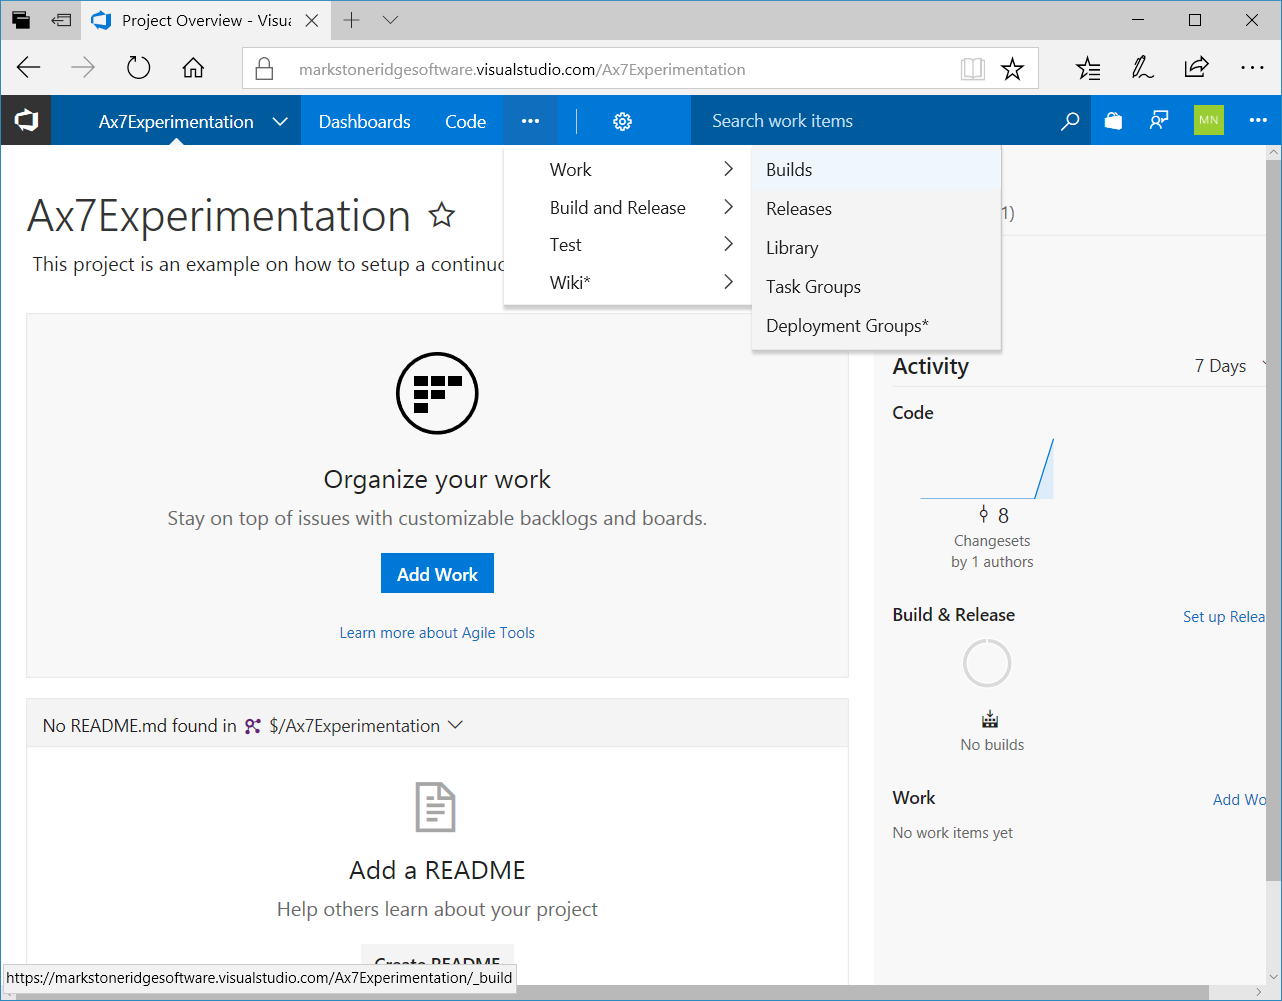
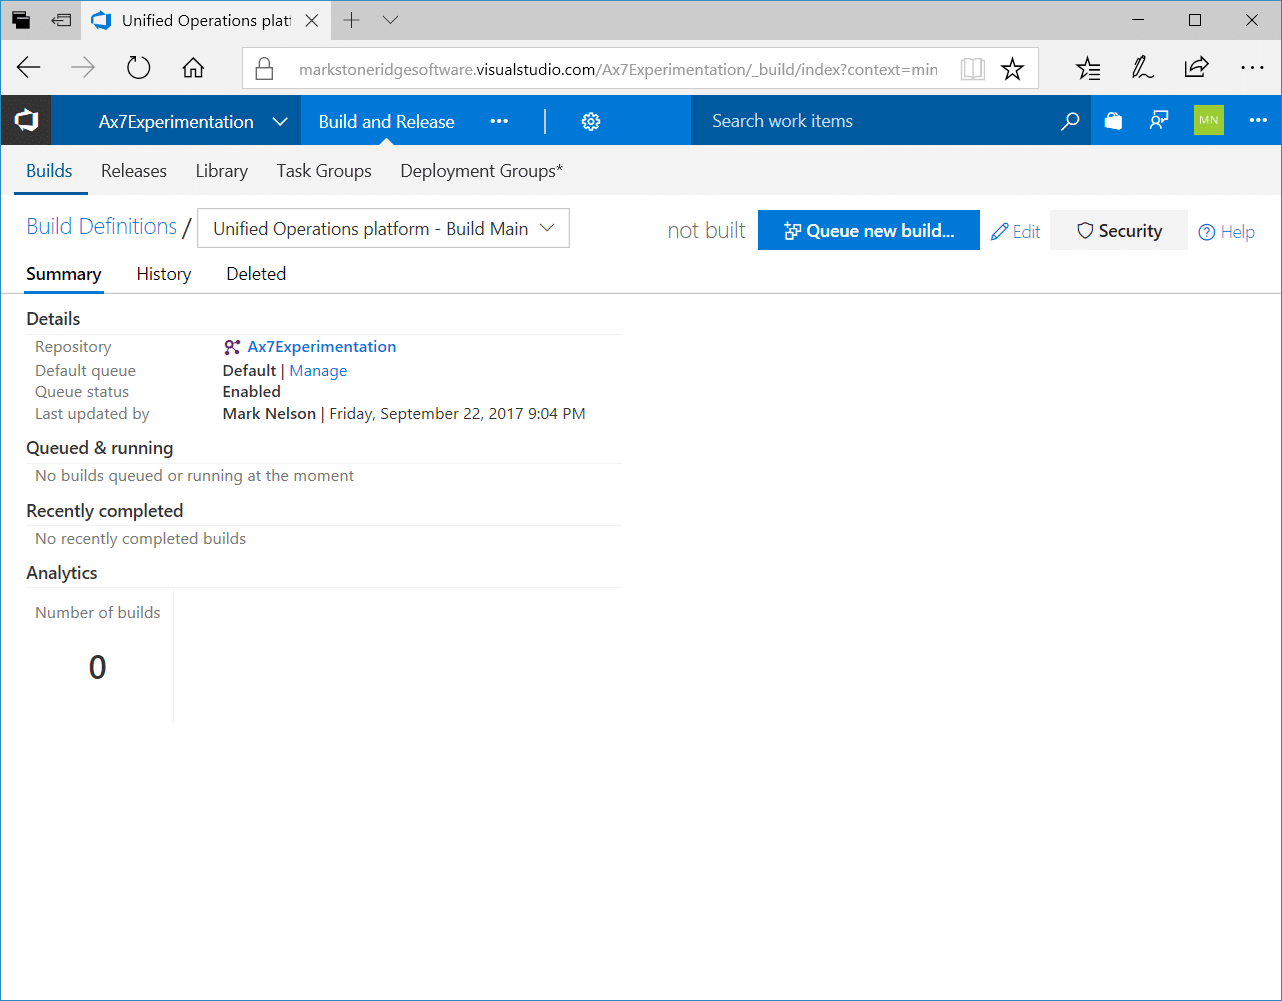
To see the definition, navigate to your project home and click Build and Release > Builds.
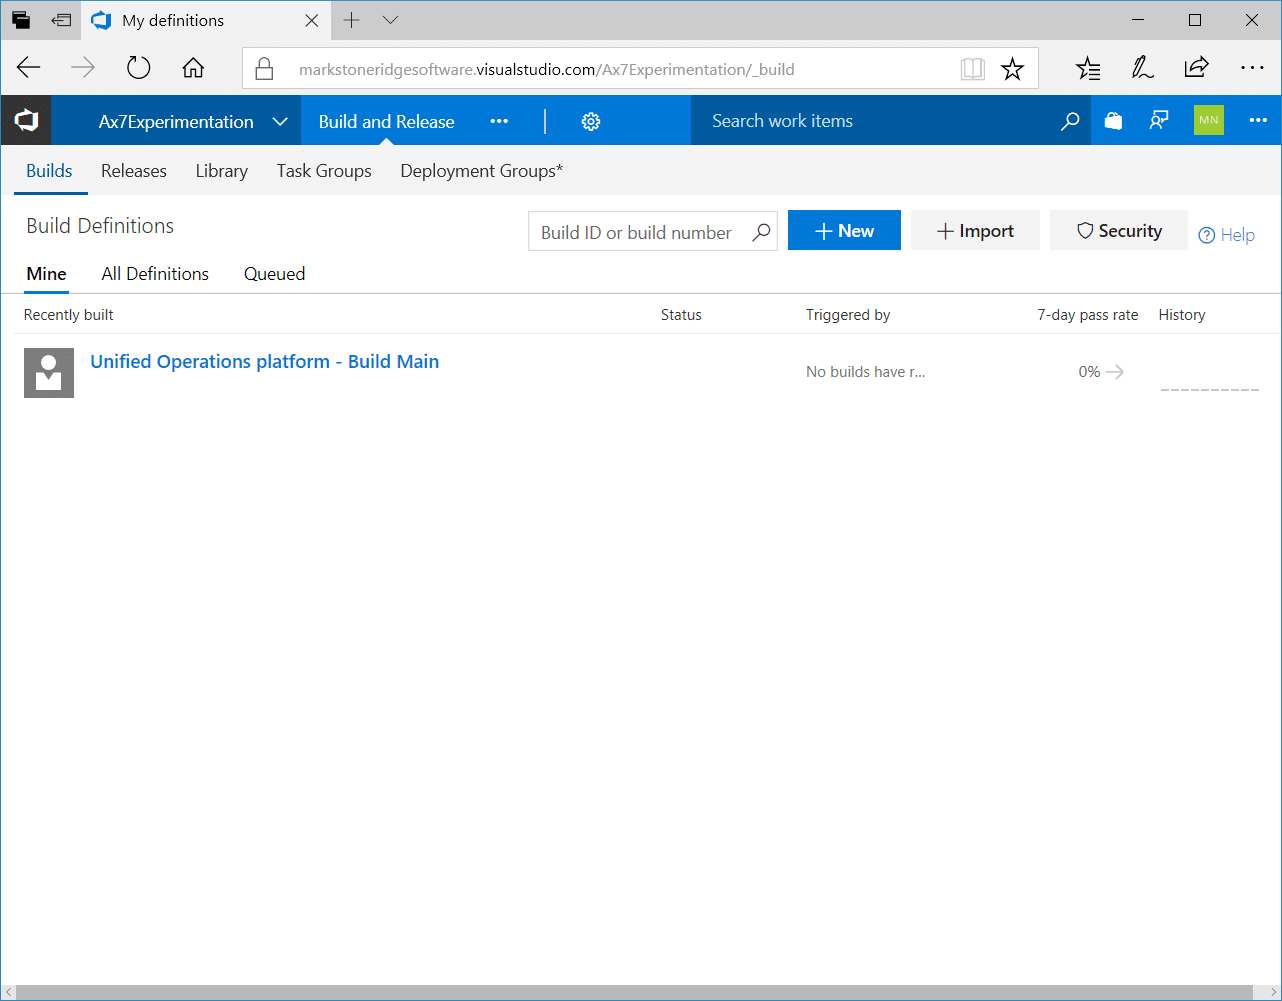
Click the build definition name to see the details.
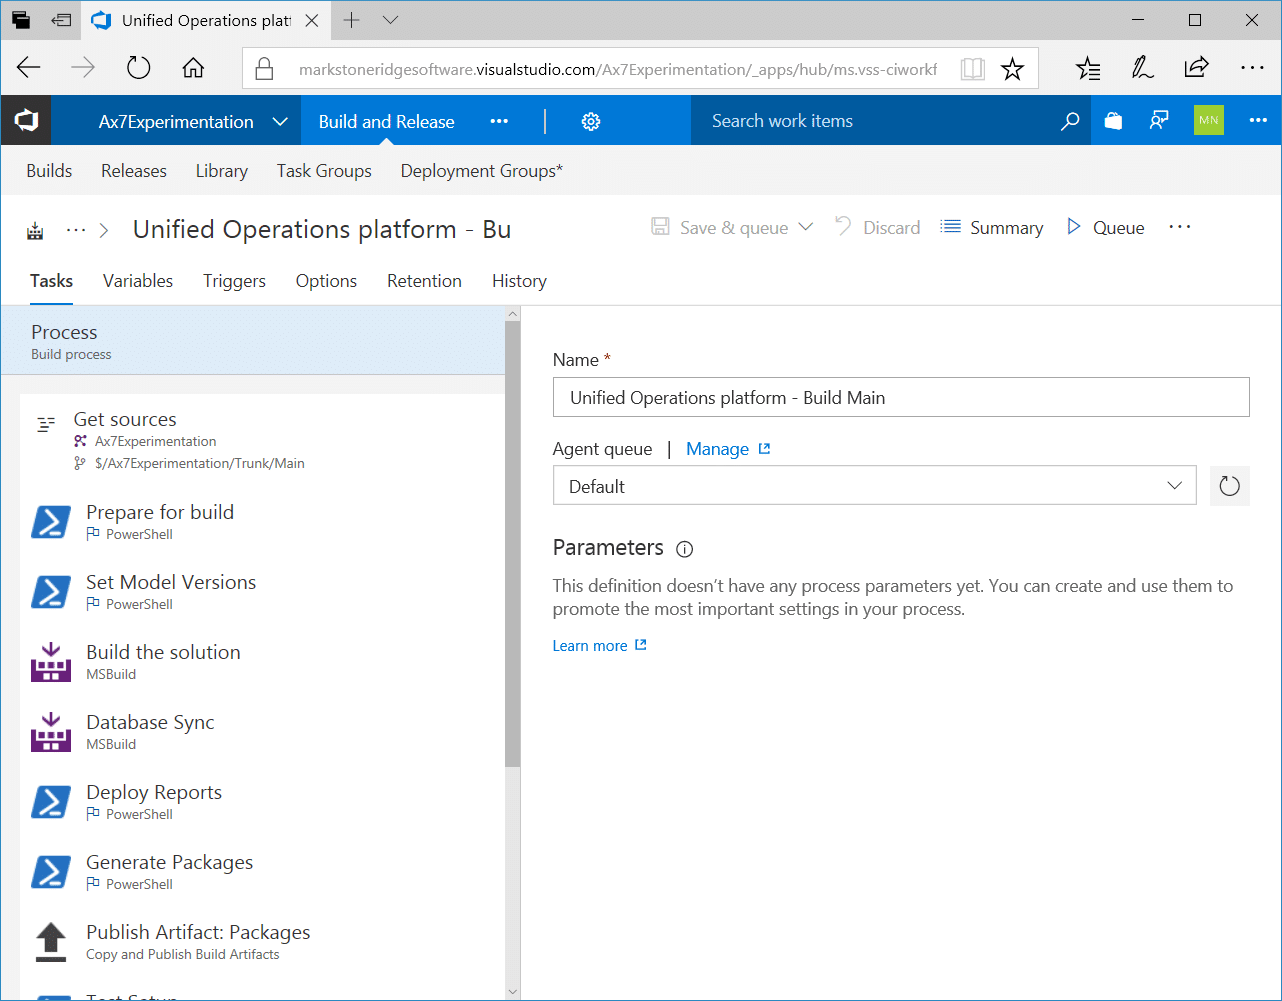
Then click the Edit button to see the build steps.
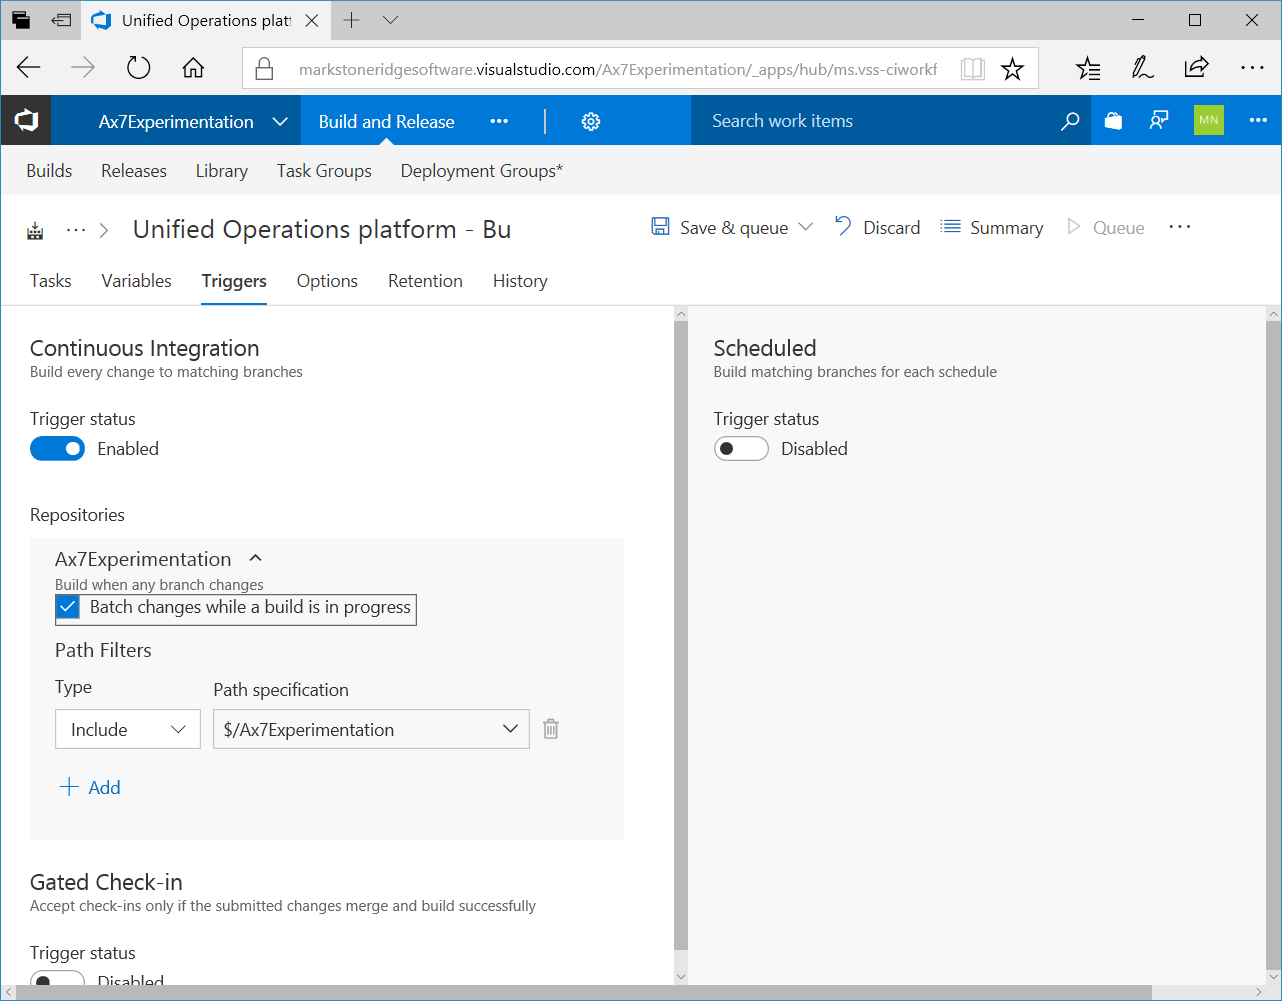
To enable Continuous integrations, click the Triggers tab, enable the option, and click Save.
Submitting code changes
Now that we have continuous integrations enabled, every time we submit a change our code will be built and tested. To test this, let’s assume that our requirements have changed and we now must use a quick sort to sort our ItemIds.
If we refresh our build definitions page, we can see that our continuous integration build has been triggered by our change.

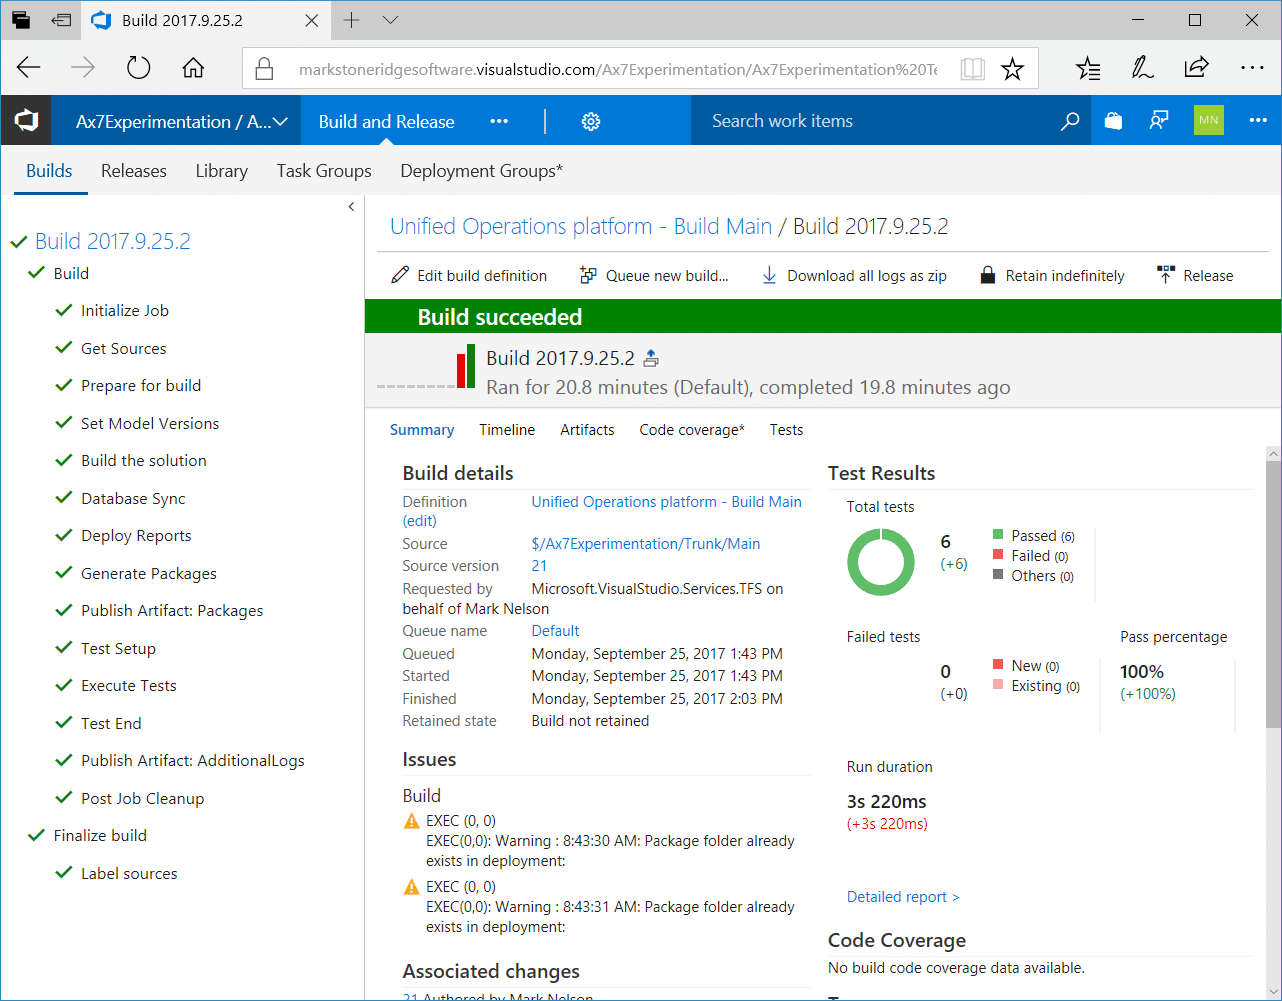
If all goes well the build will be successful, tests will pass, and we can be assured that our branch is stable.

Under the terms of this license, you are authorized to share and redistribute the content across various mediums, subject to adherence to the specified conditions: you must provide proper attribution to Stoneridge as the original creator in a manner that does not imply their endorsement of your use, the material is to be utilized solely for non-commercial purposes, and alterations, modifications, or derivative works based on the original material are strictly prohibited.
Responsibility rests with the licensee to ensure that their use of the material does not violate any other rights.