


Steps to Set Up SharePoint for Document Management in Dynamics 365 Finance
SharePoint is a valuable resource when it comes to storing, managing, and sharing documents. Follow the steps below to:
- Successfully set up a SharePoint site specifically for files related to Dynamics 365 Finance
- Setup Print management for Customer statement to use SharePoint
- Attach a document to a Sales Order header that will be stored in SharePoint
1) Create a new SharePoint Site (document library) in SharePoint online
2) In D365 Finance, go to Organization administration> Document management> Document management parameters> select SharePoint on the left. Enter your organization’s SharePoint server name -
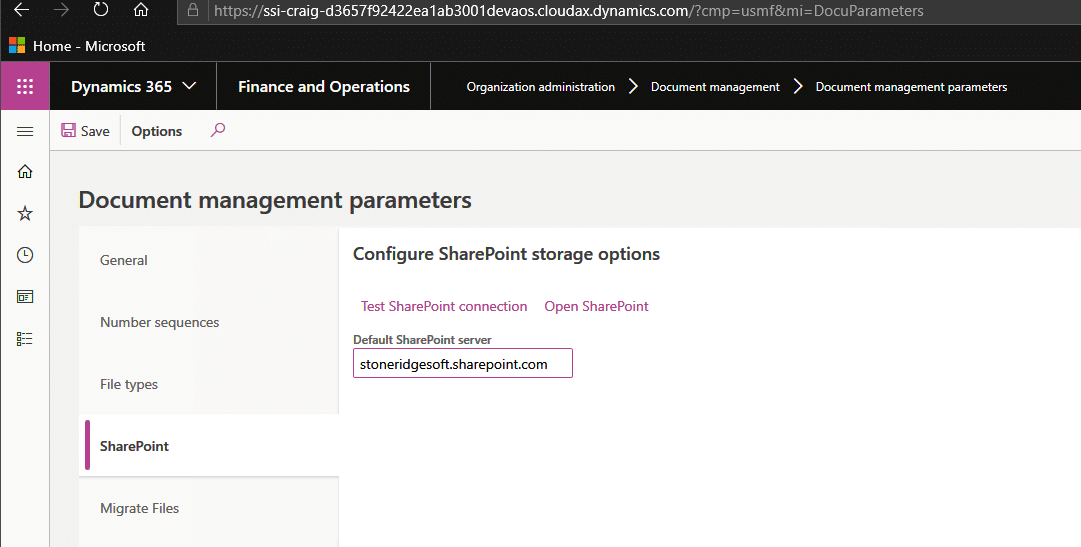
Note: You will receive an access error if you do you have the proper SharePoint permission. Work with your SharePoint administrator to get access.
3) In document types (Organization admin> Document management> Document types, select File on the left, enter a name under the Name field (eg: File_JackieSP), fill in the rest of the fields like below:
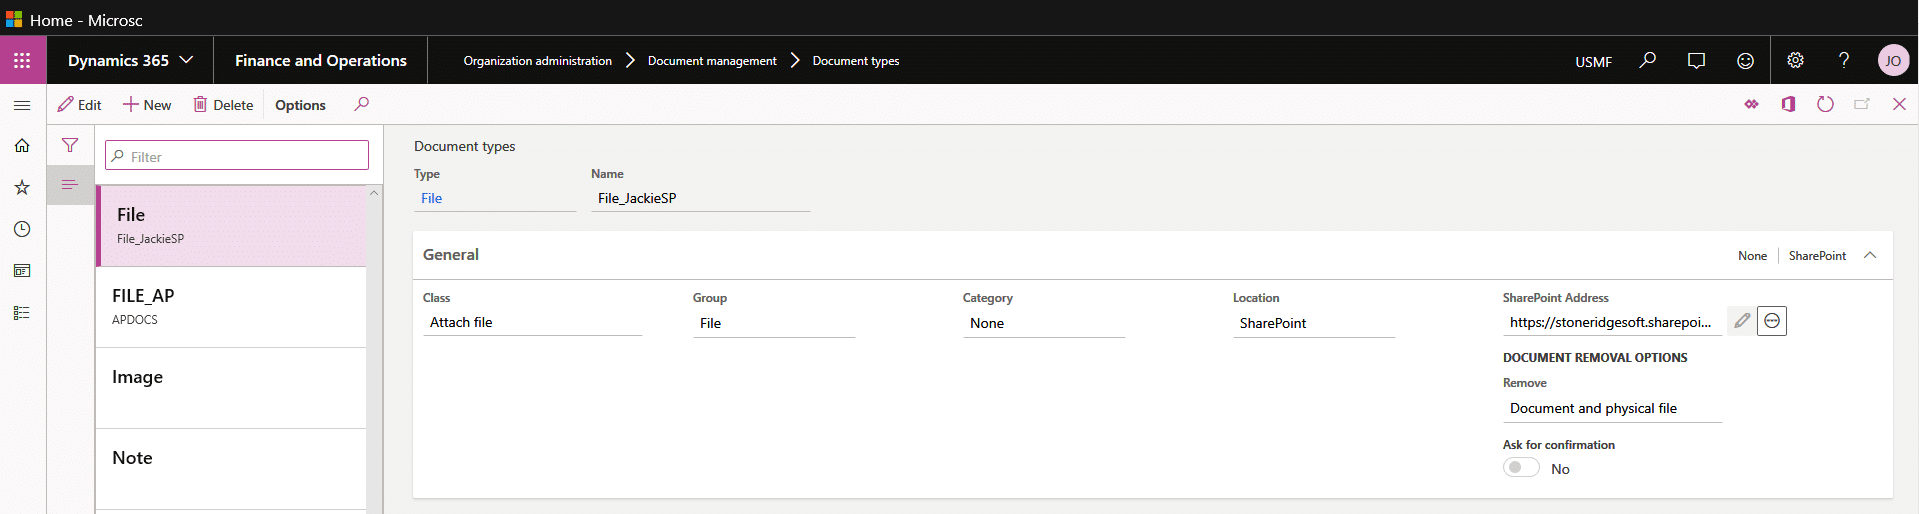
Note: You may create different File types for different SharePoint document libraries. Example above, FILE_AP is using a different SharePoint document site.
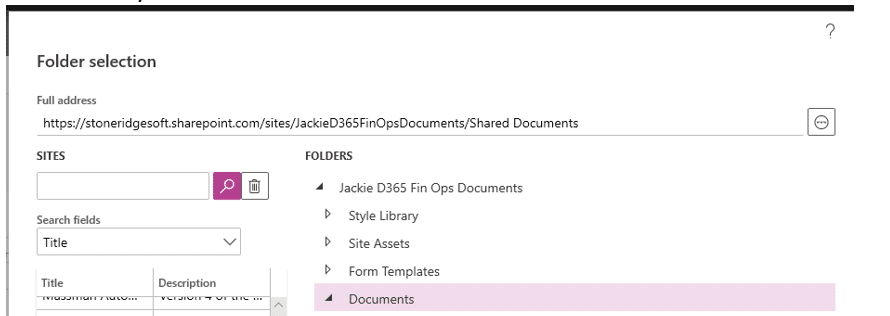
Click on edit (pencil icon), next the SharePoint Address field and select the SharePoint site and folder you would like your document saved to.
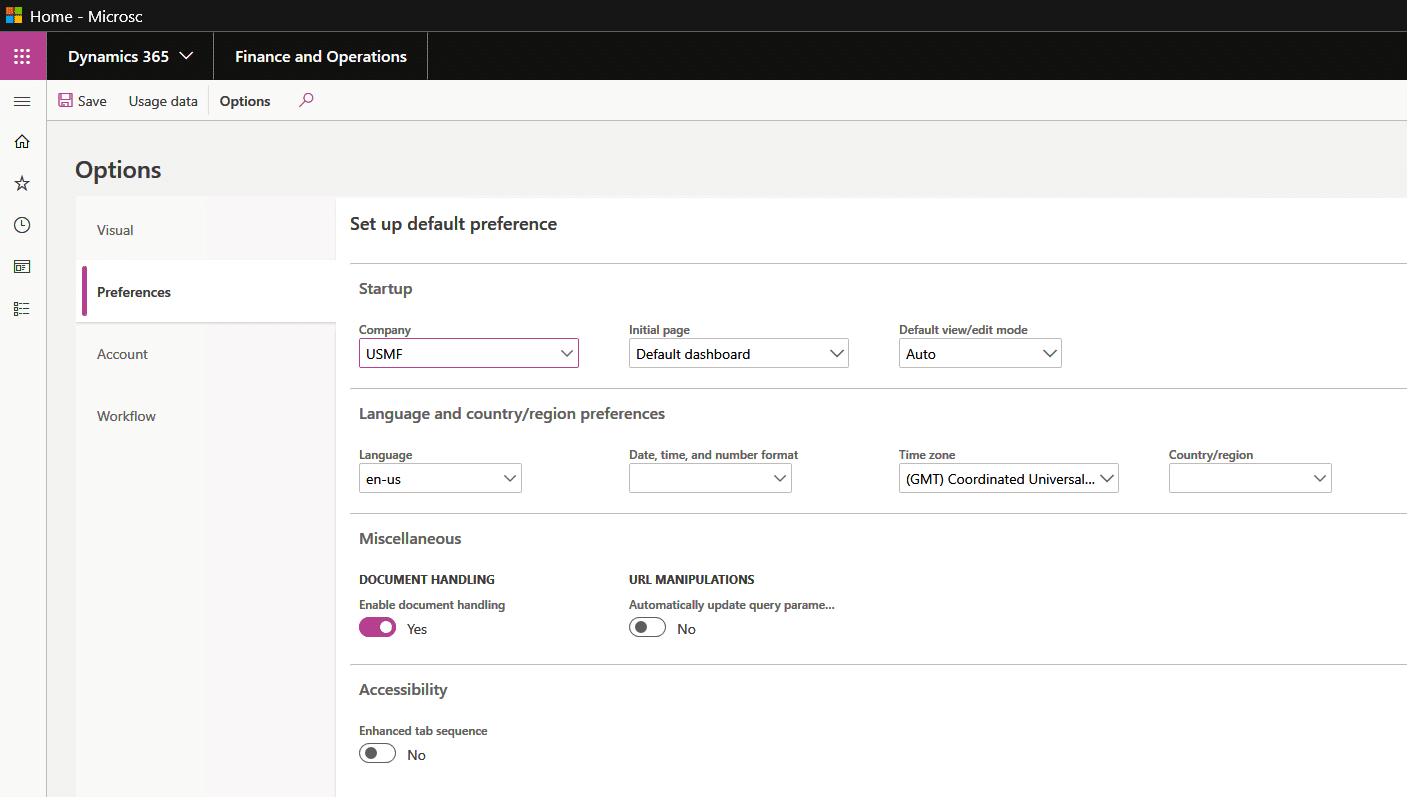
4) User Options – make sure document handling is enabled
- Click on the gear icon in your D365 Finance session, on the top right and select User options
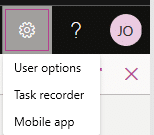
- Select Preferences on the left and under Miscellaneous, make sure Document Handling is set to Yes.

Set Up Print Management for Customer Statement to Use SharePoint:
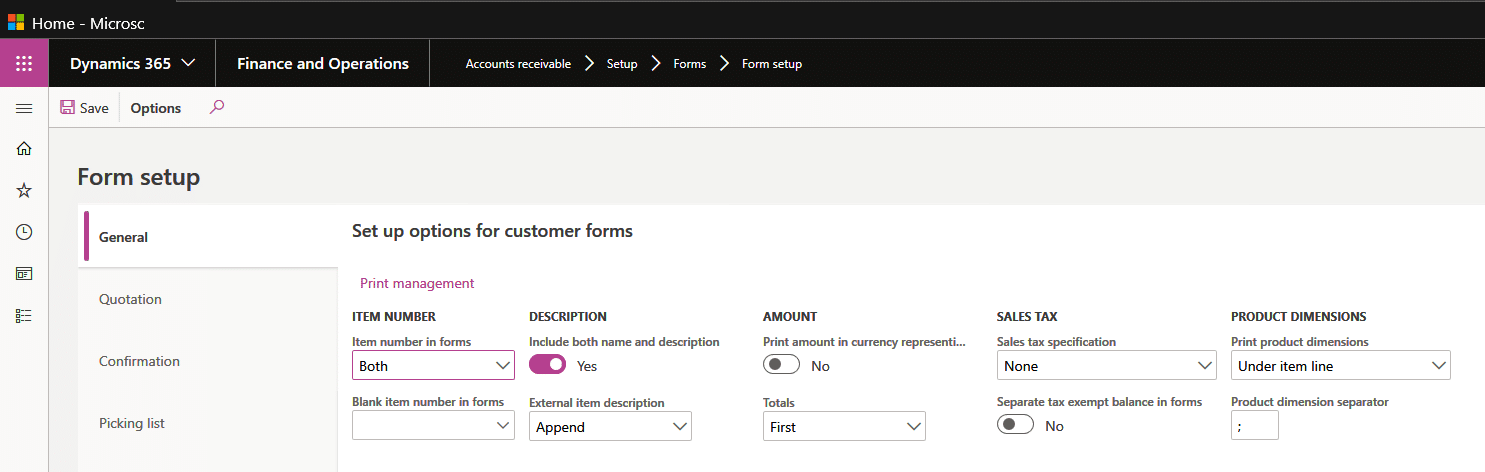
1) AR > Setup> Form setup, click on Print Management link –
2) Select Customer account statement then Original<Default> (or you can right-click and create a new one), click on the left arrow on the Destination field, and select Printer Setup)

3) In printer setup, select File on the left, set “Save in print archive” to Yes, give the file a name, set format to PDF.
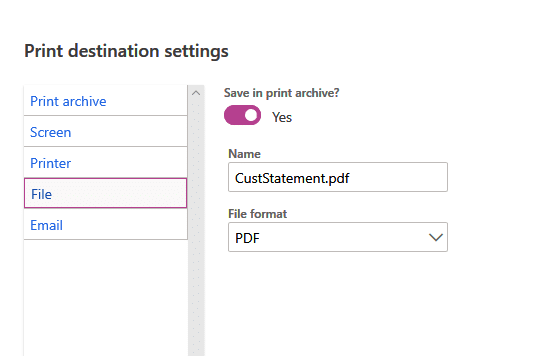
Note: Save in print archive must be set to Yes here. Otherwise, the document will not get created in SharePoint. You only the File for the file type option in printer management. If you have created different file types for different SharePoint document libraries, they will not show up here.
To test the above setup, run a statement for customer Contoso – select the customer Contoso from All customers, click on the Collect tab, select Statements in the customer balances group.
The customer statement will show up on screen after it’s been created. You can turn it off by going to Document management parameters, then select File types on the left, then find the document type you are interested in and change the “Natively web Renderable” to No.
Now in your SharePoint site, and you will see the new customer statement pdf file there as well.
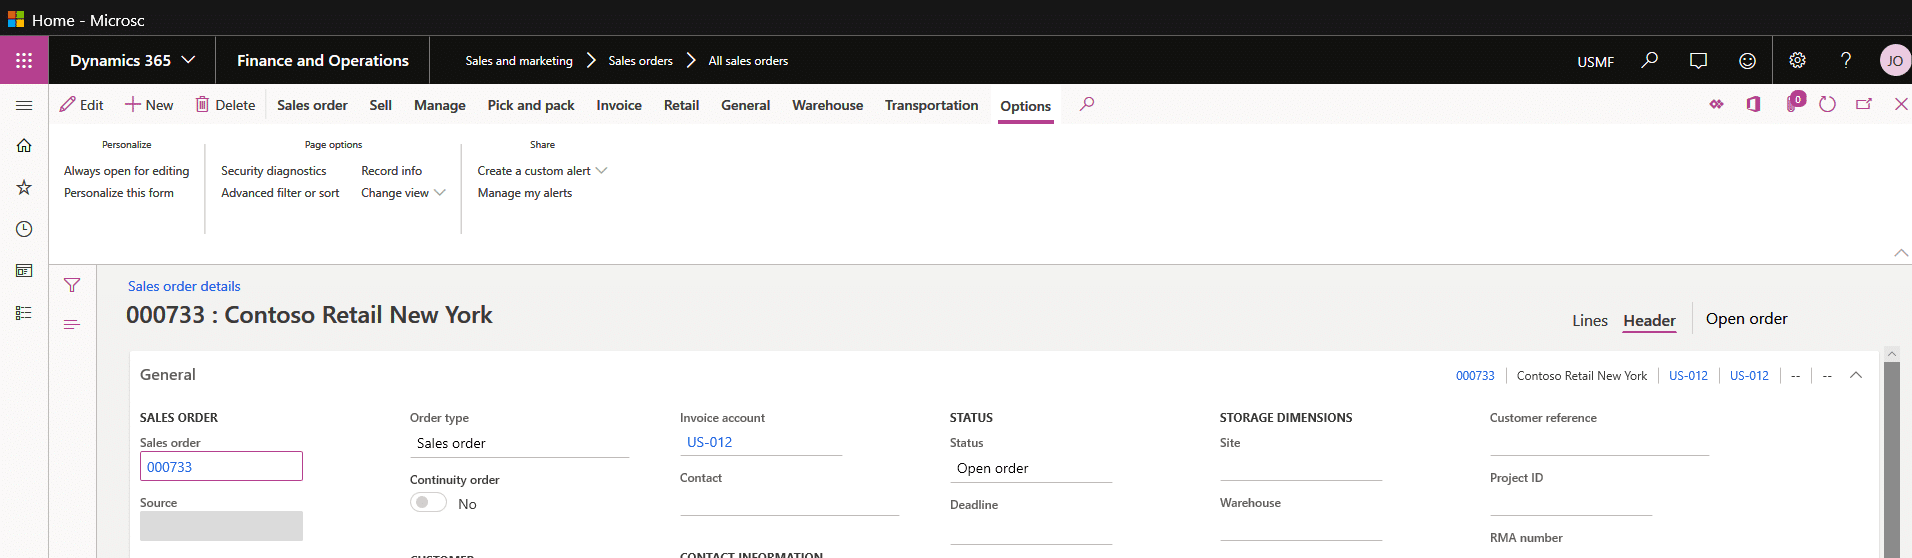
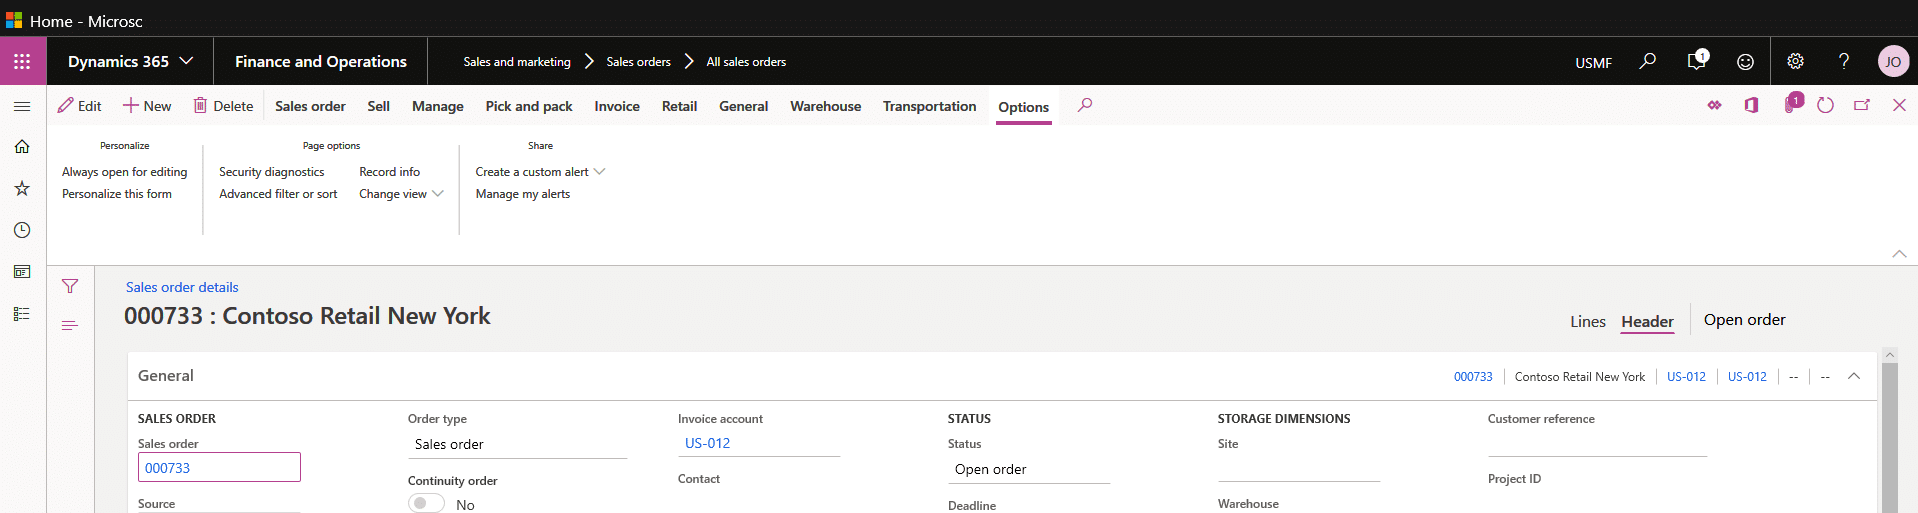
Attaching a Document to a Sales Order Header That Will Be Stored in SharePoint
Open a Sales order header then click on the paper clip on the top right. Note the number on the paper clip indicate the number of documents attached to the sales order header.
At this form, click on New, then select File in the drop-down to attach a document –

Note: You will see the different file types you’ve set up here. So, if you have set up different file types for different SharePoint document libraries, it will be listed in the dropdown (eg. File_AP)
Next, browse to the file you would like attached to this SO header –

Click on Save and close the Form. Now you will see the number 1 on the paper clip.
If you navigate to your SharePoint Document library, you will also see the document/file you’ve just attached to your SO header.
If you have questions or run into any issues, please reach out to the team at Stoneridge Software for guidance.

Under the terms of this license, you are authorized to share and redistribute the content across various mediums, subject to adherence to the specified conditions: you must provide proper attribution to Stoneridge as the original creator in a manner that does not imply their endorsement of your use, the material is to be utilized solely for non-commercial purposes, and alterations, modifications, or derivative works based on the original material are strictly prohibited.
Responsibility rests with the licensee to ensure that their use of the material does not violate any other rights.